Learn how to make tissue paper Easter eggs for an easy twist on an Easter tradition! The eggs turn out beautiful and it’s fun to do with kids!
This is one of my all-time favorite ways to dye eggs because it’s so easy, the kids can do it on their own, and the eggs turn out beautiful. Another bonus to dyeing eggs this way is there are no cups of dye needed alleviating Easter woes like fighting over dye cups and dreaded dye cup spills. So come check it out and print the directions to get your Easter shenanigans started.
Thank you for visiting. This post may contain affiliate links to recommended products at no extra cost to you. Read our Disclosures and Terms of Use. Don't miss out again, become a Reader here <--it's FREE.
Our Tie Dye Easter Egg method also is a dye cup-free way to decorate that’s great for little ones to do too.
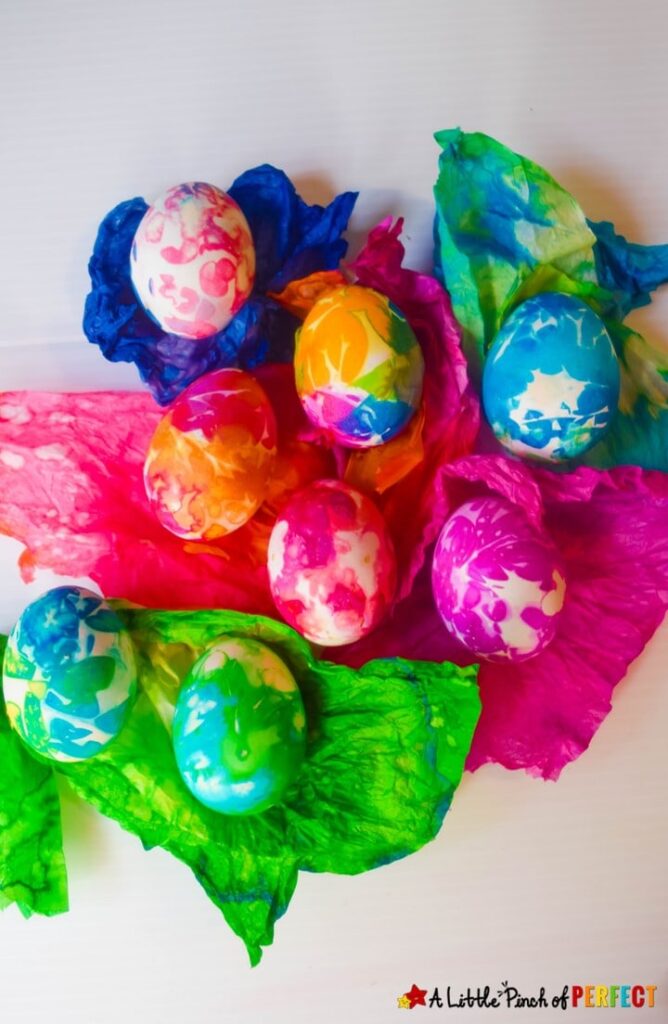
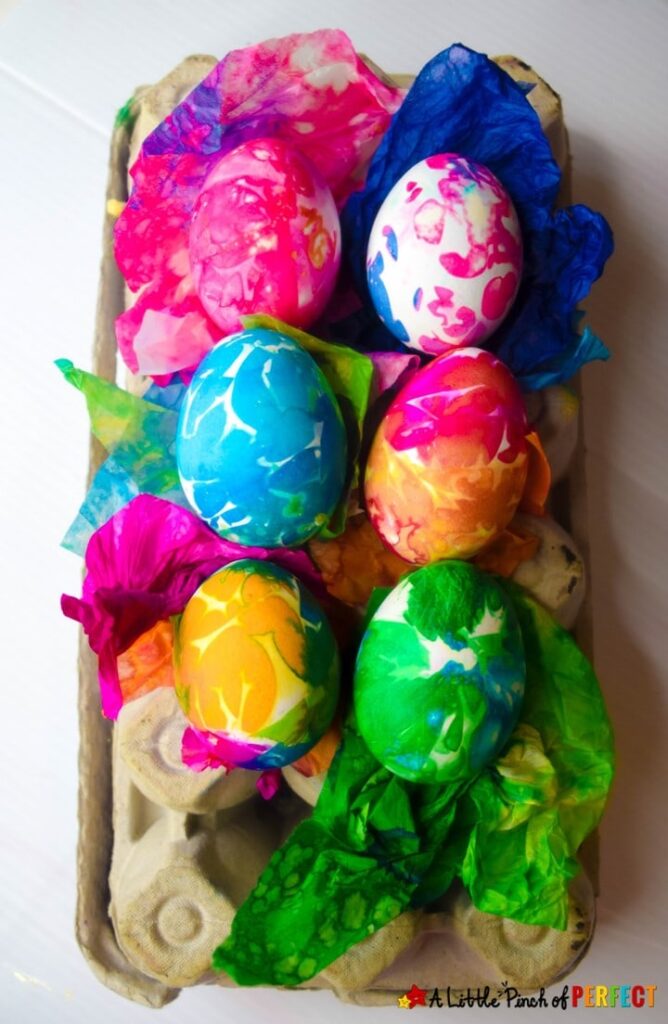
When we first started dyeing our eggs with tissue paper, we stuck to one color but we soon found out that we could add multiple colors of tissue paper to get really cool results. With all the color mixing and texture the eggs remind me of tie-dye and marbling.

If your kids love opening surprise eggs, they are in for a real treat because each Tissue Paper Dyed Egg turns out different. My kids love opening each of their Easter eggs to see how they turned out. They look fascinated as they admired each one. I’m sure your kids will be the same way. Now let’s get to dyeing some eggs before the Easter Bunny shows up.
Check out all our Easter Activities Here.
SUGGESTED BOOKS AND EXTENSION ACTIVITIES:
BECAUSE ALL ACTIVITIES ARE BETTER WITH MORE THINGS TO DO TOGETHER!
Click photos: Affiliate links to more information on these books we love!
(Purchases through affiliate links earn us a small commission with no extra cost to you. See our Disclosure Policy here.)
How to Decorate Easter Eggs with Tissue Paper
Supplies:
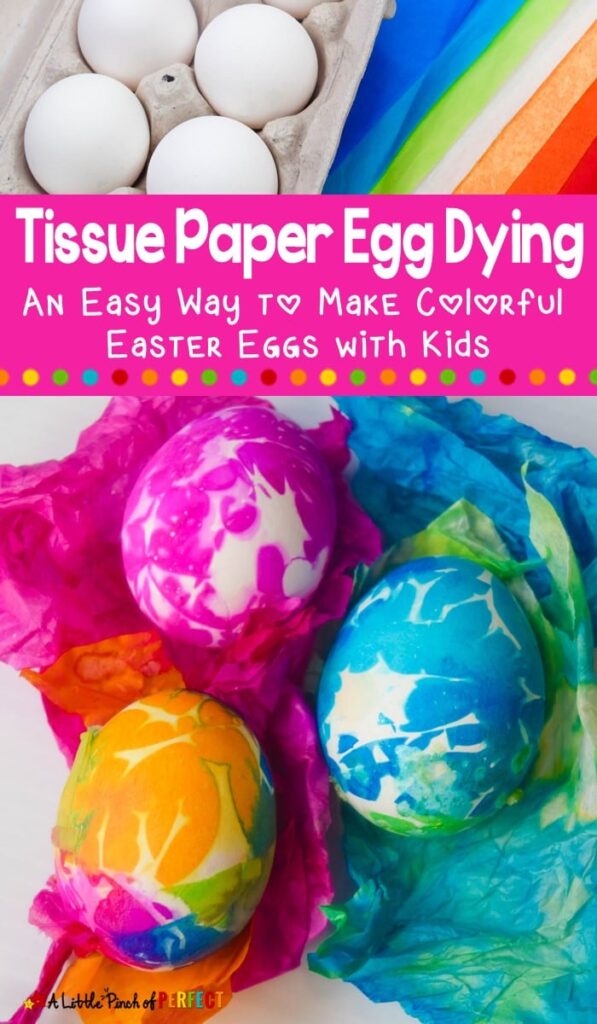
- Bleeding Tissue Paper (regular tissue paper will not work)
- Vinegar or water (We used vinegar, but I have seen it done with water too)
- Bowl
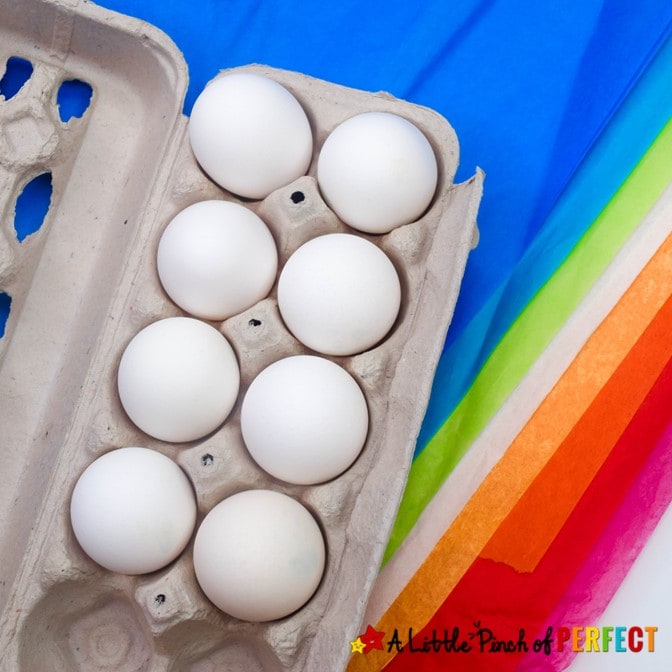
- Eggs prepared for dyeing (blown out or hard boiled)
- Clothespin (optional)
Tip: If you want to eat your egg blow the inside out by carefully poking a hole in the top and a hole in the bottom and blowing on one end until it comes out. Then you can eat your egg and decorate it too.
Do not eat hard boiled eggs after they have been decorated this way because the colors in the tissue paper may not be safe for consumption.
Directions:
For your convenience, printable directions are available at the end of this post.
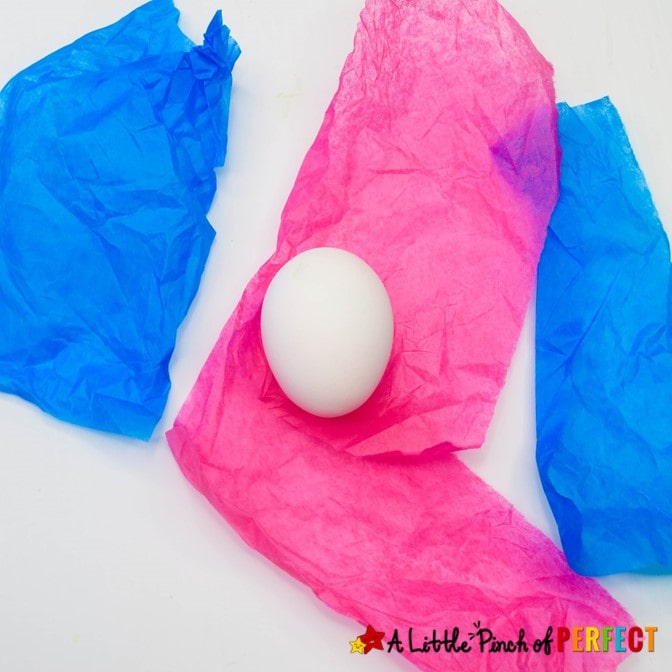
Cut or rip pieces of Bleeding Tissue Paper .
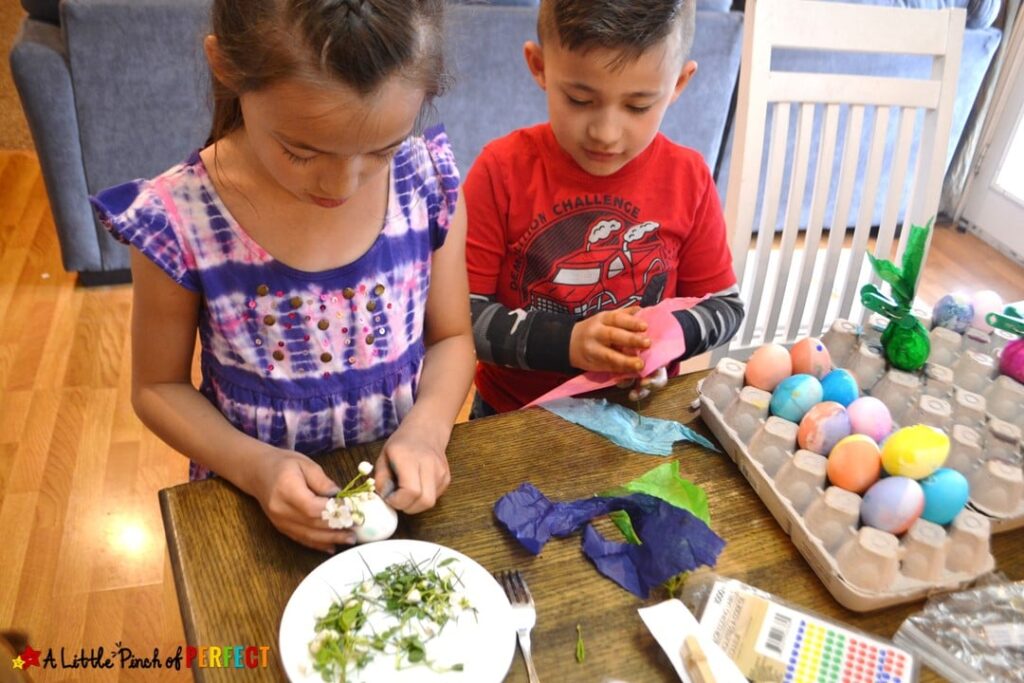
Wrap pieces of tissue paper around the egg and twist at the top to secure the pieces. You may need to add an extra 6in x 6in layer around the outside of the egg to secure any small pieces.
Tip: You may want to remind kids of color mixing combos (red and yellow make orange, blue and yellow make green, all the colors together make brown, etc) to help them select what colors to use on each egg.
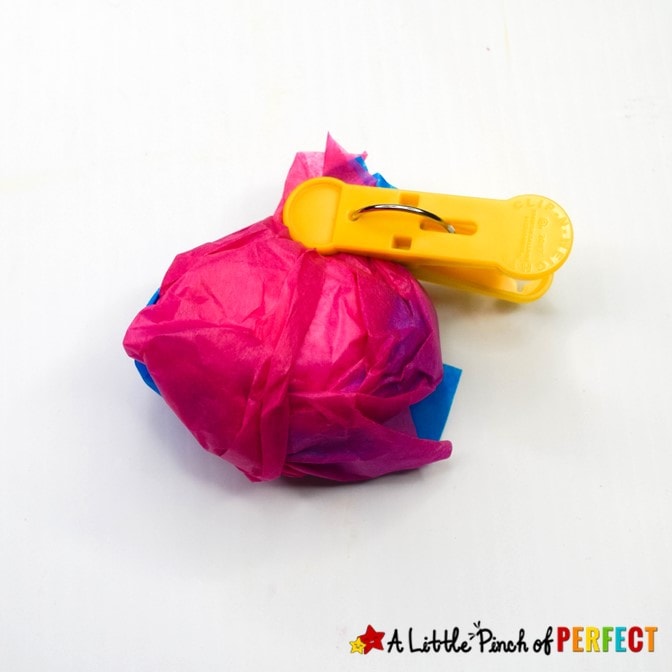
Optional: You can use a clothespin to secure the top and make a handle to hold onto the egg with.
Place vinegar in a bowl and dip the egg in the vinegar. We chose to use vinegar to get nice and bright colors on our eggs.
Optional: You can use water if you have an allergy or sensitivity to vinegar.
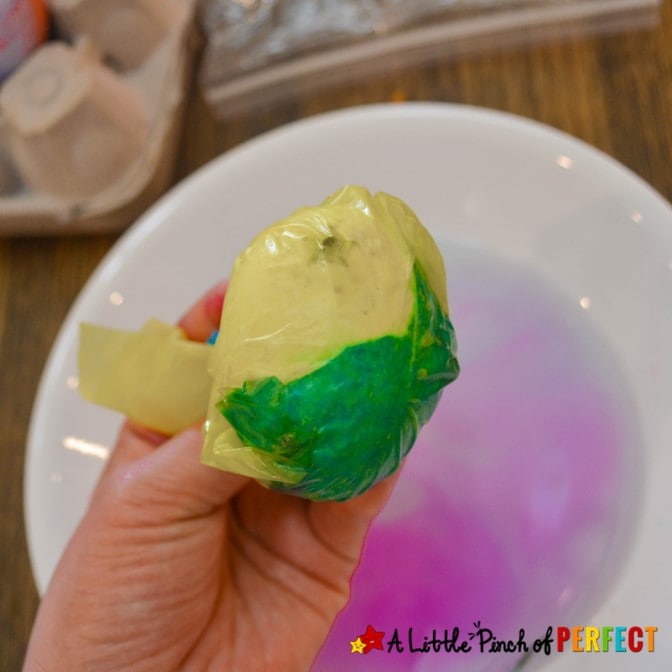
Leave the tissue paper wrapped around the egg and let the egg dry completely.
Tip: You can place your eggs in the egg carton to dry.

Once the egg is dry, unwrap it to reveal your beautiful egg.
PRINT THE DIRECTIONS HERE:
Tissue Paper Egg Dying: An Easy Way to Make Colorful Eggs with Kids
Materials
- Bleeding Tissue Paper (regular tissue paper will not work)
- Vinegar or water (We used vinegar, but I have seen it done with water too)
- Bowl
- Eggs
- Clothespin (optional)
Instructions
- Cut or rip pieces of tissue paper.
- Wrap pieces of tissue paper around the egg and twist at the top to secure the pieces. You may need to add an extra 6in x 6in layer around the outside of the egg to secure any small pieces. You may want to remind kids of color mixing combos (red and yellow make orange, blue and yellow make green, all the colors together make brown, etc) to help them select what colors to use on each egg.You can use a clothespin to secure the top and give yourself a place to hold on if you want.
- Place vinegar in a bowl and dip the egg in the vinegar.
- Leave the tissue paper wrapped around the egg and let the egg dry completely.You can place your eggs in the egg carton to dry.
- Once the egg is dry, unwrap it to reveal your beautiful egg.






One comment