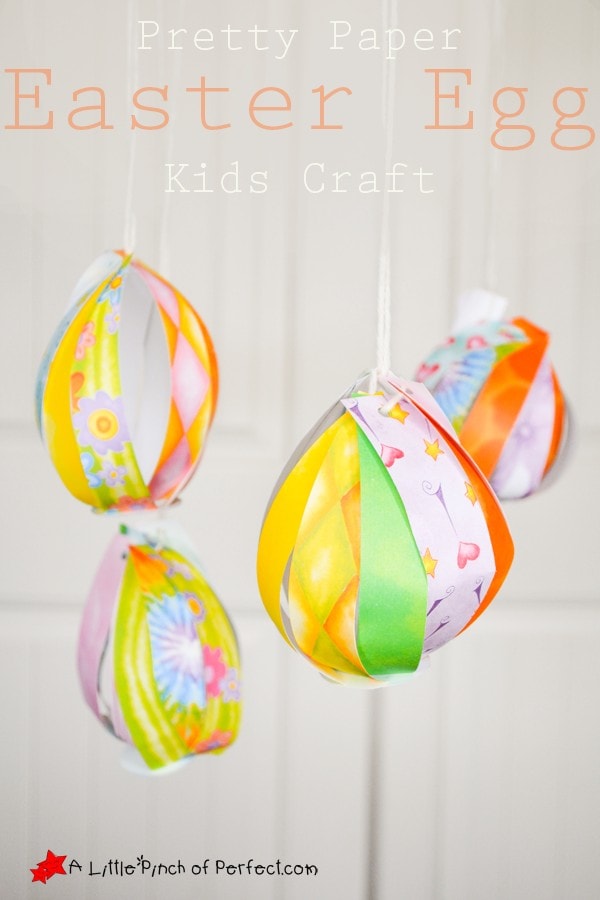
I think our paper eggs turned out beautiful. They are so colorful and delicate looking. They are fun and simple to make, Little Tiger (age 4) enjoyed making them so much she didn’t want to stop. Part of the activity required lacing yarn through a hole and I loved watching her little fingers work so diligently (fine motor skills practice).
Thank you for visiting. This post may contain affiliate links to recommended products at no extra cost to you. Read our Disclosures and Terms of Use. Don't miss out again, become a Reader here <--it's FREE.

You can decorate for Easter by hanging your paper eggs individually or combine them together to create a hanging mobile. Last year we made a simpler (toddler friendly) Easter Egg Wall Decoration using paint samples that you may want to try if you have younger kids. We will be making one again with my son this year.
More Easter Activities
Pretty Paper Easter Egg Kids Craft

| Pin Me Please! 🙂 |
Supplies:
Decorated craft paper/Scrapbook paper approximately 6″x 6″ (We tried using larger paper but we didn’t like it as much)
Cardstock
Scissors
Hole punch
Plastic lid or small circle pattern
Yarn or string
Tape or glue
Embroidery hoop or hanger (optional)
Fishing line (optional)
Directions:
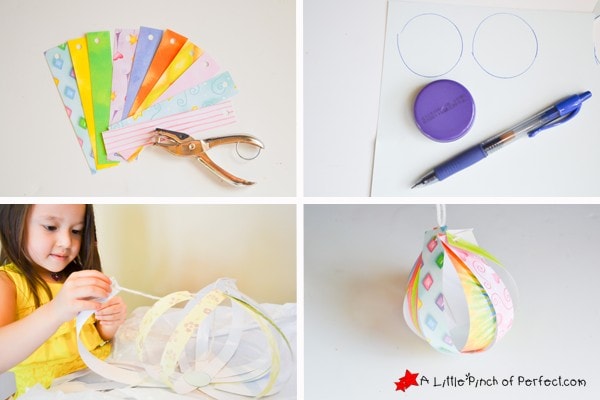
1. Cut he paper into approximately 1 inch strips and use the hole punch to punch a hole at one end of the paper. My daughter was thrilled to be able to try using the hole punch.
2. Draw two circles on the cardstock and cut them out. (The circle on the inside of the egg helps to give the egg its shape. When you are finished, if your egg is not round enough try using a larger circle in the center).
3. Tape or glue the non-hole punched end of your paper strips to the circle making a sun shape. Try to keep your strips of paper as evenly spaced as possible. Tape or glue the second circle on top of the first circle with the paper strips sandwiched in the middle. (We used tape because we were crafting during my sons nap time and didn’t have enough time to wait for glue to dry, if you have the time glue would work great).
4. Take a piece of yarn and thread it through the holes at the end of the paper strips. Make sure to feed the yarn through the outside of the paper strip, into the middle.
5. When you reach your beginning point, thread the yarn through the hole your started from, pull the yarn to pull the strips closed to form an egg shape. Tie the yarn together and your egg is done.
6. If you want to make a mobile, tie the completed eggs to the embroidery loom and use the fishing line to hang it up.

