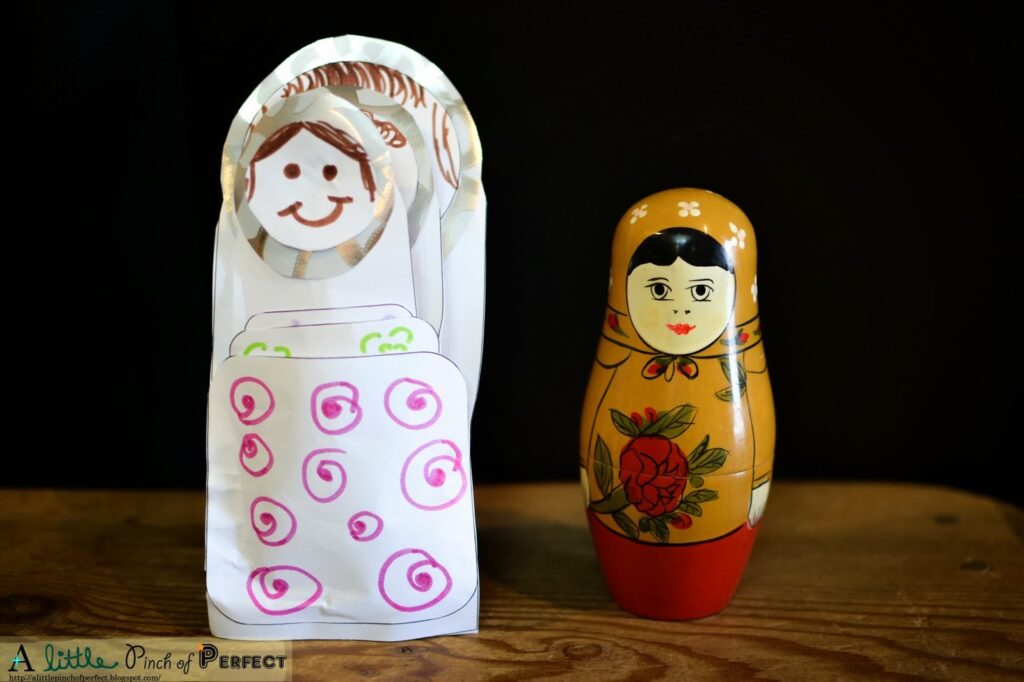
“Matroyshka Doll” or Russian Nesting paper doll activity

- Russian Doll Printout-To speed up the activity, you may want to have all the parts cut out
- Scissors
- White Glue
- Any Colors-markers, pencils
- Craft paper-Construction paper, wrapping paper, scrapbook paper
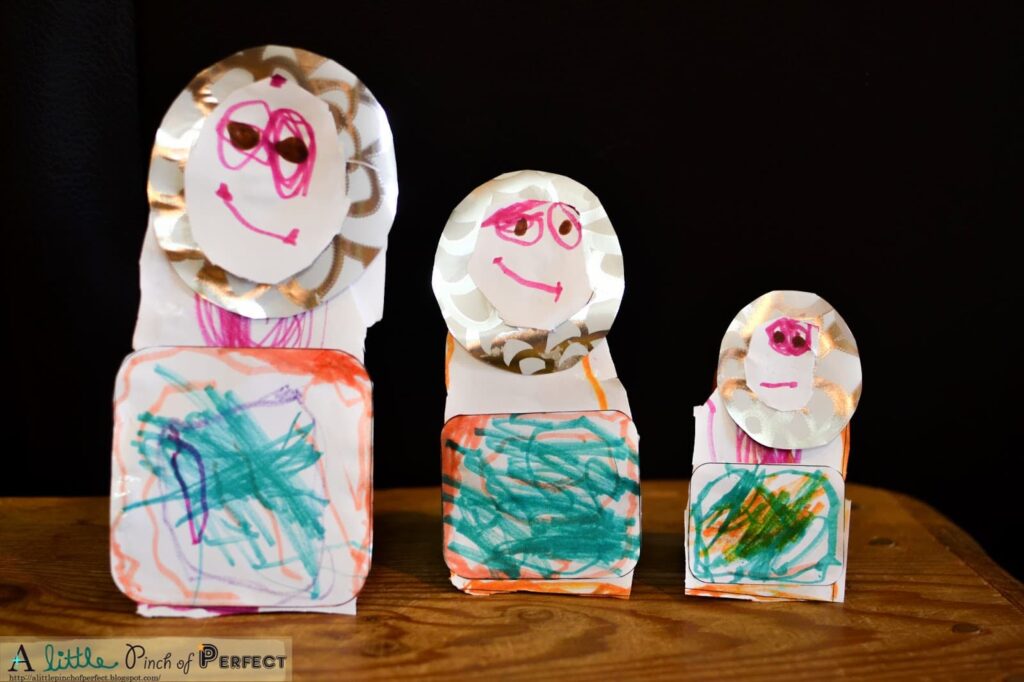
Directions for Making A Russian Nesting Paper Doll
1. Locate the 2 Russian Doll Printouts at the bottom of this page and print one out for each participant.
Thank you for visiting. This post may contain affiliate links to recommended products at no extra cost to you. Read our Disclosures and Terms of Use. Don't miss out again, become a Reader here <--it's FREE.
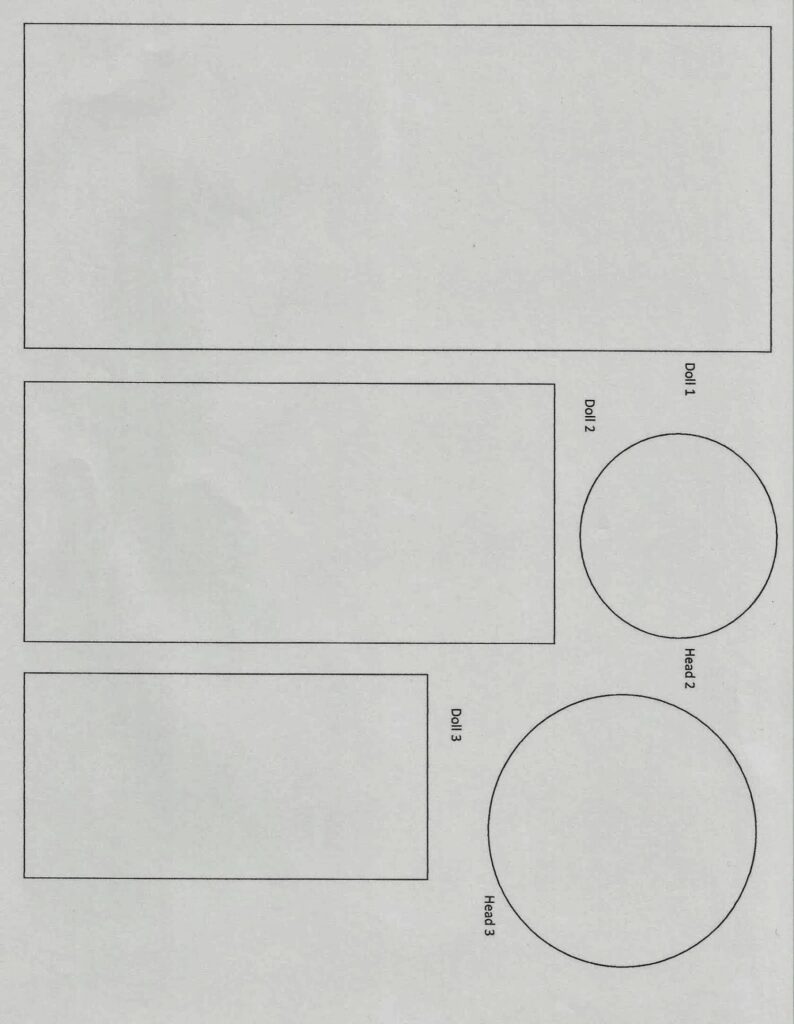
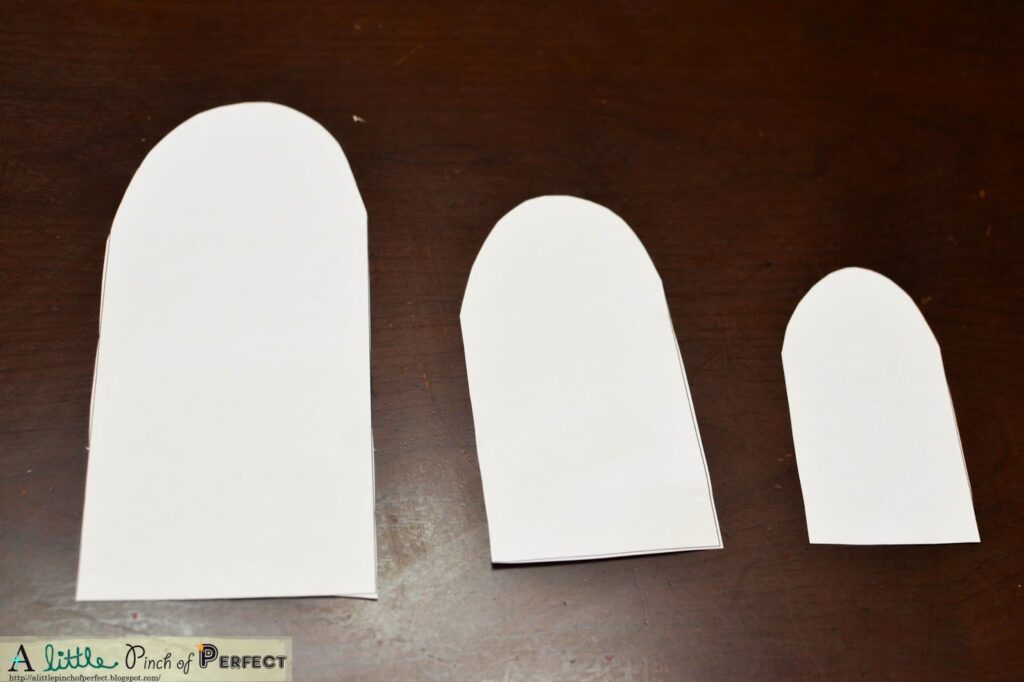
2. Kid Step: Cut out the 3 Doll rectangles, then round the edges at the top. You may want to draw a curve on it for kids to follow.
3. Kid Step: Cut out the 3 doll Head circles
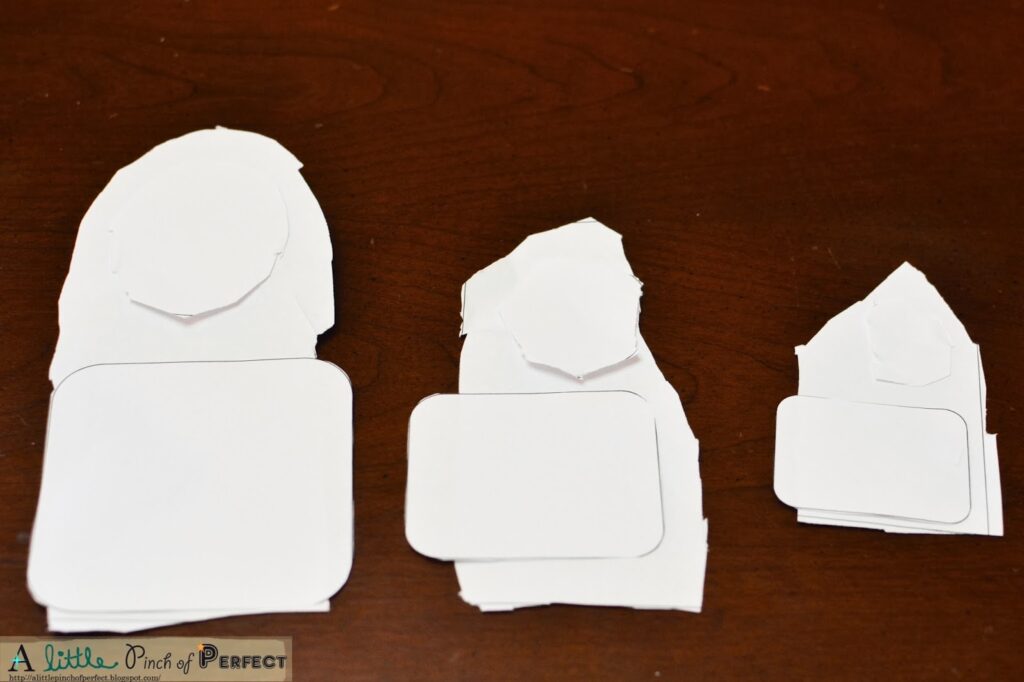
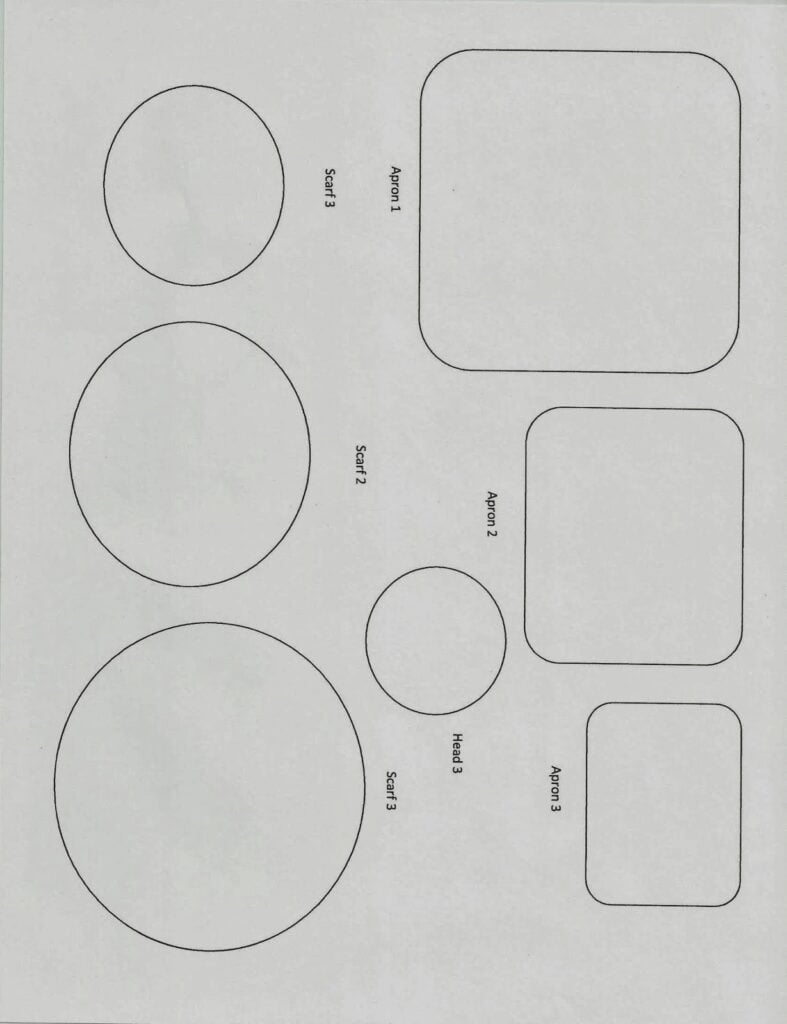
5. Kid Step: Cut out the 3 oval Scarves, trace them onto your chosen craft paper, and cut them out.

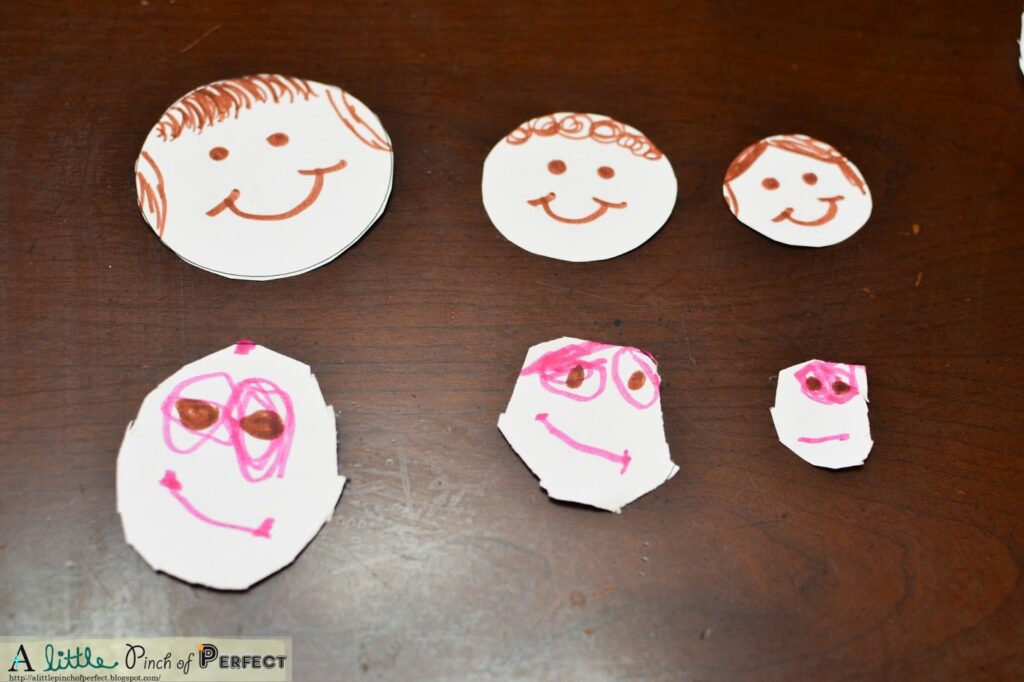
6. Kid Step: Draw faces on the 3 doll Heads
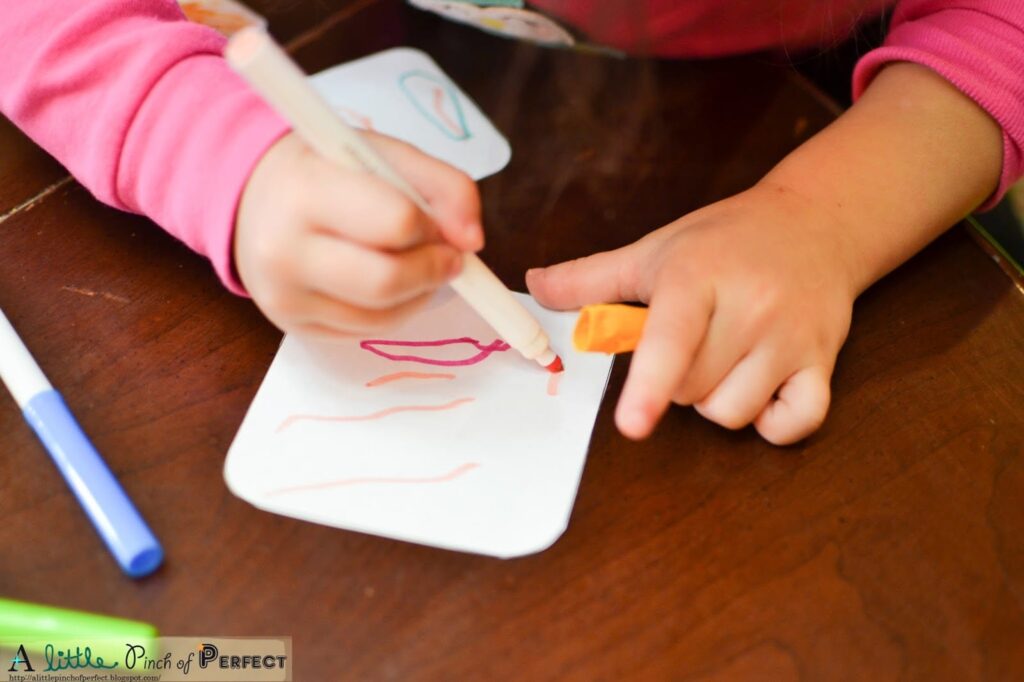
7. Kid Step: Color each Apron
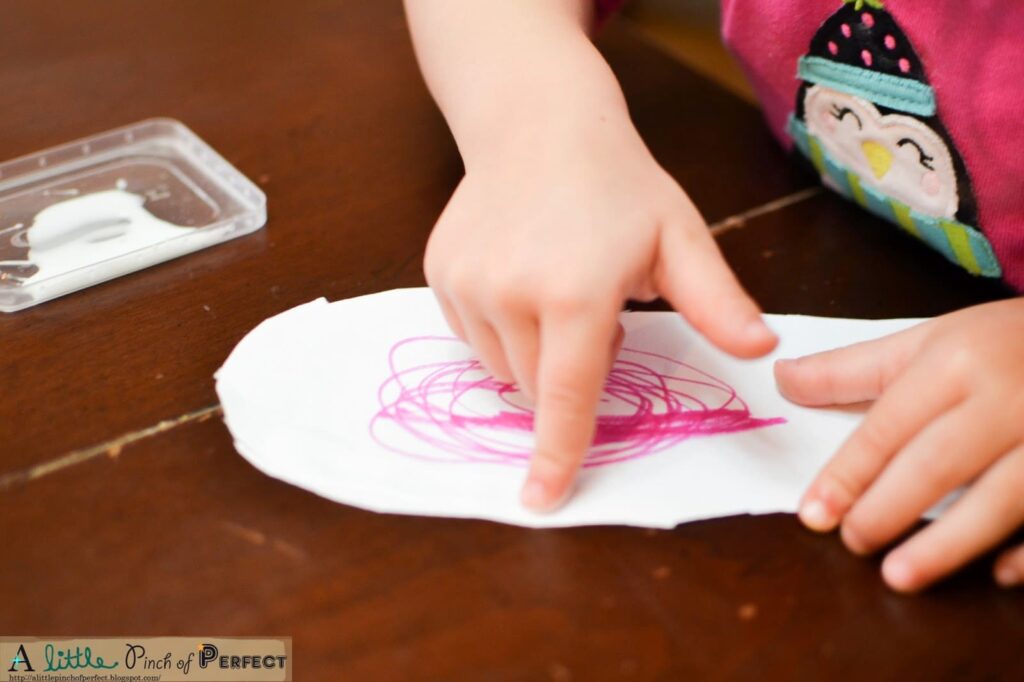
8. Kid Step: Glue the Dolls together. To make it easier for kids to glue, squeeze some glue into a lid and let them use their fingers. It sounds messier, but it’s easier for little hands and helps avoid huge blobs of glue.
9. Glue the Head onto the Scarf. In my example I centered the head, however when I made the pattern I was thinking the bottom of each circle could line up.
10. Glue the Apron to the Doll. Make sure you only glue the sides and bottom, leave the top glue free so it forms a pocket for nesting. You may want to draw a line on the back of the apron so the kids know where to glue, or instead of glue, you can tape the edges of the apron onto the doll. Too much glue will make it hard for the dolls to nest. All done!

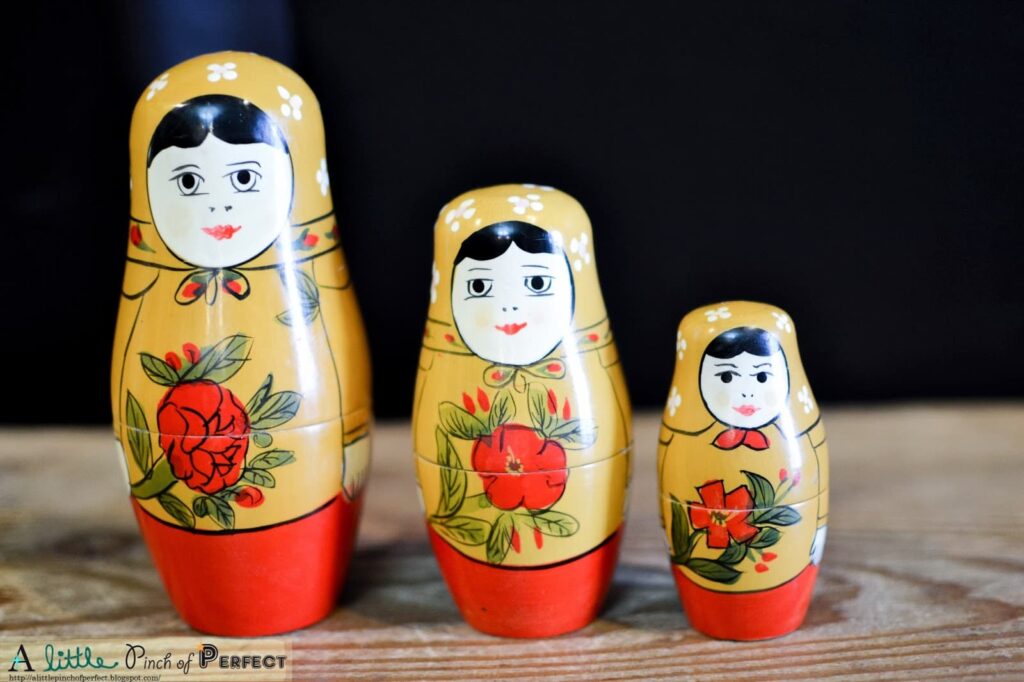
What a neat idea. I’m in the process of doing research on nesting dolls and whether or not they are suitable toys for children and I think this is a perfect craft project for kids.
At first I wasn’t sure how safe a nesting doll set would be for young kids but with the paper dolls you have solved that problem. Even better you can easily make as many dolls as you like 🙂
Thank you for sharing this!