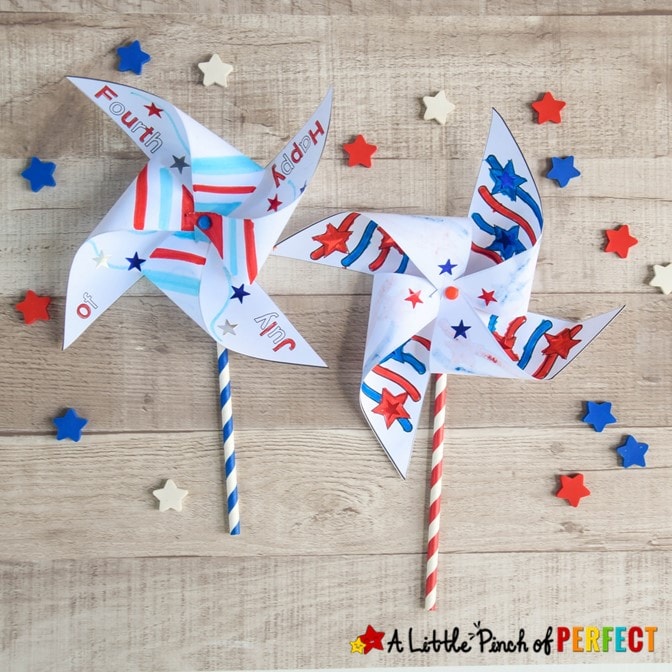
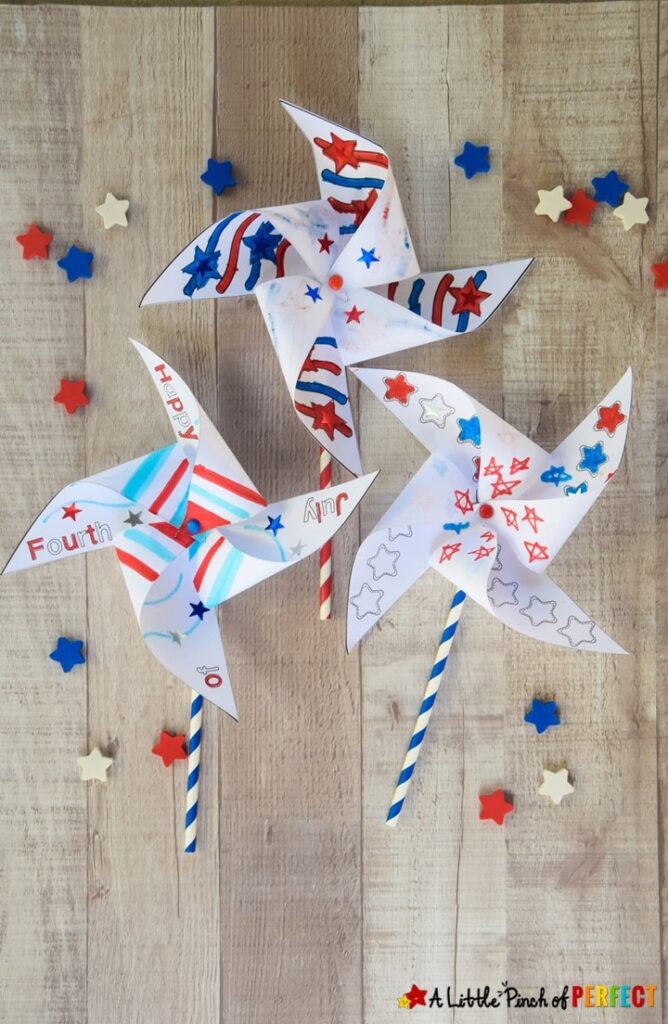
Download and print our free 4th of July Pinwheel craft for your kids to color, decorate, and put together. The download includes 3 templates including stars, stripes, and the phrase, “Happy Fourth of July.”
Kids can decorate and make their own Fourth of July pinwheel that can spin in the summer breeze. They will love watching it go round and round. When they are ready to put their pinwheels down, stick them in a small vase or flower pot to make a cute 4th of July decoration made by your kids.
Thank you for visiting. This post may contain affiliate links to recommended products at no extra cost to you. Read our Disclosures and Terms of Use. Don't miss out again, become a Reader here <--it's FREE.
Your kids may also like making an American Flag Popsicle Stick Craft (Free template) to add to the festive decorations.
My kid’s (age 10, 8, and 2) each LOVED making their pinwheels. Each one decorated their template to make it uniquely theirs.


What Glue to Use?
We used a glue gun so the pinwheels would be assembled quickly and strongly without having to wait for long drying times. Since the parts that need to be glued are really small, adults should do the gluing so no one gets burned. I also suggest using a low-temp hot glue gun so even adults don’t get seriously burned. If you are at all worried about glue gun safety you could use tacky glue or E6000 Adhesive (which is one of my favorite glues to use). The reason I suggest these types of glues over school glue is so the parts are attached well since the pinwheels will be blowing in the wind.

4th of July Pinwheel Kids Craft
If you like our 4th of July Pinwheel Craft for kids I would love for you to PIN IT! It helps you SAVE the ideas and others discover them too, which helps us bring you more AWESOME CONTENT like this.

SUPPLIES:
- Fourth of July Pinwheel template (Available to download toward the end of this post)
- Supplies to Color With: Markers, Colored Pencils, and/or Crayons (I would not suggest using paint because a soggy pinwheel will not spin very well)
- Supplies to Decorate With: 4th of July Stickers, Star Stickers (Keep in mind that too many stickers may weigh down the pinwheel and make it harder to spin.)
- Metal brads (We used this set of Metal Brads because it comes with lots of colors)
- Scissors
- Hole punch (I like this mini circle hole punch)
- Straw
- Button (optional)
- Glue (We used hot glue with a low-temp hot glue gun. Children should not glue their craft together for safety since the parts are small)
DIRECTIONS:
For your convenience, Printable Directions are available towards the end of this post.
Print out the template on white paper. We used regular printer paper.
Let children color and decorate their pinwheels. This is where they get to have fun making it their kind of “perfect!”
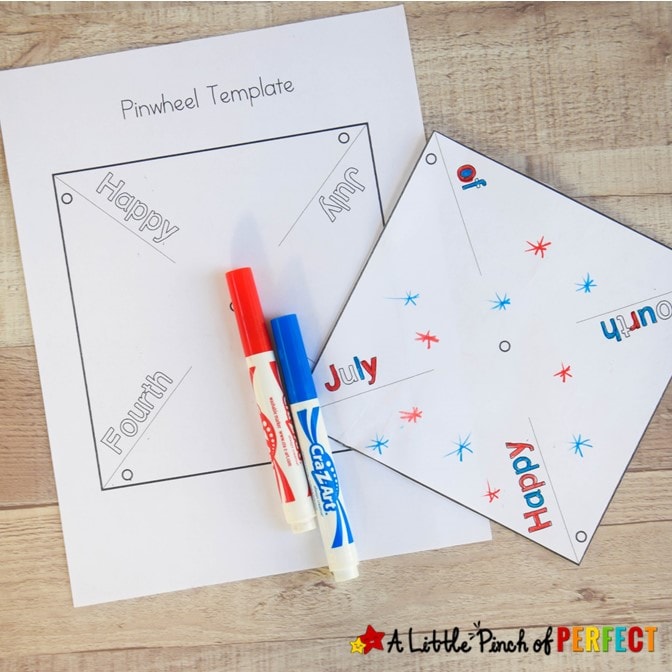
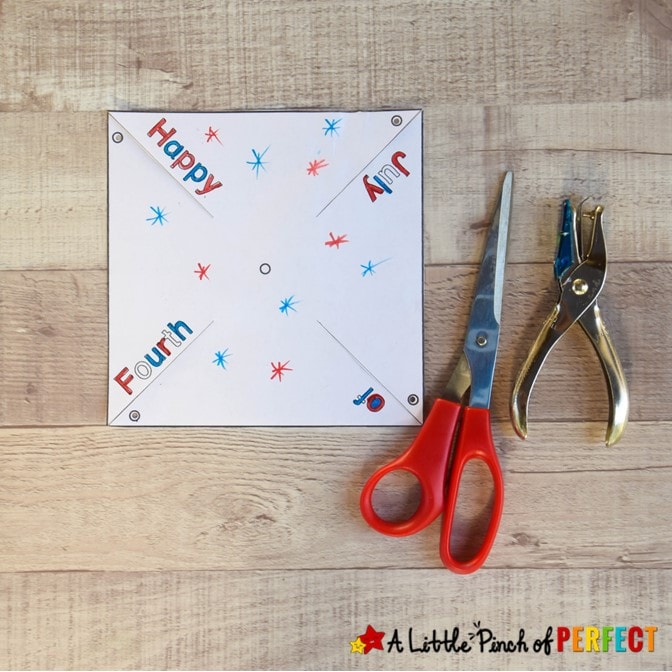
When they are done have them cut out their pinwheel. They should follow along the outside of the square and then cut on the four diagonal lines. Make sure they don’t cut all the way to the middle. If they accidentally cut too far, use some clear tape to fix it. (No need to worry).
Use the hole punch to punch one hole in each of the circles.
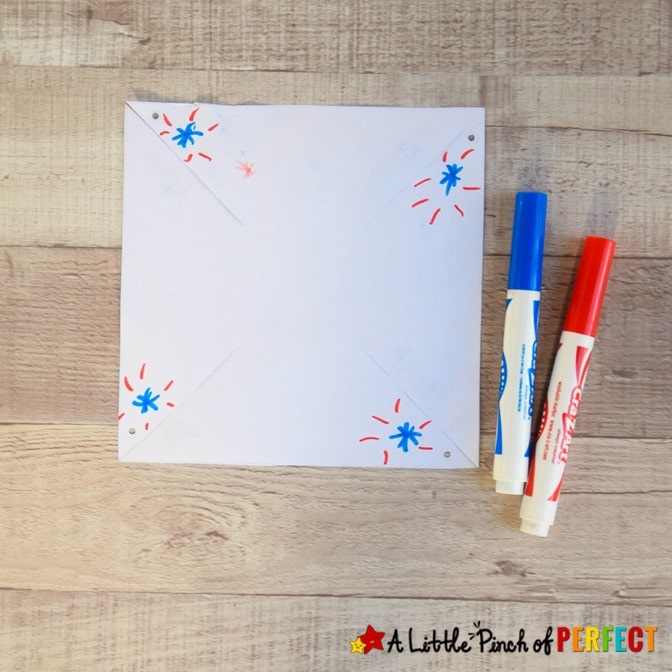
Optional: Turn the pinwheel over to the backside. Decorate the pinwheel near each hole. Once assembled, this part will be the center of the pinwheel. Turn the pinwheel over to the frontside again and continue to the next step.
To assemble the pinwheel start with one corner, bend it towards the center making sure NOT to fold or crease it. Hold the metal brad above the center of the pinwheel with the flat part at the top and the metal tabs facing down (like a mushroom). Put the brad through the hole and continue to the next corner until all four corners are secured.

Bend the ends of the brad to keep the pinwheel in place.
Optional: Glue a small button to the back of the brad. This allows more room for the pinwheel to spin.
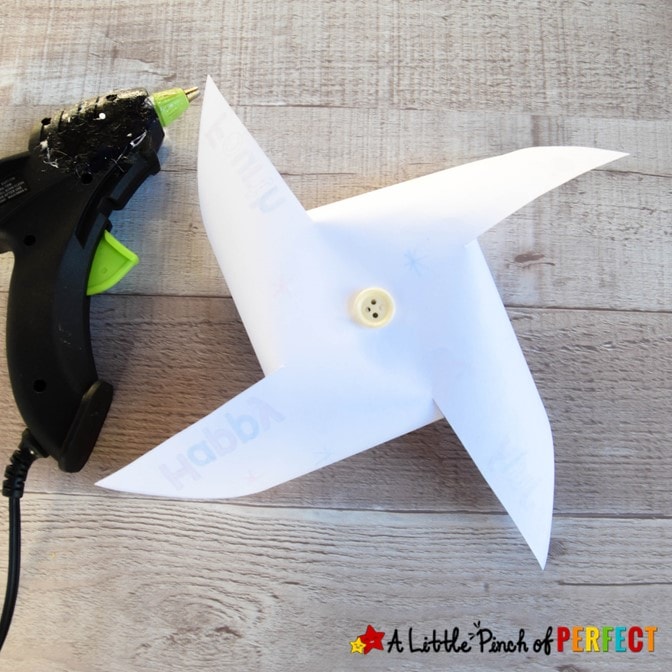
TIP: MAKE SURE NOT TO GLUE THE PINWHEEL OR IT WON’T SPIN.
Glue the back of the brad or button to the top of the straw.
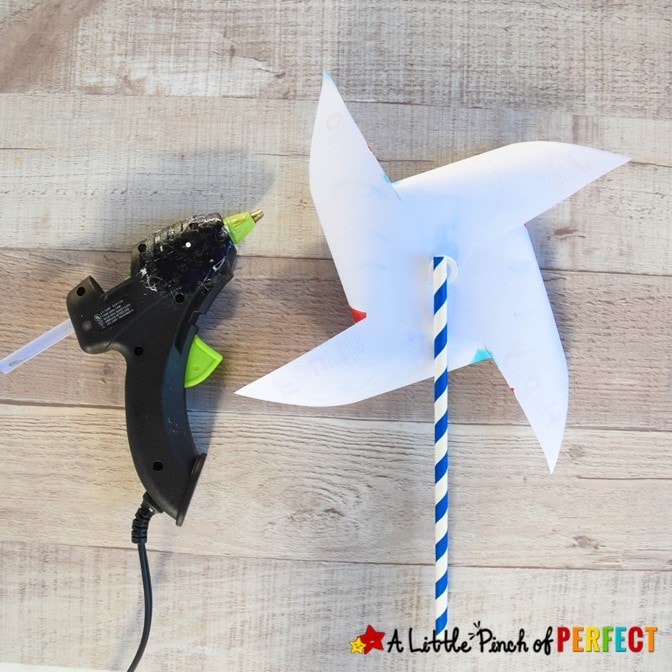
Now the pinwheel is ready to spin for the Fourth of July!
GET THE TEMPLATE HERE:
Don’t see the box? CLICK HERE to be directed to the download. Please share and pin our printable ?
PRINT THE DIRECTIONS HERE:
Fourth of July Pinwheel Kids Craft and Free Template
Instructions
- Print out the template on white paper. We used regular printer paper.Let children color and decorate their pinwheel. This is where they get to have fun making it their kind of "perfect!"When they are done have them cut out their pinwheel. They should follow along the outside of the square, and then cut on the four diagonal lines. Make sure they don't cut all the way to the middle. If they accidently cut too far, use some clear tape to fix it. (No need to worry).Use the hole punch to punch one hole in each of the circles. Optional: Turn the pinwheel over to the backside. Decorate the pinwheel near each hole. Once assembled, this part will be the center of the pinwheel. Turn the pinwheel over to the frontside again and continue to the next step.To assemble the pinwheel start with one corner, bend it towards the center making sure NOT to fold or crease it. Hold the metal brad above the center of the pinwheel with the flat part at the top and the metal tabs facing down (like a mushroom). Put the brad through the hole and continue to the next corner until all four corners are secured. Bend the ends of the brad to keep the pinwheel in place.Optional: Glue a small button to the back of the brad. This allows more room for the pinwheel to spin. MAKE SURE NOT TO GLUE THE PINWHEEL OR IT WONT SPIN.Glue the back of the brad or button to the top of the straw.Now the pinwheel is ready to spin for the Fourth of July!
