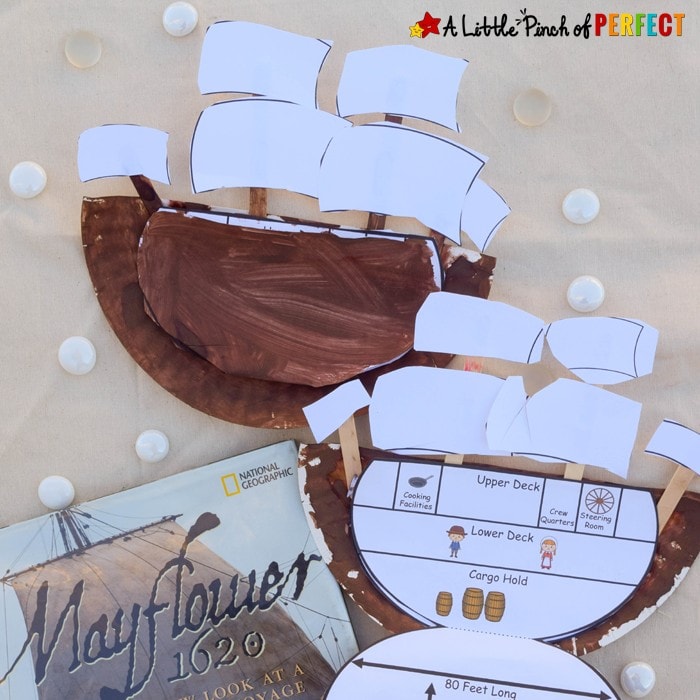
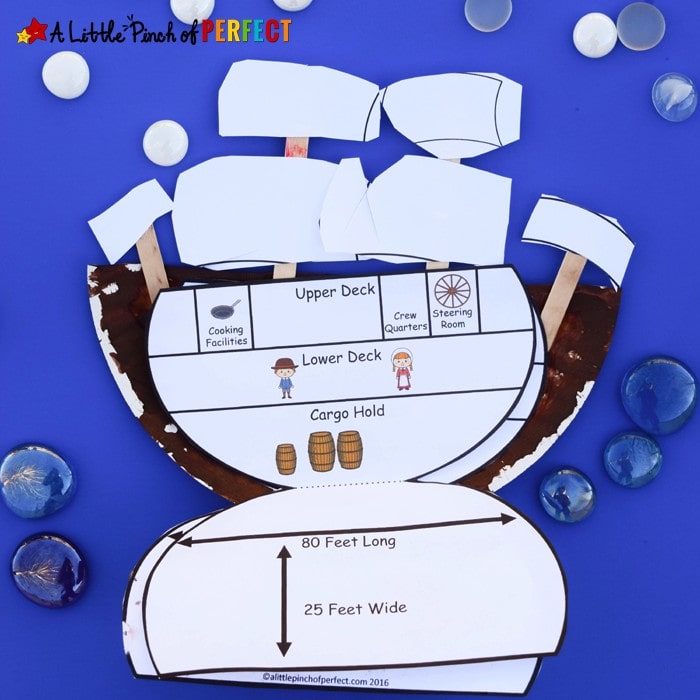
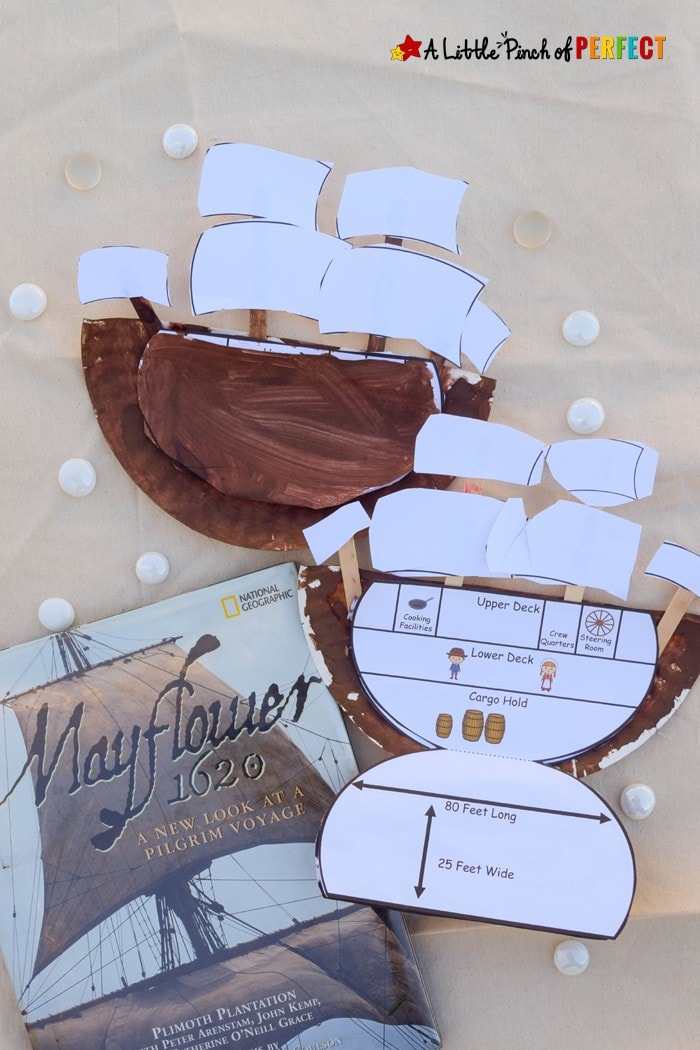
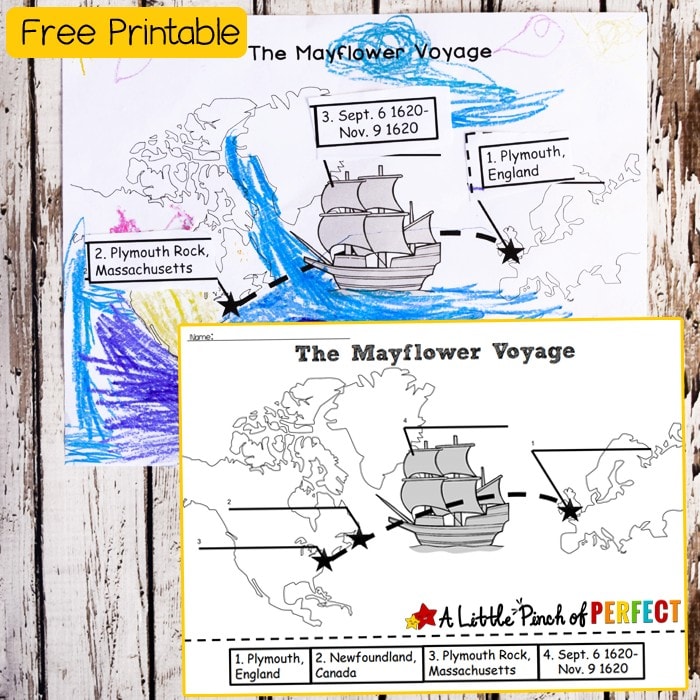
Explore the Mayflower with kids this Thanksgiving while they make an easy craft and learn American history. The free template comes with a cut and fold diagram of the inside of the Mayflower that kids can open and close. It also comes with 6 sails to to add onto 4 masts for a crafty replica of the famous ship. To go along with our history activity we also watched some video clips and read some books together. When we were done with this activity my kids could tell you about the different layers of the Mayflower (upper deck, lower deck, and cargo hold), who was on the Mayflower, how many people where on the Mayflower, where they sailed from, where they landed, and much more. While you are here make sure to check out all our Thanksgiving Activities.
Thank you for visiting. This post may contain affiliate links to recommended products at no extra cost to you. Read our Disclosures and Terms of Use. Don't miss out again, become a Reader here <--it's FREE.
SUGGESTED BOOKS:
BECAUSE ALL ACTIVITIES ARE BETTER WITH A BOOK!
Click photos: Affiliate links to more information on these books we love!
(Purchases through affiliate links earn us a small commission with no extra cost to you. See our Disclosure Policy here.)
Suggested Video:
Inside the Mayflower Paper Plate Craft
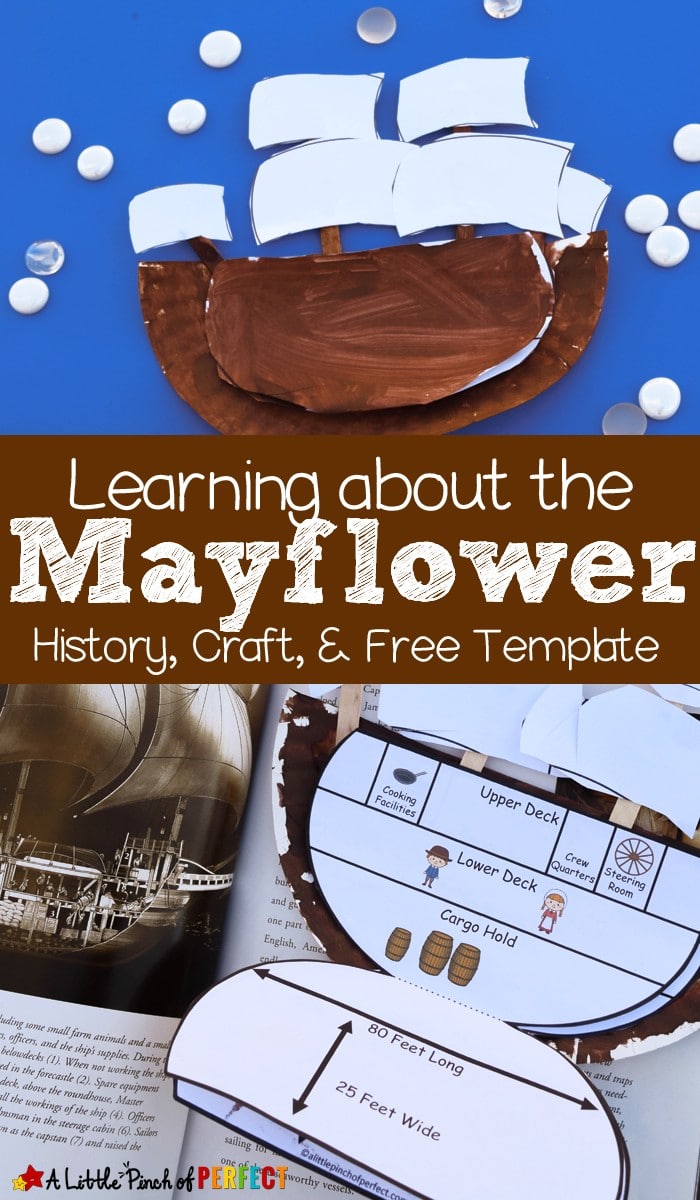
Supplies:
Mayflower craft template printed on white paper
Paper plate
Brown paint
Paint brush
Scissors
Glue
2 Regular sized popsicle sticks![]() -affiliate link
-affiliate link
2 Small sized popsicle sticks![]() -affiliate link
-affiliate link
White craft paper
Directions:
Cut paper plate in half, have child paint the top brown, and set it aside to dry.

Have child cut out the craft template making sure not to cut on the dotted line of the boat template.
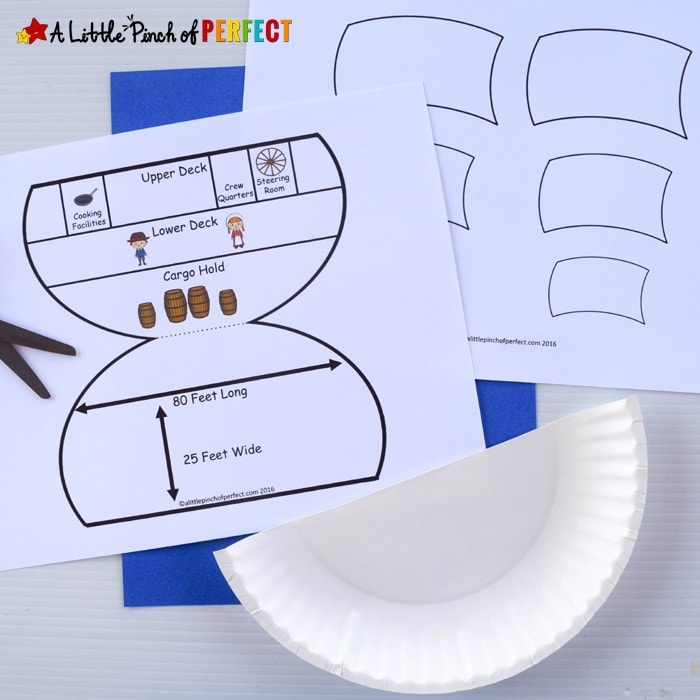
Have child fold the boat template on the dotted line and paint the outside brown (on the reverse side of the boat measurements) so when the template is on the boat it will be brown like the boat.
Have child glue the two tall popscile sticks towards the middle of the boat and the two smaller popscile sticks towards the front and back of the boat.
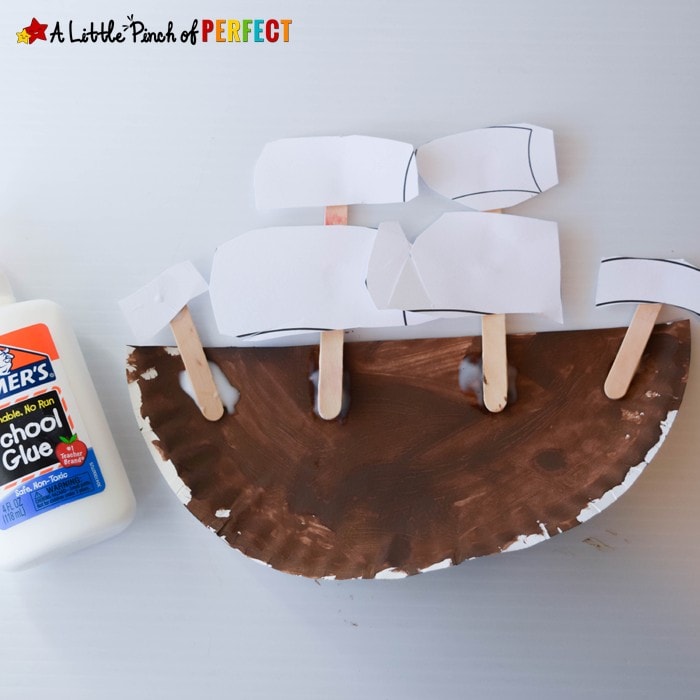
Have child glue the sails on. As we did this part we talked about the difference of engine boats and sailboats. Before we glued the sails on we blew them across the table. The Mayflowers sail power managed to travel at a 2 mile per hour–they were cruisin’!

Have child glue the boat template on making sure to only put glue on the reverse side of the boat deck layers.

The Mayflower had 3 levels. The upper deck was mostly reserved for the crew. The lower deck was where the pilgrims remained. I can’t even imagine being inside a boat with 102 people for about 2 months. This area was less than 6 feet tall–cramped, I think yes! The lower deck is where they kept the supplies.

DOWNLOAD THE PRINTABLE HERE:
Don’t see the box? CLICK HERE to be directed to the download. Please share and pin our printable ? While you are here, take a look at more of our Free Printables.
PRINT THE DIRECTIONS HERE:
Learning about the Mayflower Paper Plate Craft
Materials
- Mayflower craft template printed on white paper
- Paper plate
- Brown paint
- Paint brush
- Scissors
- Glue
- 2 Regular sized popsicle sticks-affiliate link
- 2 Small sized popsicle sticks-affiliate link
- White craft paper
Instructions
- Cut paper plate in half, have your child paint the top brown, and set it aside to dry.
- Have your child cut out the craft template making sure not to cut on the dotted line of the boat template.
- Have child fold the boat template on the dotted line and paint the outside brown (on the reverse side of the boat measurements) so when the template is on the boat it will be brown like the boat.
- Have child glue the two tall popscile sticks towards the middle of the boat and the two smaller popscile sticks towards the front and back of the boat.
- Have child glue the sails on.
- Have child glue the boat template on making sure to only put glue on the reverse side of the boat deck layers.




What a cute idea! Using this for our lesson! Thank you!