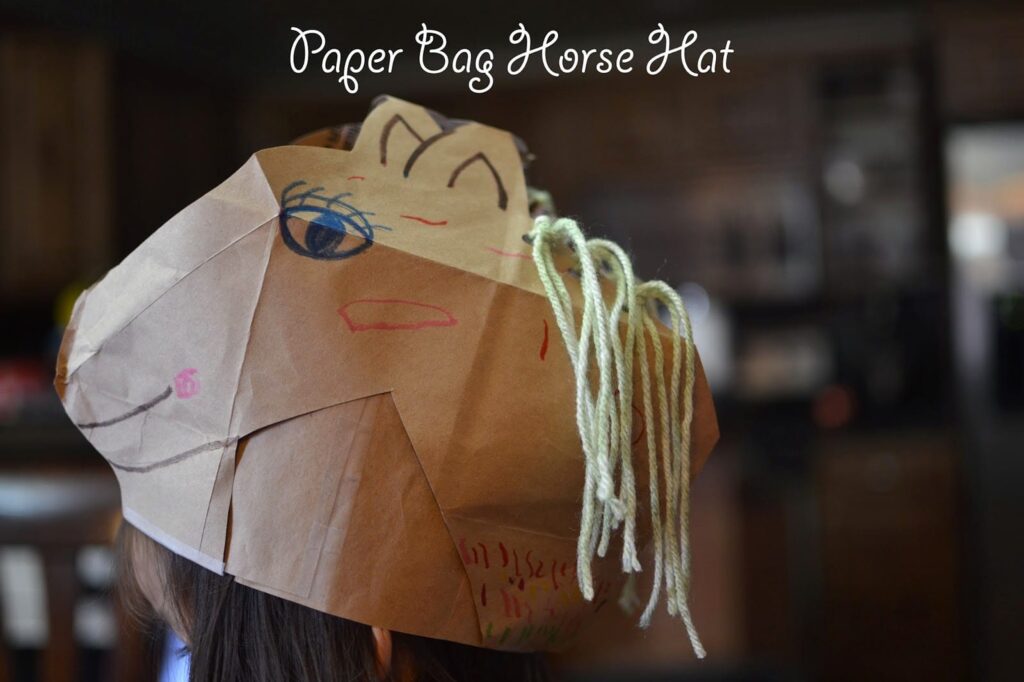
A cute and simple to make paper bag horse hat that doesn’t require a lot of supplies or clean up. Your kid will be prancing and galloping in no time.
Thank you for visiting. This post may contain affiliate links to recommended products at no extra cost to you. Read our Disclosures and Terms of Use. Don't miss out again, become a Reader here <--it's FREE.
Giddy up, little cowboys and cowgirls! Today we’re turning ordinary paper bags into adorable horses with flowing yarn manes. This craft is perfect for kids who love animals, imaginative play, or just getting a little messy with glue and yarn. Not only is it super simple, but it also doubles as a fun puppet for storytelling, pretend ranch adventures, or just a barn full of new friends. Grab your paper bags and yarn—we’re about to trot into a world of creativity!
You might also like this Horse craft for kids.
In light of the Chinese New Year, Year of the Horse, I thought we needed to make a Horse craft. My daughter and I came up with this craft. She had so much fun decorating her horse and running around like a pony afterwards. We are going to have a good Chinese New Year. I hope you do too! Fun information of the Year of the Horse.
Paper Bag Horse Hat Kids Craft
Step By Step:
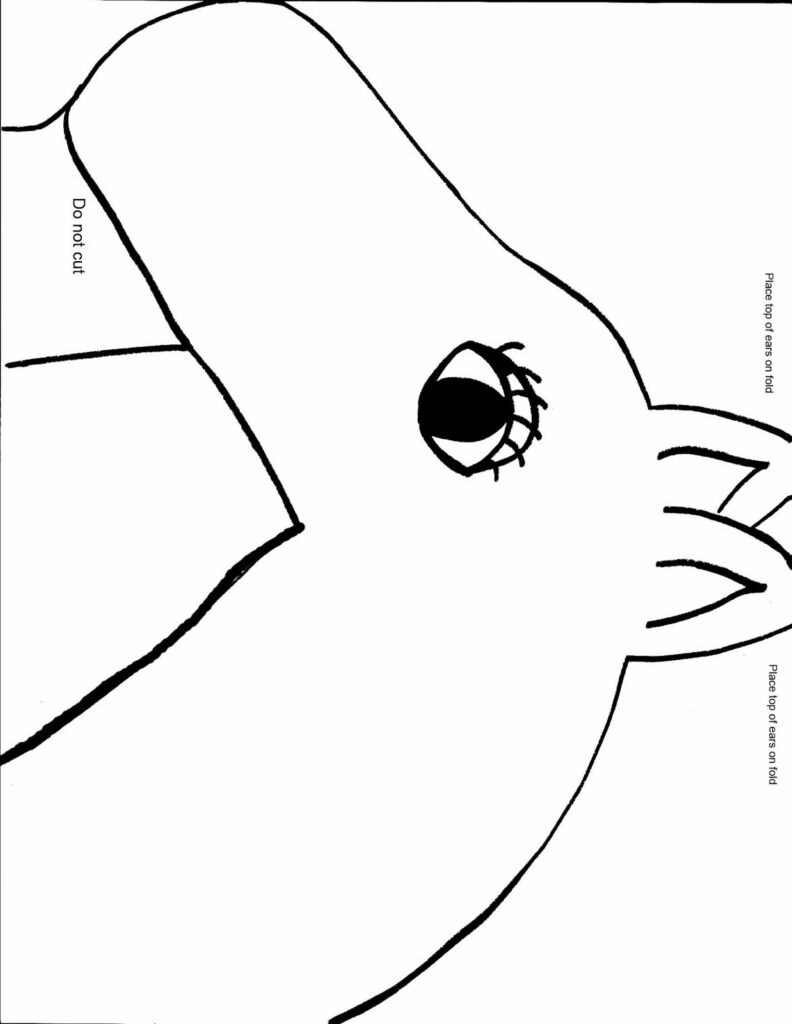
 1. Locate the Horse Hat Printout at the bottom of this page, print it out, and cut out the outside edges. I provided printing directions with the printout.
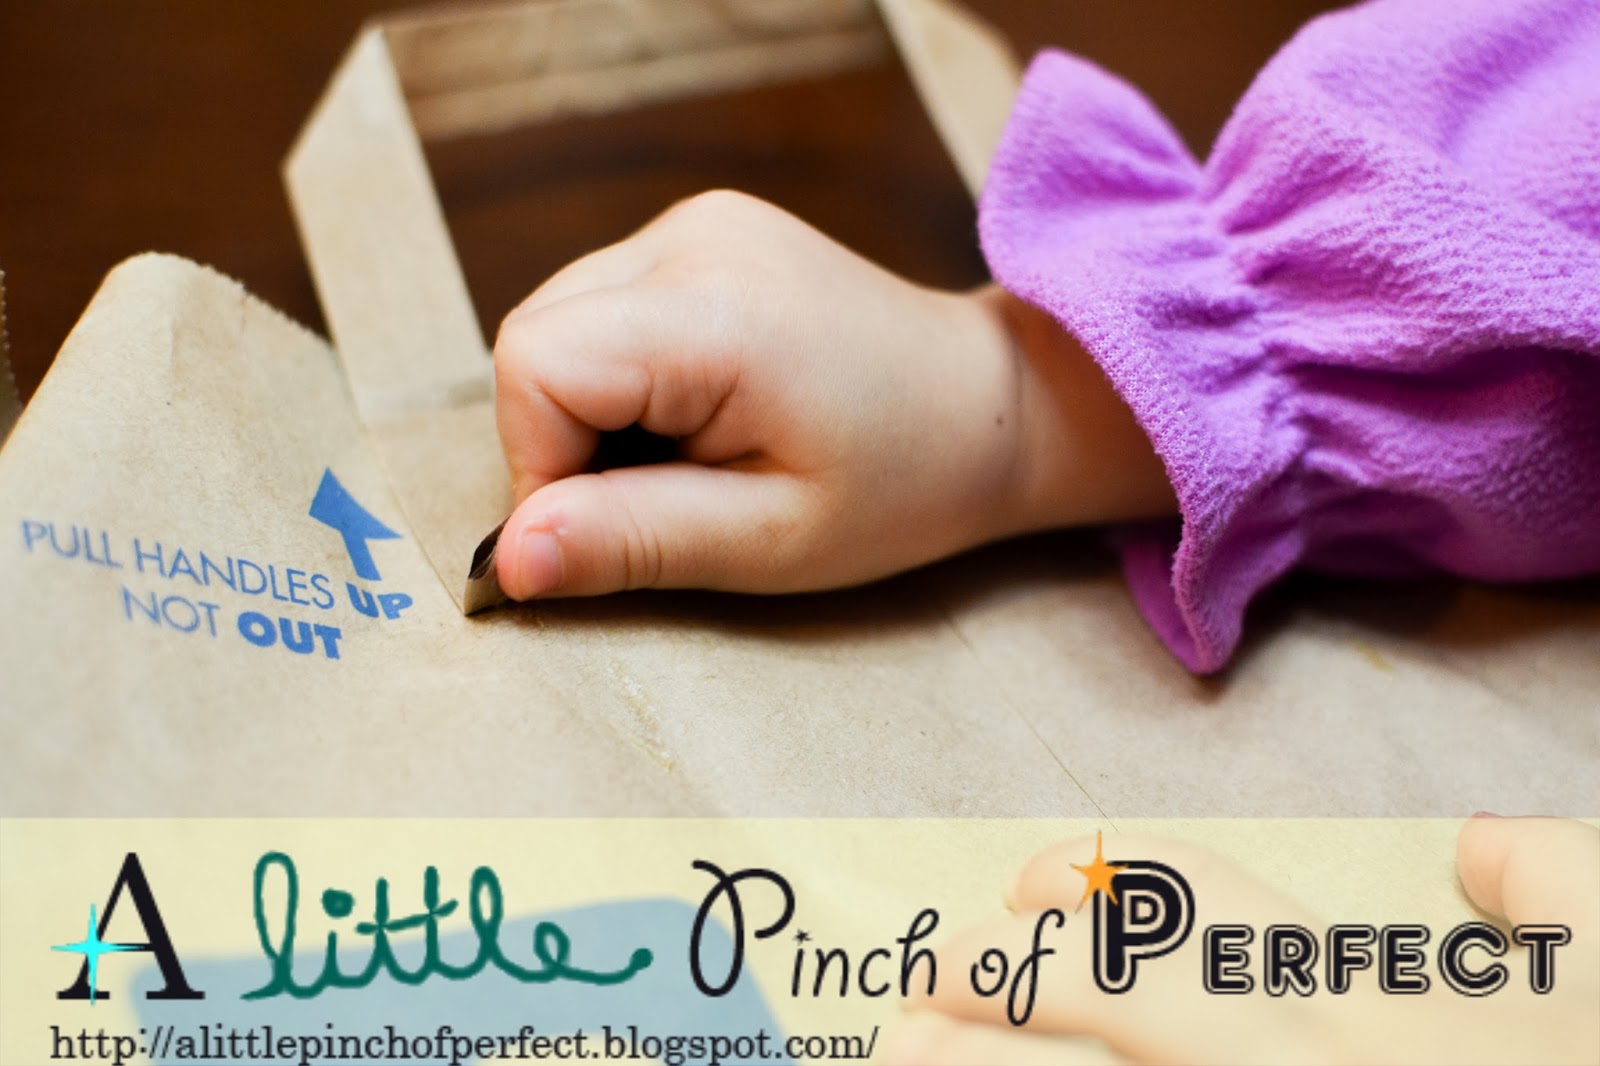

 4. Kid Step: Cut along one of the side creases on the paper bag. Then, fold the bag again along one of the original side creases. Make sure it lays flat and is only 2 layers thick all over. Place the Horse Hat printout with the ears at the top of the creased edge.
 5. Kid Step: Trace the horse onto the bag and then cut it out. Open it up so the inside of the bag is now on the outside and decorate the horse.
Create a mane-Choose Regular or Extra Pinch Directions
-
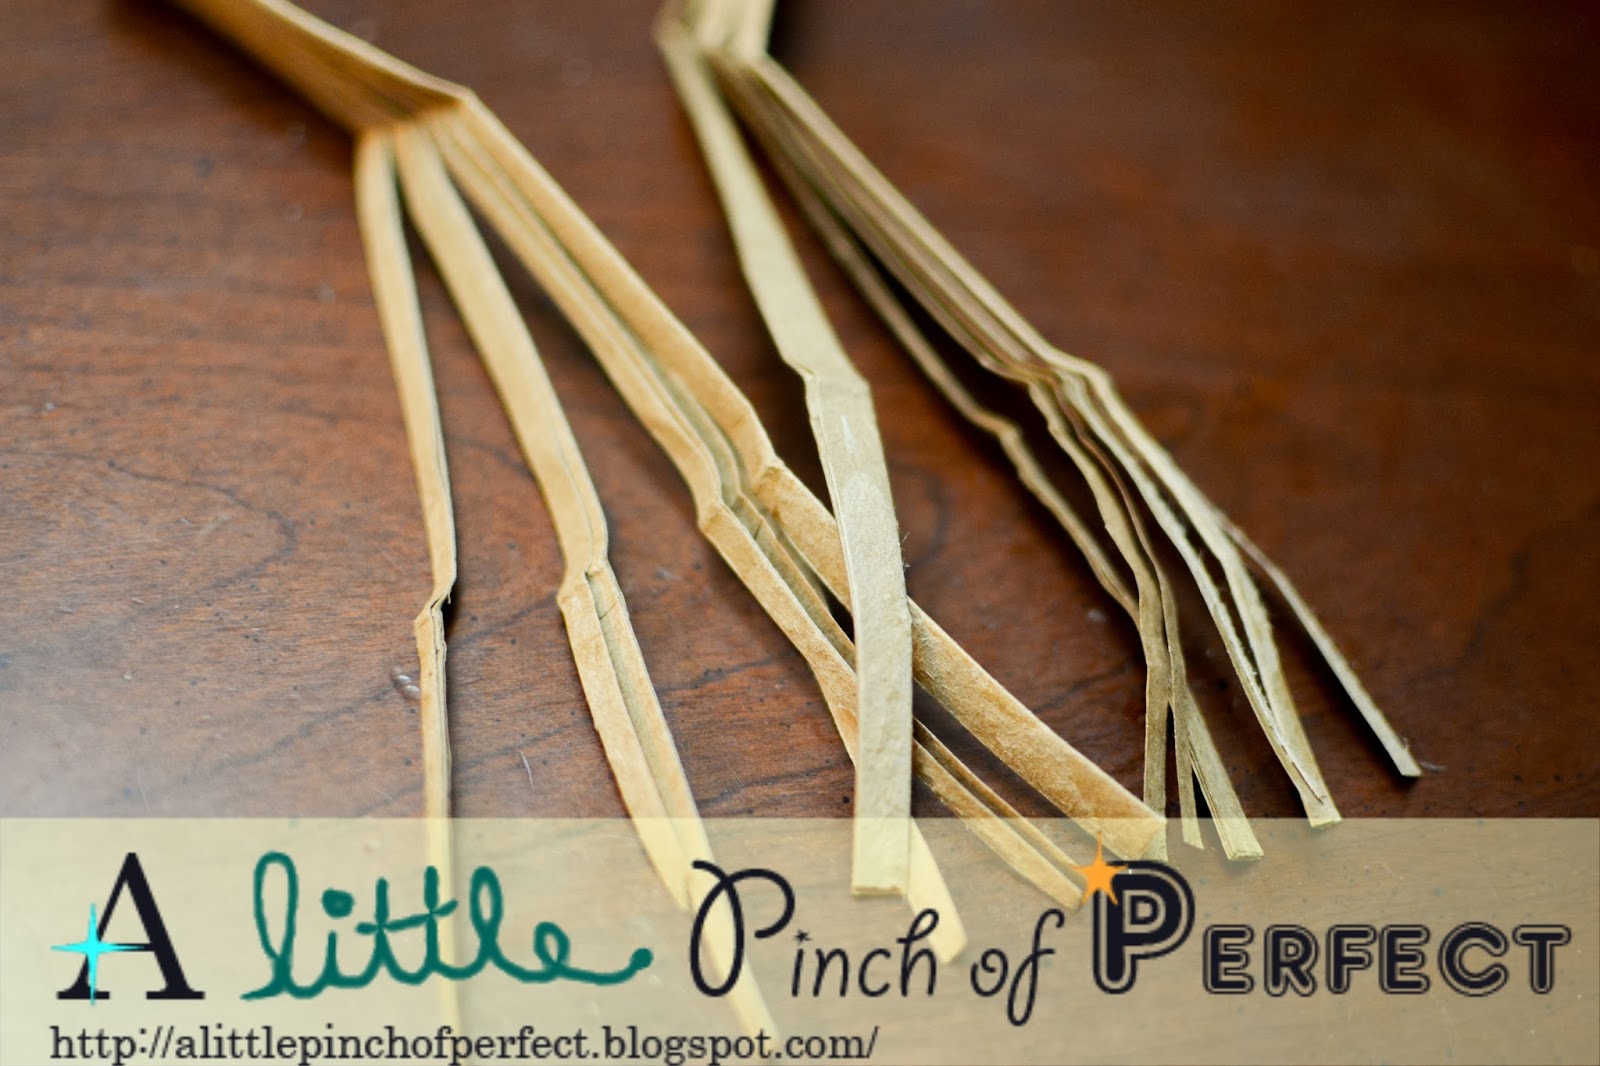
- 6. Regular:

-
- Take the handles of the bag and cut strips to look like hair.
- Tape to the inside of the horse
- 6. Extra Pinch:
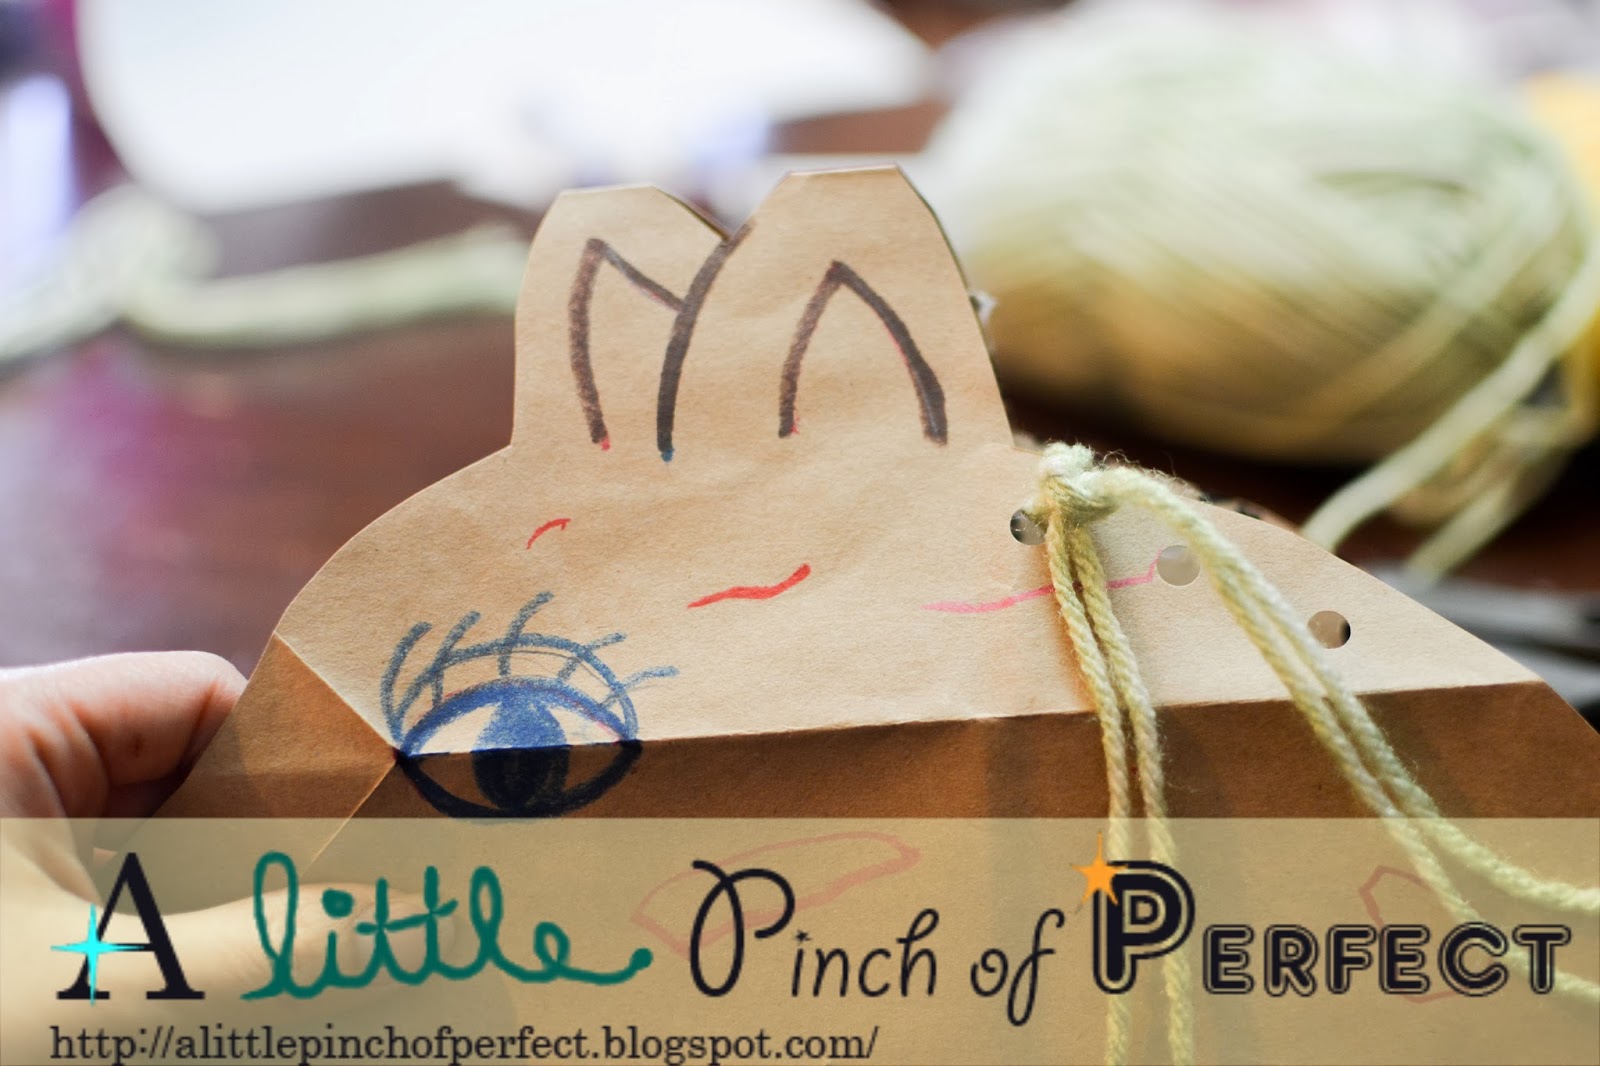
- Kid Step: If you have yarn, it looks really cute if you make a yarn mane. To do this, punch 3 holes at the top of the horses with a hole punch or scissors.
-
- Kid Step: Then cut twelve 13 in. pieces of yarn. String two pieces of yarn through each hole until it reaches the middle. Tie a knot to secure the yarn.
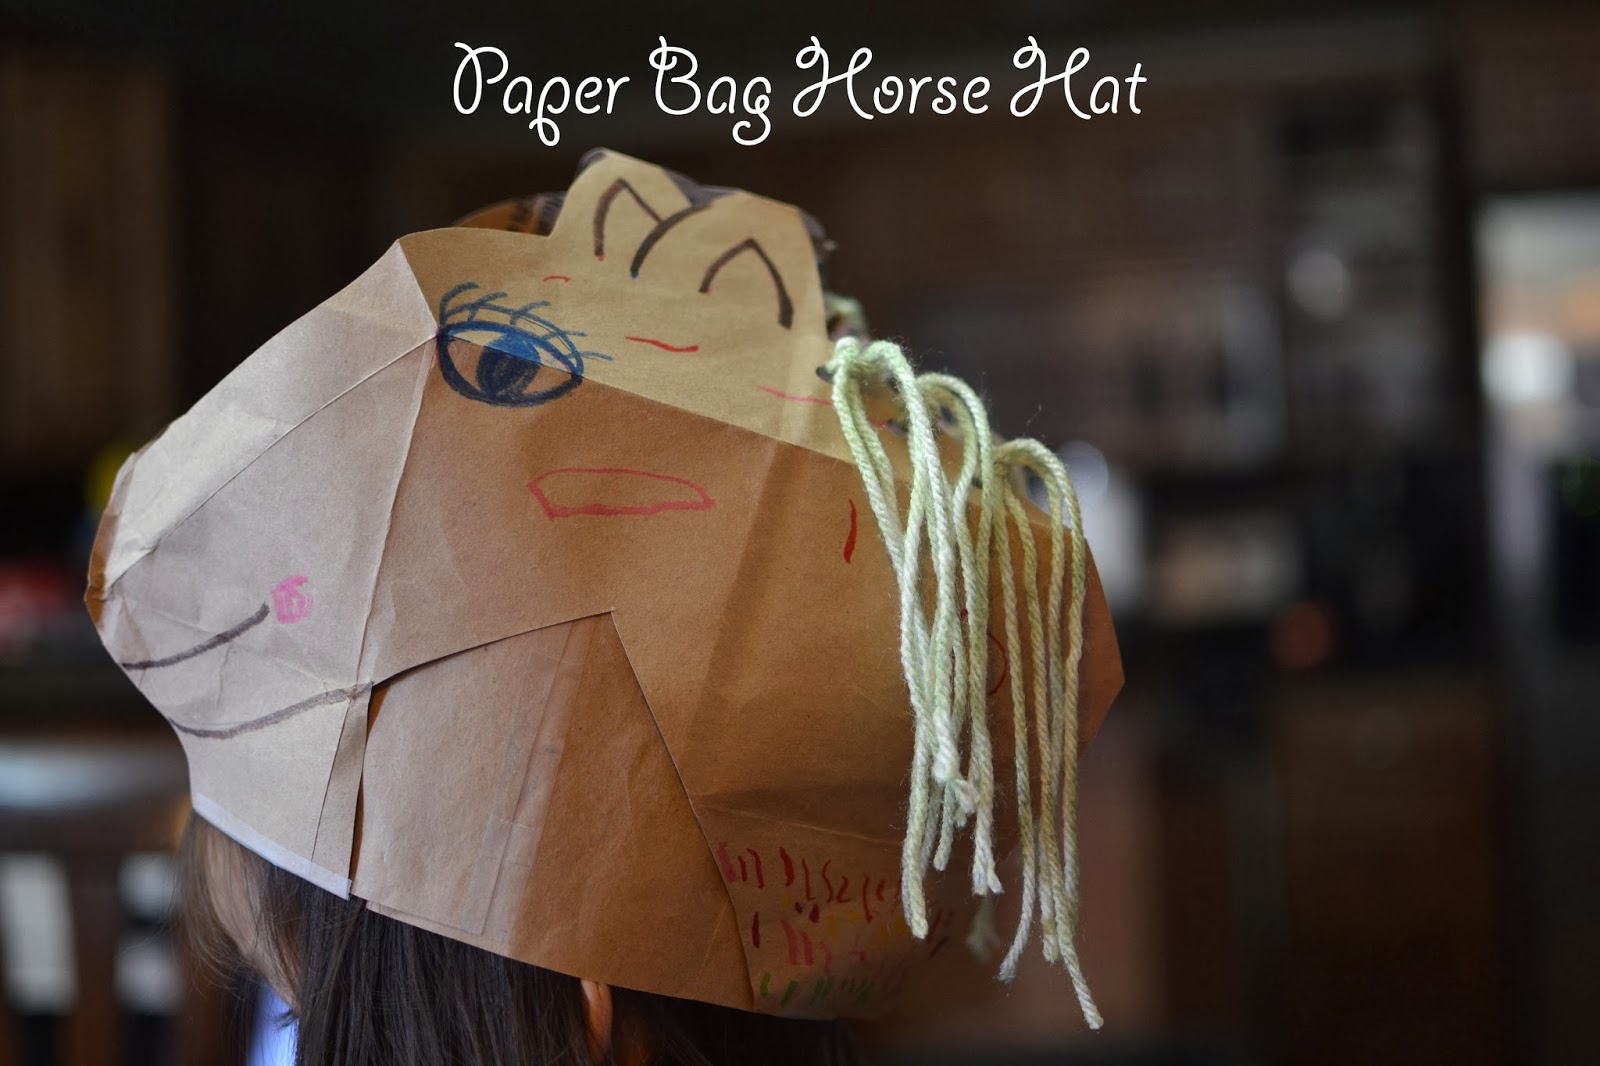
Complete Horse Hat Headband

Horse Hat Printout