Make homemade ice cream in a bag for a fun activity to do with kids that includes cool science and tasty treats.
Thank you for visiting. This post may contain affiliate links to recommended products at no extra cost to you. Read our Disclosures and Terms of Use. Don't miss out again, become a Reader here <--it's FREE.
It’s Wednesday and time for another Ice Cream post. I remember my mom making ice cream in a bag with her first graders when I was younger (a long time ago), now everyone is doing it because it’s the COOL thing to do :), not to mention yummy! I had doubts that my kiddos were big enough to shake their bags hard enough for it to work, but I was proved wrong. They LOVED shaking and tossing their ice cream bags around the yard and was surprised to find ice cream inside when the timer beeped after only 10 minutes. Our ice cream tasted so good and was so fast to make!
Instead of using a second bag, my mom would have the kids roll around coffee cans to make the ice cream. So if you are out of large bags, grab a container and follow along! 🙂 While you are having something sweet, teach your kids to be kind with this Ice Cream Kindness Challenge.
Ice Cream in a Bag Ingredients
Ingredients: Provided by mom
1/2 C heavy cream
1/2 Tbs sugar
1 T. powdered flavor (optional)-We used Nestle Quick
1 Tsp liquid flavor (optional)-We used vanilla extract
Ice
6 Tbs. Kosher salt
Sprinkles (optional fun!)
I suggest choosing one of the flavoring options, but not both. Also, Nestle Quick is pretty sweet so you may want to skip adding any extra sugar to it. My kiddos didn’t mind, but I would have preferred a little less sweet.
Directions:
1. Place 6 Tbs. of kosher salt into a large sealable plastic bag. Then fill the bag about 1/2 full with ice. We pulled out our Ziploc bags for this one because I wanted to make sure it stayed shut during all the shaking.
2. In a smaller sealable plastic bag place the cream, sugar, and flavoring. Seal the bag really well. You may want to tape it shut if you are worried it may come open. Put the bag inside the large bag full of ice and close the bags.
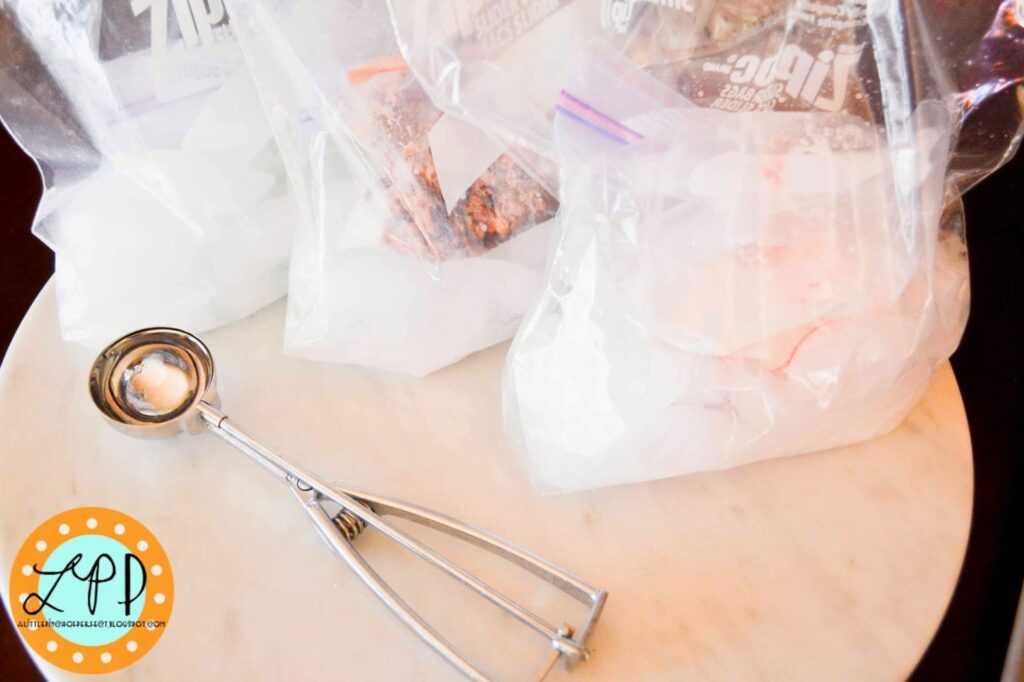 |
| All ice cream ingredients are bagged and ready to be turned into ice cream. |
3. Shake, throw, and smoosh the bag for 10 minutes. Really, that is all the time it took (I was skeptical too). Open the bags and serve.
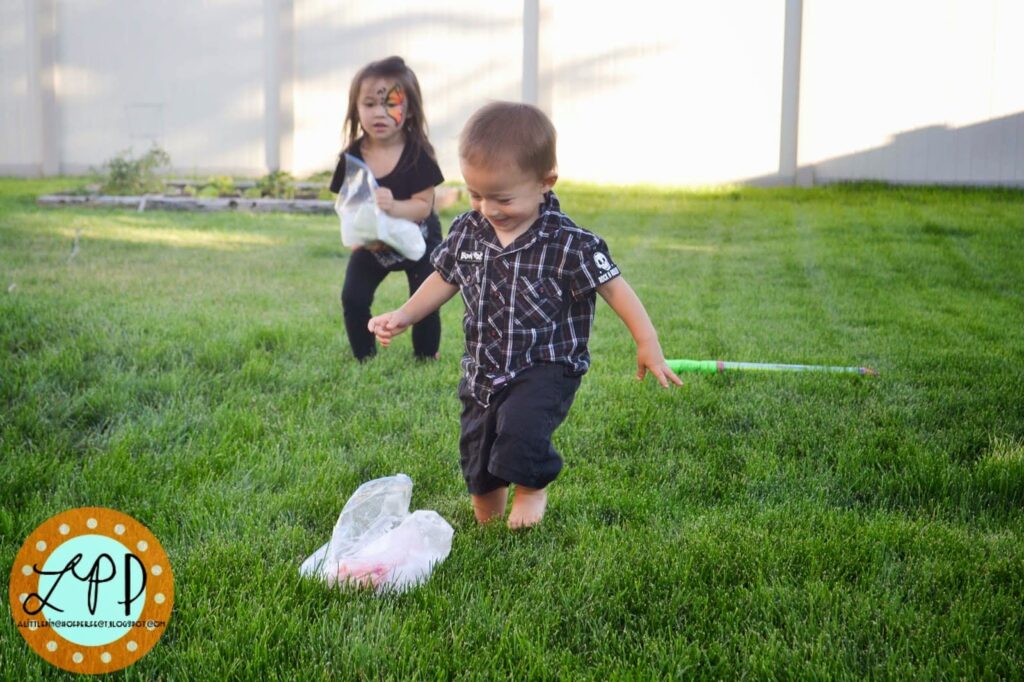 |
| The kiddos loved throwing their ice cream bags around the yard. |
Remember there is salt in the big bag, so try not to get it in your ice cream or the residue in your eyes. Poor Mr. Tickles was holding onto the bag and then rubbed his eye and got salt in them.
 |
| Doesn’t our homemade ice cream look so yummy! 🙂 Perfect to beat the heat this summer! |
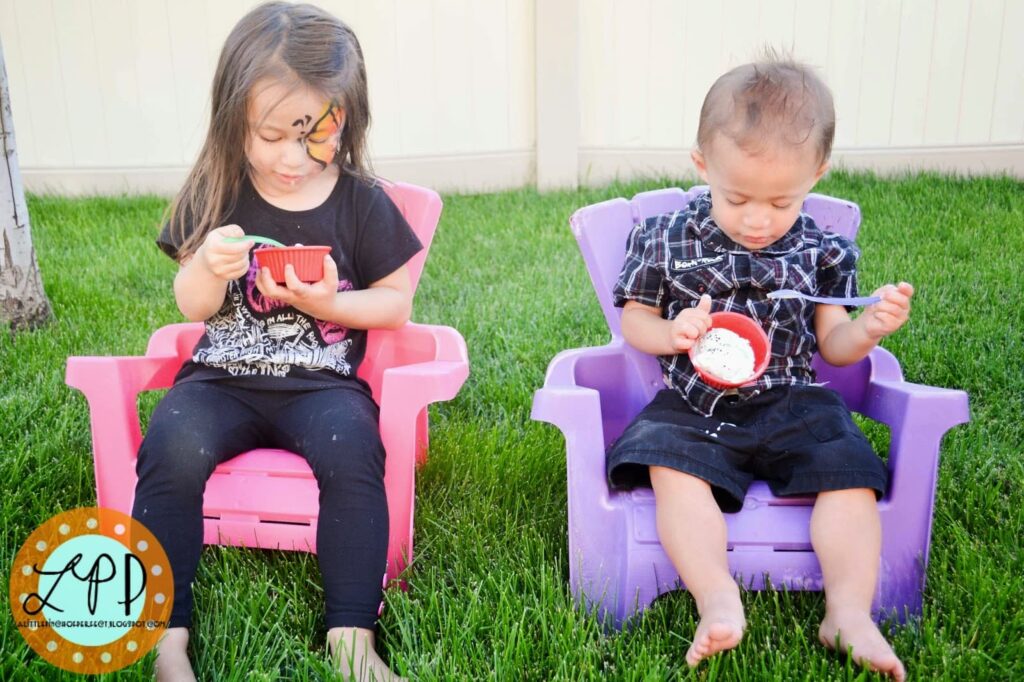 |
| My kiddos hanging out together eating some homemade ice cream. |
Sensory Activity:
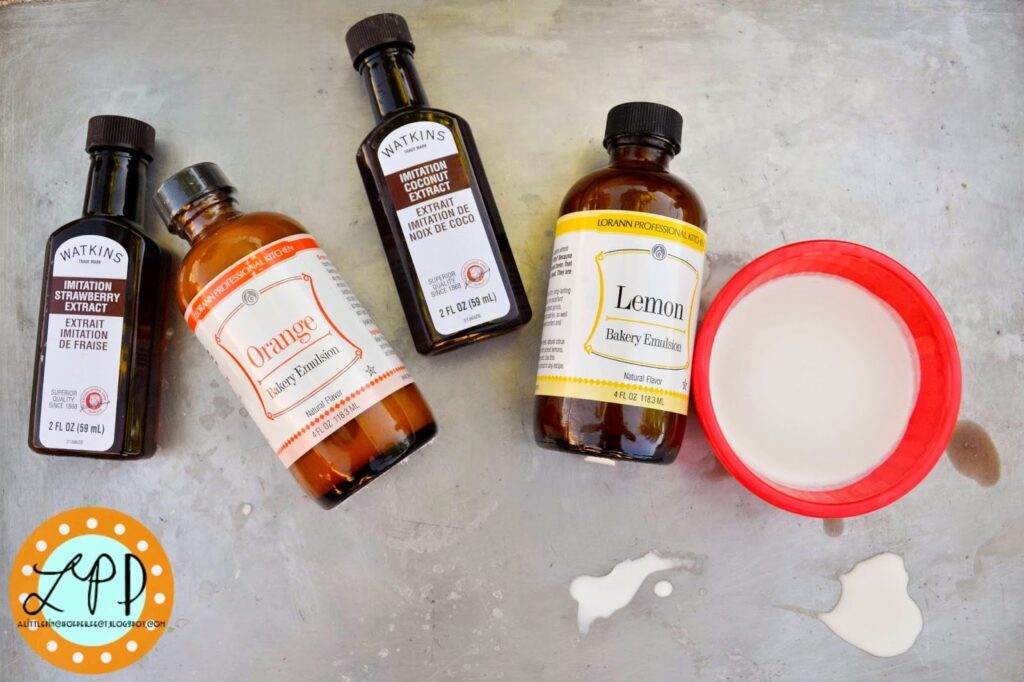
On top of all the fun science and sensory of using ice to turn a liquid into a solid, I also thought we could try different flavorings. I originally envisioned us scooping a spoonful of ice cream out and adding a small amount of each flavor into the ice cream and eating it but that was a silly idea because all my kiddos wanted to do was eat their ice cream once it was made. So, I altered our activity from a tasting one, to a smelling one. I brought out some of my extracts and let the kids smell them while they ate their ice cream.
I had my kiddos smell the extracts one at a time and Ms. Tiger would guess what kind it was.We don’t seem to do a lot of smelling activities (yet), so this was a fun new experience!
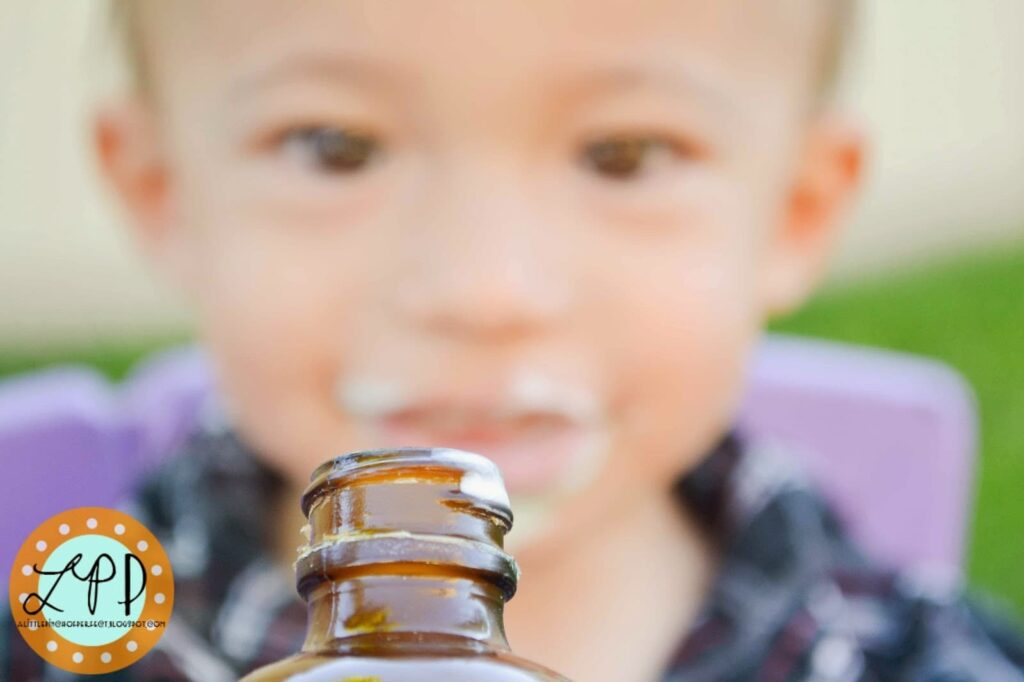 |
| It was adorable watching Mr. Tickles learn how to sniff things, he kind of looked like a little bunny wrinkling his nose. |
We also tasted each ingredient that was in our ice cream by itself. Our favorite was the heavy cream.
So now we have made Play Dough Ice Cream and Homemade Ice Cream for our Ice Cream filled week, so I bet you are wondering what Ice Cream activity we will be coming up next? Be sure to come back Friday to find out! 🙂 Have a Happy Wednesday!
 |
| If you missed it, here is our 2 ingredient Play Dough Ice Cream that is taste safe. |
 |
| Grab your paints and make an adorable Handprint Ice Cream Painting. |



I really want to try this with my kids. I love homemade ice cream!
It's so yummy and surprisingly easy! I am sure your kids will love it 🙂