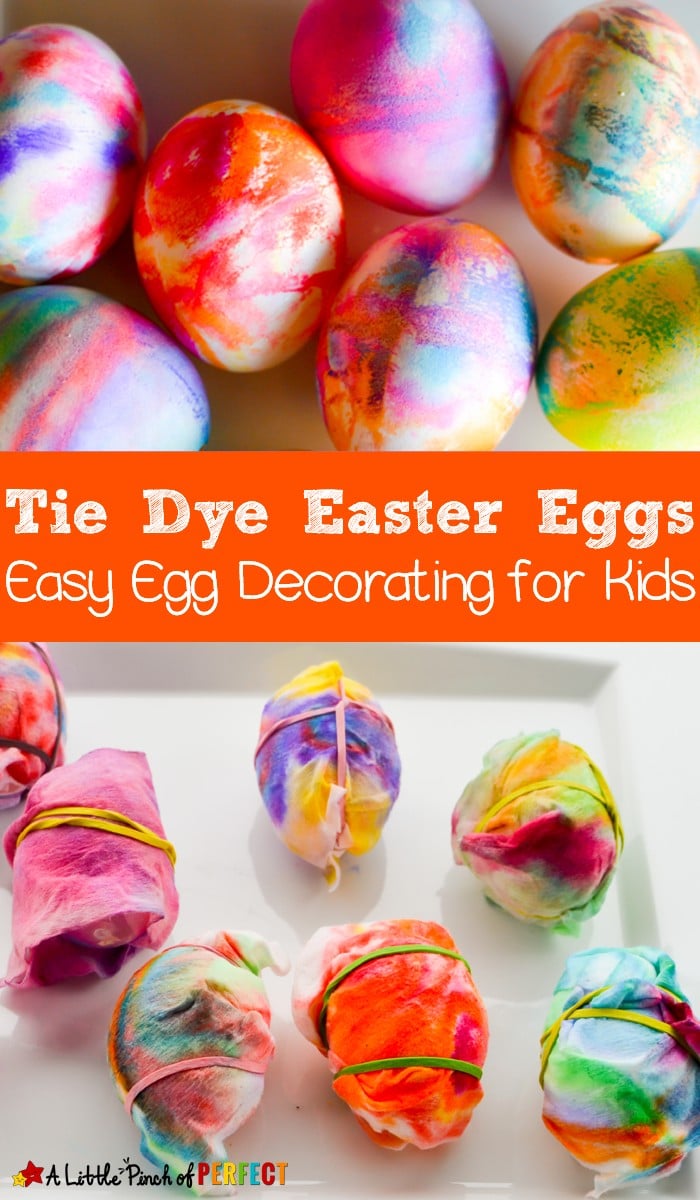
This Easter get groovy and make Tie Dye Easter Eggs. After following the easy directions you can unwrap each egg to reveal a colorful egg with a unique pattern on each one!
Thank you for visiting. This post may contain affiliate links to recommended products at no extra cost to you. Read our Disclosures and Terms of Use. Don't miss out again, become a Reader here <--it's FREE.
I love dyeing Easter eggs but I have to admit I would rather dye them by myself because I don’t think little hands and big cups of dye go well together. Not wanting to leave my young kids out of the fun I came up with an easy Easter egg coloring method. My toddler son (who was age 1 at the time) was even able to participate and I was able to enjoy the time together instead of micromanaging any movement around the cups of dye. Although I designed this activity for young kids it’s a pretty cool new way to decorate Easter eggs for any age (adults included!) The eggs turned out beautiful and bright and unwrapping each one is a fun surprise.

I poked a hole at the top and bottom of the eggs and blew the yoke out so the eggs would stay good until Easter. Also, I didn’t want the marker to seep into the egg making it inedible (no wasting food around here!) You don’t have to blow the inside of your eggs out of the shell, but I would suggest not eating them because this activity uses markers and baby wipes. To blow the eggs out use a needle to poke a small hole at the top and bottom of your uncooked egg, stick a toothpick in the hole and stir to break up the yoke, and then at the top of the egg blow the yoke into a bowl. It is surprisingly easy. If the yoke isn’t coming out make the holes in your egg larger and try again.
Suggested Books:
Click photos: Affiliate links to more information on these books we love!
Tie Dye Easter Eggs
Supplies:
- Markers-affiliate link
- Huggies Baby Wipes
- Rubber Bands-affiliate link
- Rubber Bands-affiliate link
- Eggs
Scissors
Directions:
1. Cut baby wipes in half with scissors.
2. Let kids draw on the baby wipes with markers. I used the fat Crayola markers. The more color on the wipes the better.
Tip: We made patterns on our wipes but the colors mix together as they transfer over. Our large designs with lots of colors turned out the best.
3. Wrap a baby wipe around each egg and gently secure it with a rubber band. Let the baby wipes dry. We set ours out overnight.
4. Once the eggs are dry, unwrap the baby wipe and enjoy!
SEE ALL OUR EASTER ACTIVITIES HERE: EASTER FOR KIDS
Thanks for crafting with us today. If you enjoyed this craft please pin & share it with others! Love, Katie & the Kiddos
Click photos: Affiliate links to suggested supplies!
3 comments
Comments are closed.