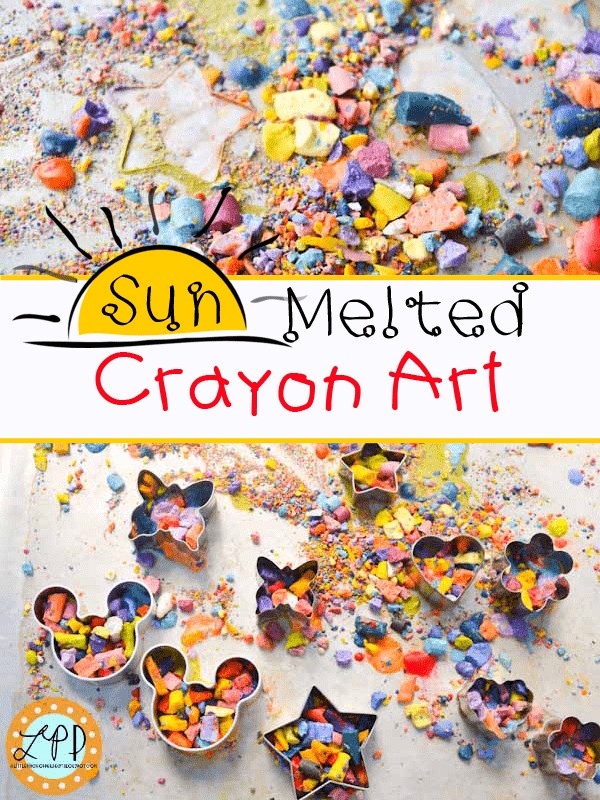
Try this easy and fun Sun Melted Crayon Art for kids—an outdoor process art activity that uses the heat of the sun to melt crayons, explore color mixing, and sneak in a little science learning too!
Thank you for visiting. This post may contain affiliate links to recommended products at no extra cost to you. Read our Disclosures and Terms of Use. Don't miss out again, become a Reader here <--it's FREE.
My kiddos love nothing more than to be outside, so I’ve been finding ways to take our art activities outdoors. On Monday, we shared our Olaf Magic Paint Recipe that dried in the sun to make the magic happen. Today, we’re finishing the week with another sun-powered project: Sun Melted Crayon Art—a perfect mix of creativity, nature, and a little science!
If your house is like mine, there is no shortage on discarded crayons pieces so while you your at it, make some crayon ornaments and enjoy another sun powered craft with this Solar Printing Science Activity for Kids.
This is a simple process art activity, and it was a great reminder that we needed more of that in our routine. Unlike product art (which is structured with a specific result in mind), process art encourages kids to explore materials, make choices, and express themselves freely.
Why Process Art is Important:
- It promotes creative exploration
- It helps build confidence to follow your instincts
- It offers a no-pressure way to create without a “right” or “wrong” outcome
I think both types of art have their place, but lately, I realized we’d been leaning heavily into product-based crafts. This activity was a refreshing change—and honestly, it was pretty relaxing for me, too. Once the crayons were prepped, I just sat back and watched. My kiddos loved every second of it!
Sun Melted Crayon Art
- Crayons
- Wax paper
- Tray or baking sheet
- Plastic bag
- Hammer or something hard to smash crayons
- Knife (optional)
Cookie cutters (optional)
Directions:
1. Peel the labels off the crayons. I let the kiddos start peeling away and ended up with little pieces of crayon wrappers everywhere. Their little hands where working hard, (some great fine motor skill practice).
It was taking a long time to get the pile of crayons peeled so to speed up the process I used a knife to slice the crayon wrapper and then let the kiddos peel off the paper.
2. Put the crayons in a bag and let kiddos break them up with a hammer or something heavy. I let the kids use our magnet wands.
They loved hitting the bag repeatedly. I used a rolling pin to finish crushing the crayons a bit more because my kids are little and didn’t break all the crayons. I think the smaller pieces and crayon “dust” worked best for this activity.
| Why yes, Mr. Tickles is crafting in is jammies. |
| Aren’t 60ish crayons broken up pretty! |
3. Place a piece of wax paper on your tray and let kiddos create by putting crayon pieces on their paper. We used one big sheet of wax paper, but if you wanted you could cut out cute shapes to decorate.
| We tried out our new scissor handled scoops. I love them and hope they are applicable to all future activities! |
| Ms. Tiger got everything arranged how she wanted to and left the activity to catch bugs. Mr. Tickles stayed at the activity a surprisingly long time and rearranged everything the way he liked. |
| Here is the tray how Mr. Tickles left it. He spent a long time picking the crayon pieces up to fill our mini cookie cutters (more fine motor skills happening). |
4. Place your tray in the sun. We let ours sit while we went and ran errands. We returned after 3 hours and our sun baked art was done.
| I added a reflective sun shade to the chair to help it heat up. When we returned it had blown off, so I am pretty sure it is unnecessary. |
| Once the crayon was melted it was really fun to explore everything with our hands because some parts felt really smooth and other parts felt really bumpy. |
| Sun Melted Crayon Art |
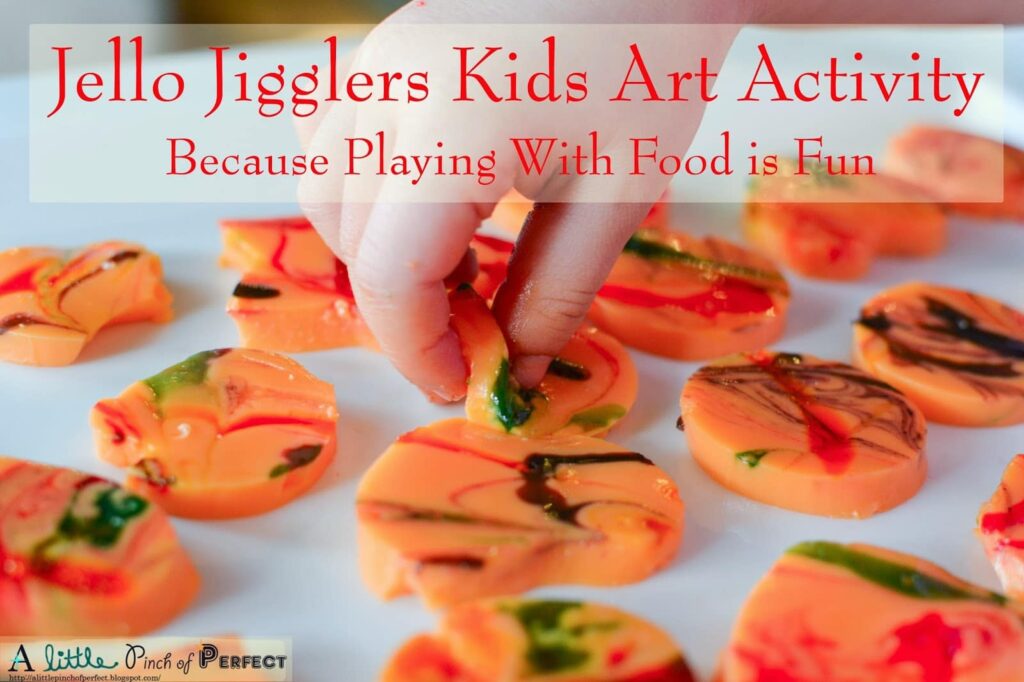 |
| Make some Jello Jigglers Kids Art while you wait for the sun to melt your art. |
If you love kids, we have more fun ideas for you!
We have so many broken crayons in a bucket, I think we are going to have to try this!
Thank you for stopping by the Thoughtful Spot Weekly Blog Hop this week. We hope to see you drop by our neck of the woods next week!
It's super fun! I hope the sun works its magic for you 🙂
We love making melted crayon art. Thanks for sharing with us at Mommy Monday Blog Hop; pinned!
OXOX
Thanks so much for stopping by and the pin! Have a fun week 🙂
What fun!! I love this idea! Thanks for sharing at Sharing Saturday!
Hi Carrie, thanks so much! Have a great weekend 🙂
What a neat idea! Now I can put to use all of those broken pieces of crayon that I've been collecting.
Thanks Kim! I collect them too and they just pile up…the silly thing is I didn't think to use them for this project.
Love this idea, will have to give it a go, a great way to use up all those ends of broken crayon 🙂 Pinning for later!
Sara (@mumturnedmom) #pintorials
Hi Sara 🙂 So true, we always have little bits of broken crayon. Thanks so much for visiting and the pin!
Super love this!!!
Thanks so much! 🙂
Hi Heather, thanks so much for visiting, commenting, and pinning! 🙂
We've tried melting crayons in the sun but it didn't work for us. Maybe the day wasn't hot enough. This time I think I'll try your reflective sun shade technique. Sounds like fun!
Hi Emma, our tiny pieces of crayon melted the best, some of the larger chunks didn't melt very much at all. If the sun and the reflective shade doesn't do the trick you can always pop it in the oven. I hope it works this time. 🙂