Learn how to make an adorable handprint reindeer ornament with your child and have fun Christmas crafting together this holiday season.
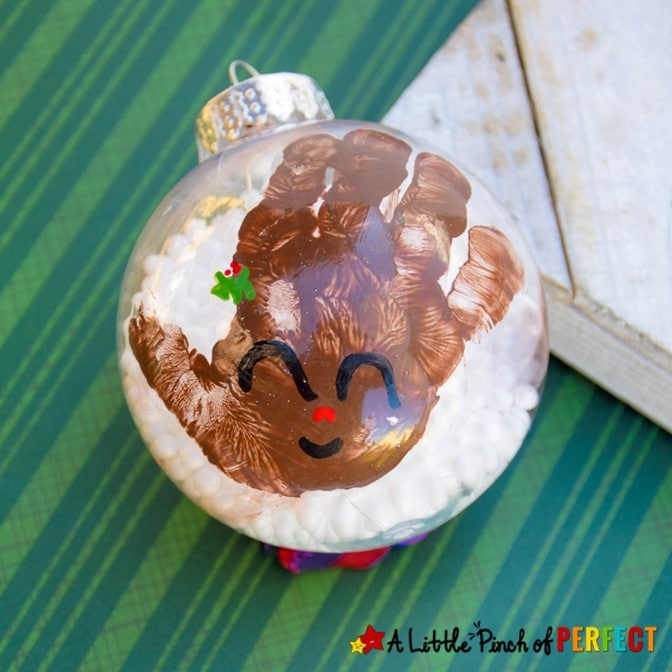
Make a reindeer handprint ornament with your children to hang on the Christmas tree each year. Your ornament will turn out so cute, following our directions and video tutorial. With a few painted decorations, your kiddo’s handprint will turn into a cute reindeer face with antlers.
Thank you for visiting. This post may contain affiliate links to recommended products at no extra cost to you. Read our Disclosures and Terms of Use. Don't miss out again, become a Reader here <--it's FREE.
You can make the ornaments as a keepsake gift to remember how small your child’s hand used to be. They also make perfect gifts for mom, dad, grandparents, aunties, and uncles.
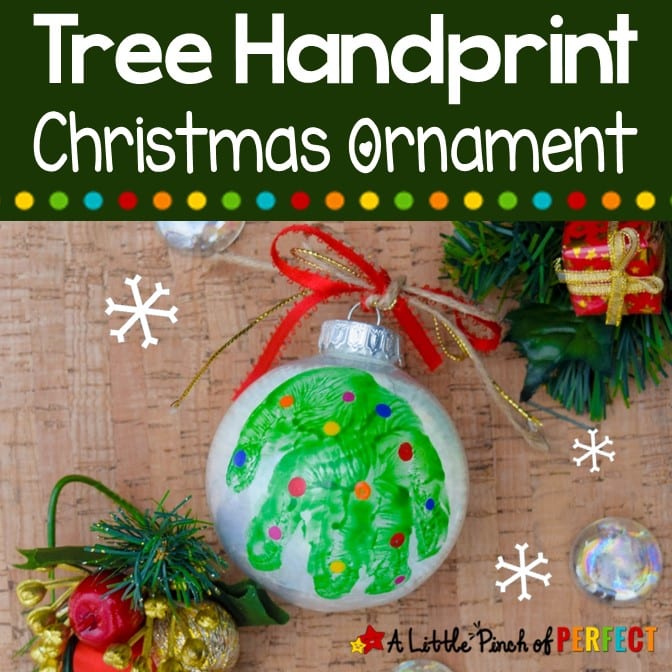
Be sure to check out all our “handy” Christmas ideas like this Christmas Tree Handprint Ornament and our Handprint Santa Craft! We are always making handprint crafts so I have some tips to help you have a successful crafting day.
How to Get the Perfect Handprint:
- Put your hand on top of your child’s hand to try and decrease wiggling fingers.
- Use the right paint for the best results. We find acrylic paint instead of tempera paint, works the best.
- Wipe away any extra marks of paint with a paper towel or baby wipe.
- If you aren’t satisfied, wipe the handprint off of the ornament and try again.
What Ornament Should I Use?
- These Plastic Ball Ornaments-affiliate link have a nice round traditional ornament shape and are great if you want to fill your ornament with things that will move inside. Baby, toddler, and preschooler hands should fit really well on this size.
- These Clear Plastic Ornament Discs-affiliate link also work well and are easier to get a handprint on because they have a flatter side.
The older your child is the larger the ornament needs to be to fit their hand on it. If you aren’t sure, have your child measure their hand on the ornament you plan to decorate by holding it. If the ornament can fit in their hand then it should work.
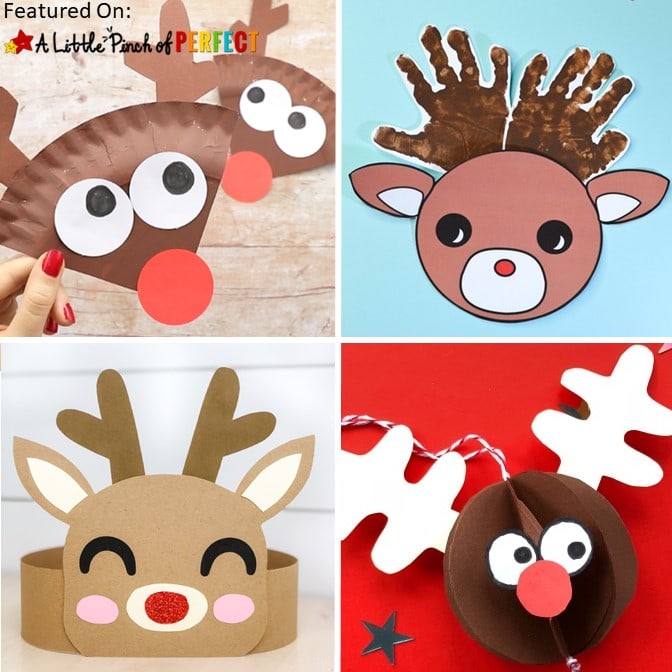
If your kiddos hand happens to be too big, you can make a Reindeer Handprint Craft. The free template comes in two sizes that will work with any hand.
What Can I Use to Fill My Ornament?
There are so many items to choose from to fill your ornament with:
- Foam Beads-affiliate link are nice and inexpensive. They usually have cheap ones at the dollar store.
- Christmas Pom Poms-affiliate link add some sparkle and cheerful Christmas color. They are fun for the kids to pop into the ornament.
- Chunky Glitter-affiliate link looks so like snow and is easy to pour in.
Reindeer Handprint Ornament
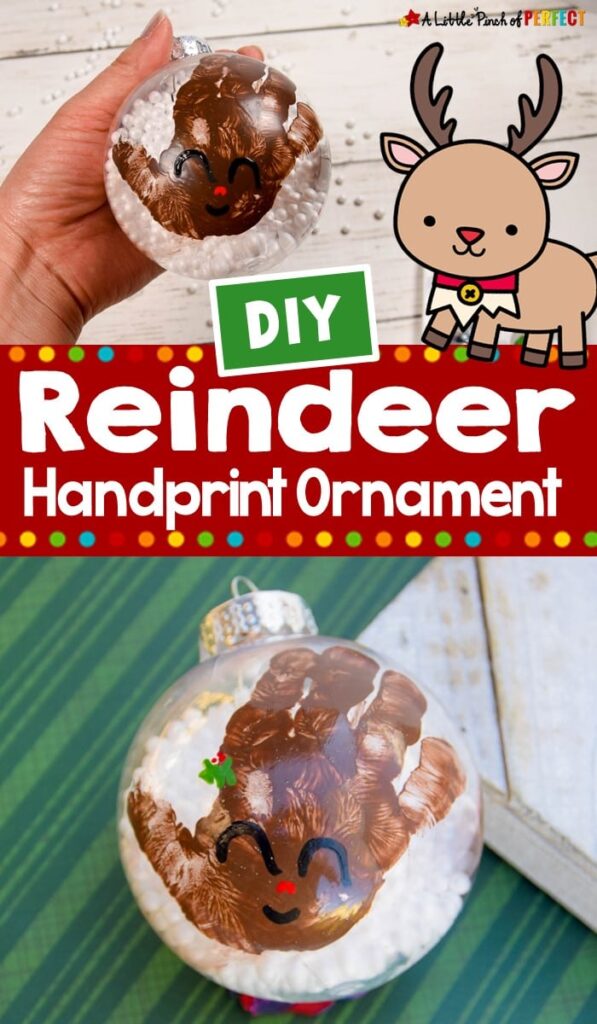
If you like our Reindeer Handprint Ornament I would love for you to PIN IT! It helps others discover it too, which helps us bring you more AWESOME CONTENT like this.
Supplies:
(Affiliate links included for your convenience. Purchases through affiliate links earn us a small commission with no extra cost to you. See our Disclosure Policy here.)
- Plastic Ball Ornaments or Clear Plastic Ornament Discs
- Acrylic Paint
 : Brown, Red, White, Green, Black
 - Paintbrushes, 1 large and soft, 1 small and fine
- Mod Podge Sealer
- Optional: Ornament Filler (Foam Beads, Christmas Mini Pom Poms, Chunky Glitter)
- Optional: Baby wipes for mess control
Directions:
You can watch our short tutorial video or read the directions below.
For your convenience, you can also print the directions at the end of this post.
Make a handprint by coating your child’s hand evenly with brown paint using a large and soft paintbrush or sponge brush. Gently press their hand onto the ornament so their fingers are pointing towards the top of the ornament. Let the handprint completly dry. I placed mine in a cup so it wouldn’t roll off the table and let it dry overnight.
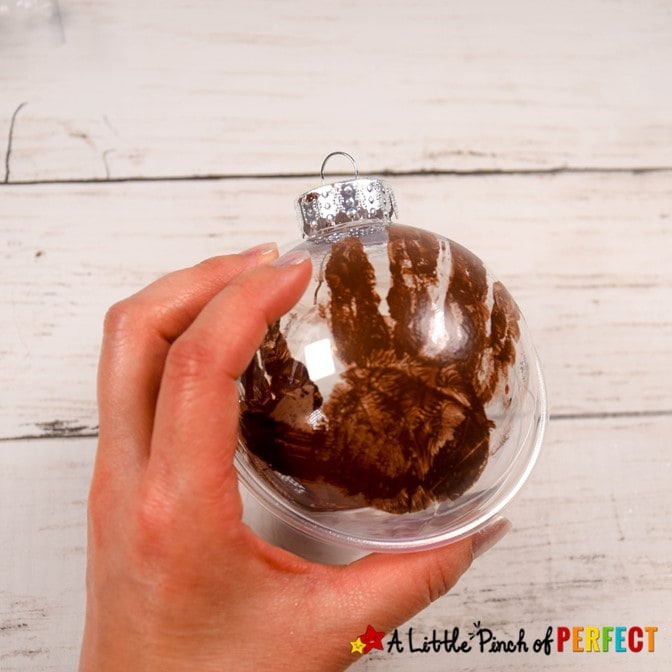
Use the small, fine paintbrush to paint the eyes using black paint. I made the simple upside-down “U” shaped eyes.
Tip: If you aren’t used to drawing eyes, practice drawing them on paper first. The goal is to get them as symmetrical as possible. You can also choose to glue googly eyes on if you don’t want to paint them.
Paint the mouth the same way you painted the eyes, this time your “U” will be right-side-up and smaller than the eyes. Make sure to leave room for the nose.
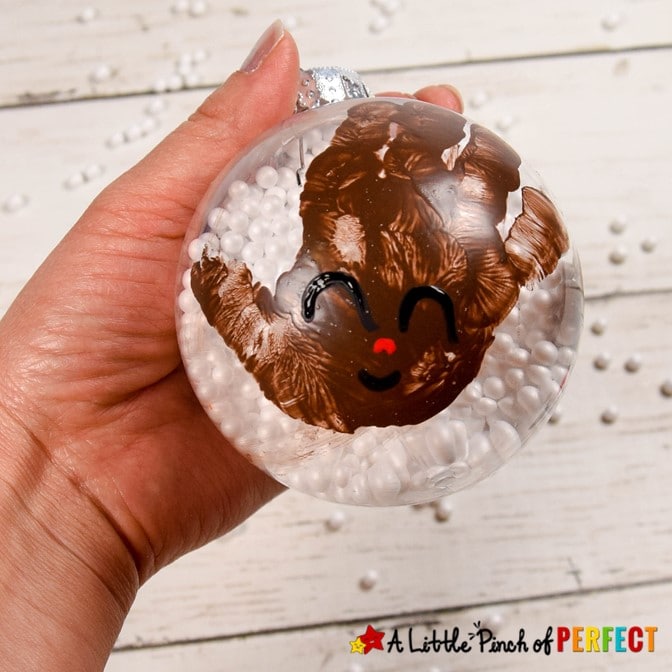
Use the small paintbrush and red acrylic paint to make the nose in the middle of the eyes and mouth. A red nose makes the reindeer look like a cute little Rudolph.
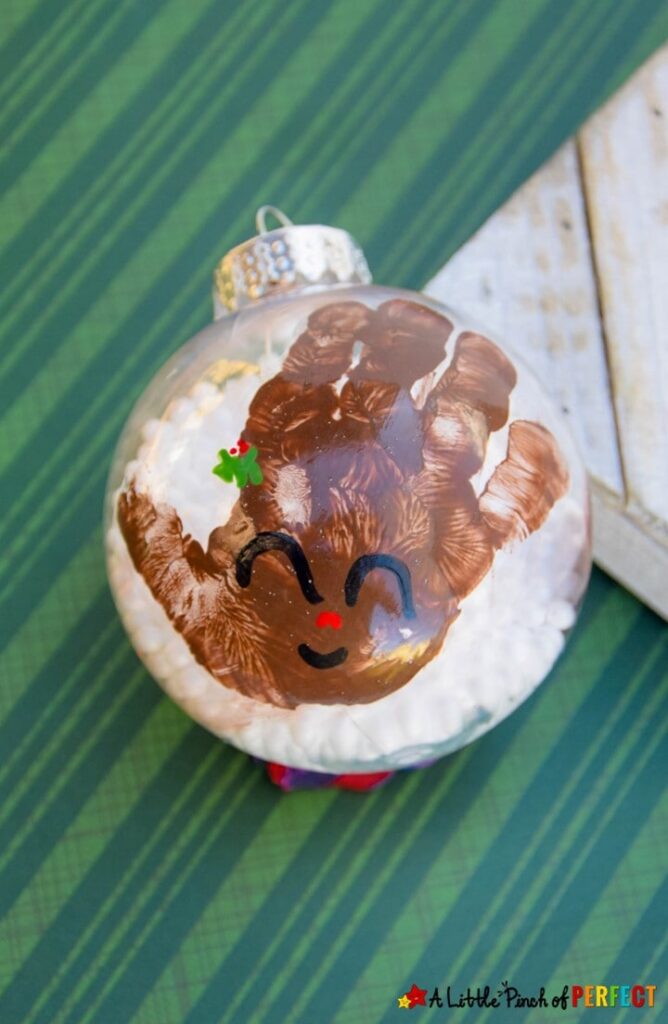
Use the small paintbrush and green acrylic paint to paint the holly.
Use the small paintbrush and red acrylic paint to paint berries on the holly.
Let the paint dry.
Remove the ornament top and fill it with your desired filling. You may want to use a small funnel to help avoid spills. When you are done replace the ornament top.
Use the large soft paintbrush to gently brush mod podge sealant over the paint. MAKE SURE YOUR PAINT IS COMPLETELY DRY BEFORE DOING THIS STEP. Then, let it dry overnight again.
Tie a ribbon to the top or use a metal ornament hook to hang it in the tree.
PRINT THE DIRECTIONS:
Reindeer Handprint Ornament Christmas Craft for Kids
Materials
- Plastic Ball Ornaments-affiliate link or Clear Plastic Ornament Discs-affiliate link
- Acrylic Paint: Brown, Red, White, Green, Black
- Paintbrushes, 1 large and soft, 1 small and fine
- Mod Podge Sealer
- Optional: Ornament Filler (Foam Beads, Christmas Mini Pom Poms, Chunky Glitter)
- Optional: Baby wipes for mess control
Instructions
- Make a handprint by coating your child's hand evenly with brown paint using a large and soft paintbrush or sponge brush. Gently press their hand onto the ornament so their fingers are pointing towards the top of the ornament. Let the handprint completly dry. I placed mine in a cup so it wouldn't roll off the table and let it dry overnight.Use the small, fine paintbrush to paint the eyes using black paint. I made the simple upside-down "U" shaped eyes. Tip: If you aren't used to drawing eyes, practice drawing them on paper first. The goal is to get them as symmetrical as possible. You can also choose to glue googly eyes on if you don't want to paint them.Paint the mouth the same way you painted the eyes, this time your "U" will be right-side-up and smaller than the eyes. Make sure to leave room for the nose. Use the small paintbrush and red acrylic paint to make the nose in the middle of the eyes and mouth. A red nose makes the reindeer look like a cute little Rudolph. Use the small paintbrush and green acrylic paint to paint the holly. Use the small paintbrush and red acrylic paint to paint berries on the holly.Let the paint dry. Remove the ornament top and fill it with your desired filling. You may want to use a small funnel to help avoid spills. When you are done replace the ornament top.Use the large soft paintbrush to gently brush mod podge sealant over the paint. MAKE SURE YOUR PAINT IS COMPLETELY DRY BEFORE DOING THIS STEP. Then, let it dry overnight again.Tie a ribbon to the top or use a metal ornament hook to hang it in the tree.
Notes
How to Get the Perfect Handprint:
- Put your hand on top of your child’s hand to try and decrease wiggling fingers.
- Use the right paint for the best results. We find acrylic paint instead of tempera paint, works the best.
- Wipe away any extra marks of paint with a paper towel or baby wipe.
- If you aren’t satisfied, wipe the handprint off of the ornament and try again.
