To get in some April shower fun, we came up with this adorable Rain Cloud Mobile that is so cute, I could see it hanging up in any room permanently. I hope you love it as much as we do.
See all of our spring activities here: Spring Crafts and Activities for Kids 
Thank you for visiting. This post may contain affiliate links to recommended products at no extra cost to you. Read our Disclosures and Terms of Use. Don't miss out again, become a Reader here <--it's FREE.
Rain Cloud Kids Craft for Spring
This craft goes well with our Rain Cloud Science activity.
Supplies:
Blue paper or blue paint samples
String
Scissors
Empty fruit cup or yogurt cup
Cotton balls
White Glue
Tape
Glue dots (optional)
Directions:
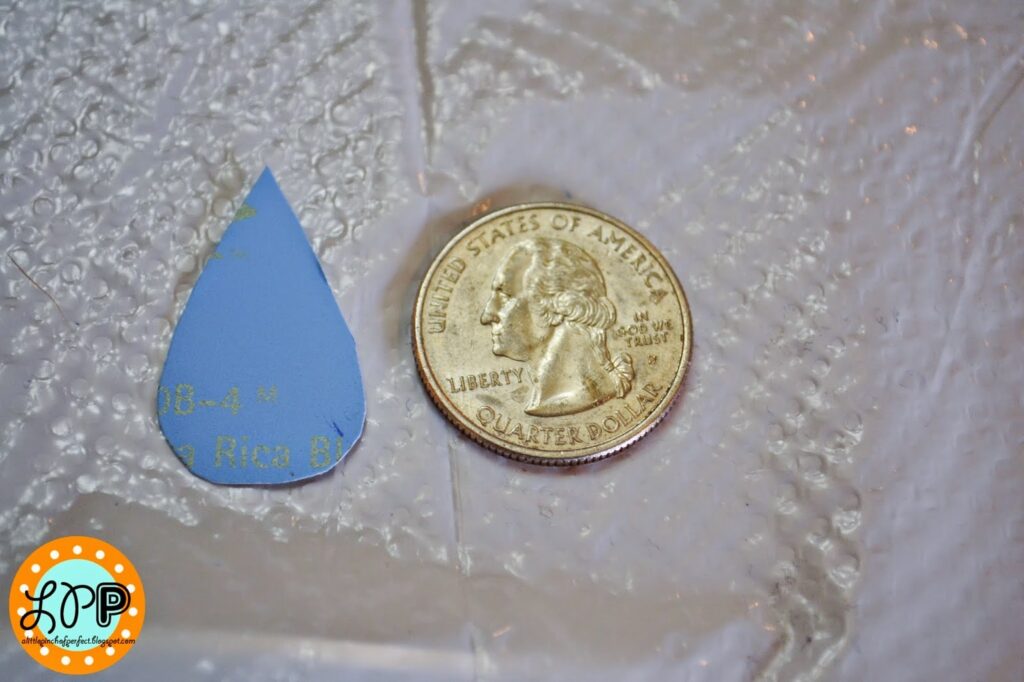
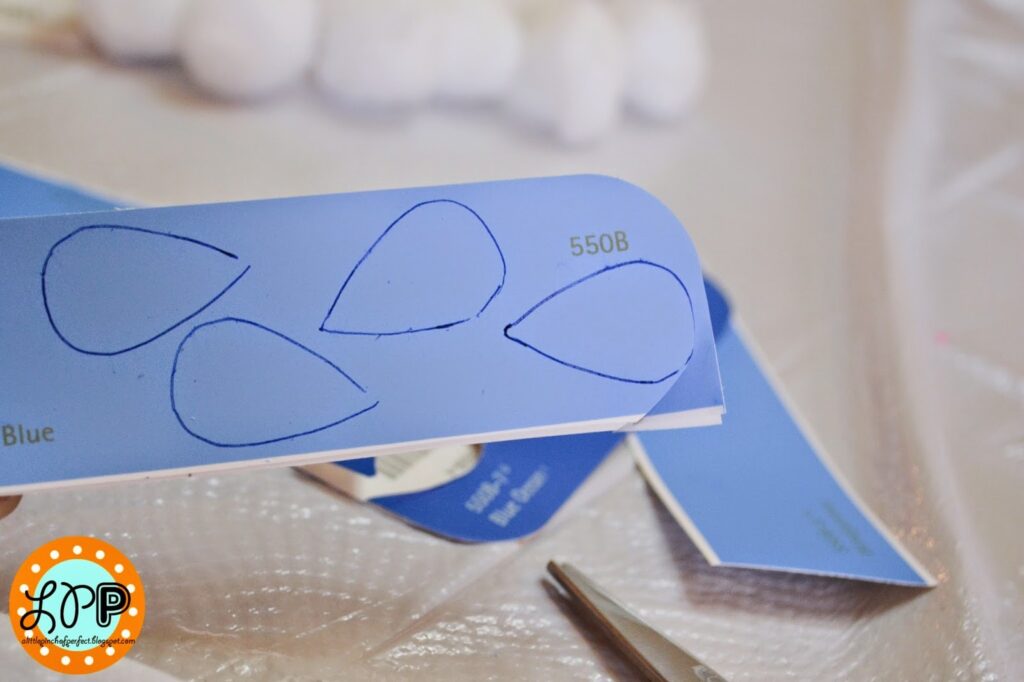
1. Cut 5 pieces of string 12 inches long. Fold your blue paper in half, draw one half of a raindrop on the paper starting at the fold, then cut the tear drop out while the paper is folded.
Open your rain drop and use it as your template. Draw and cut 15 rain drops for each cloud mobile. I cut out our rain drops, but I am sure older children could cut their own out.
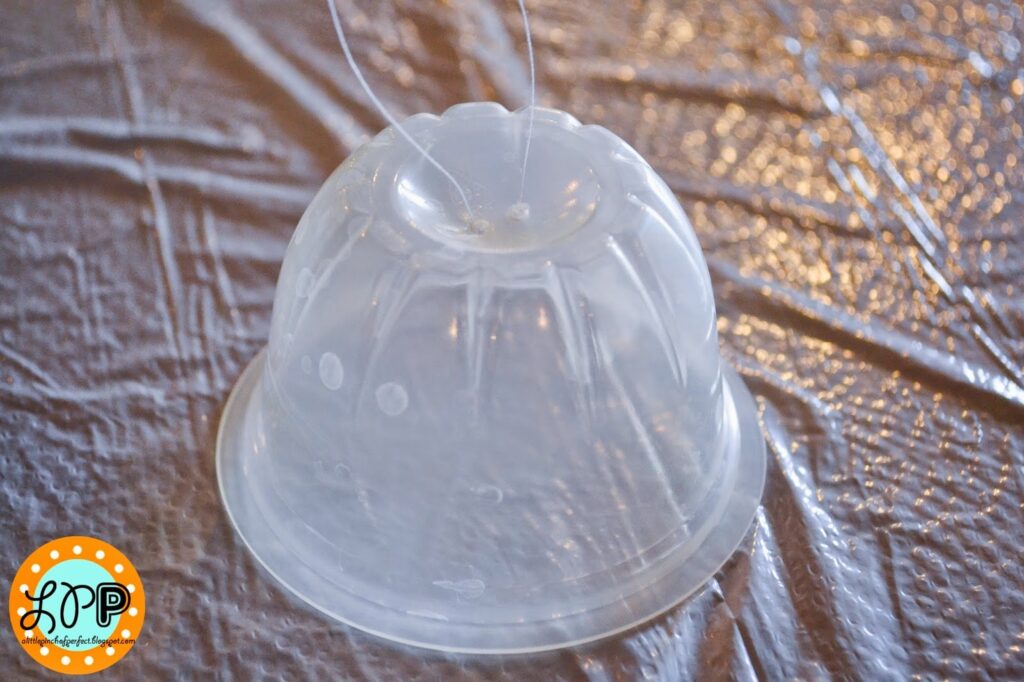
2. Carefully poke two holes on the bottom of your fruit cup. Cut another piece of string and lace it through the holes, then tie it at the top so you can hang your mobile.
I used a small knife and gently spun it around to make each hole.
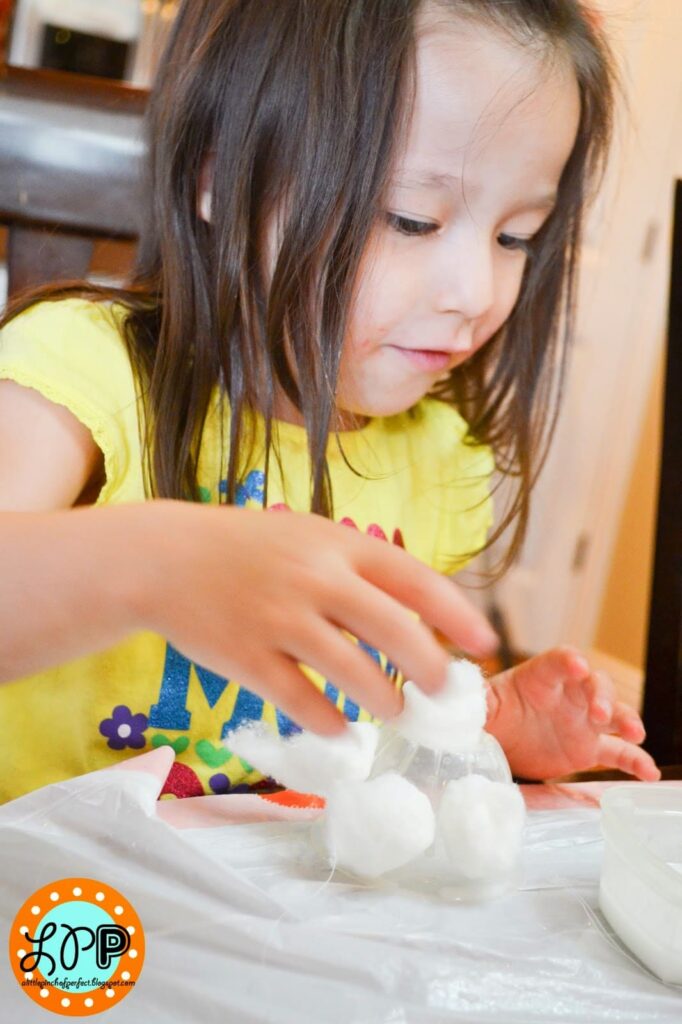
3. Use white glue to glue cotton balls to the outside of the fruit cup. Make sure the string stays accessible and doesn’t get glued underneath the cotton balls. Set aside to dry. We put ours outside to sit in the sun because we used A LOT of glue (oops).
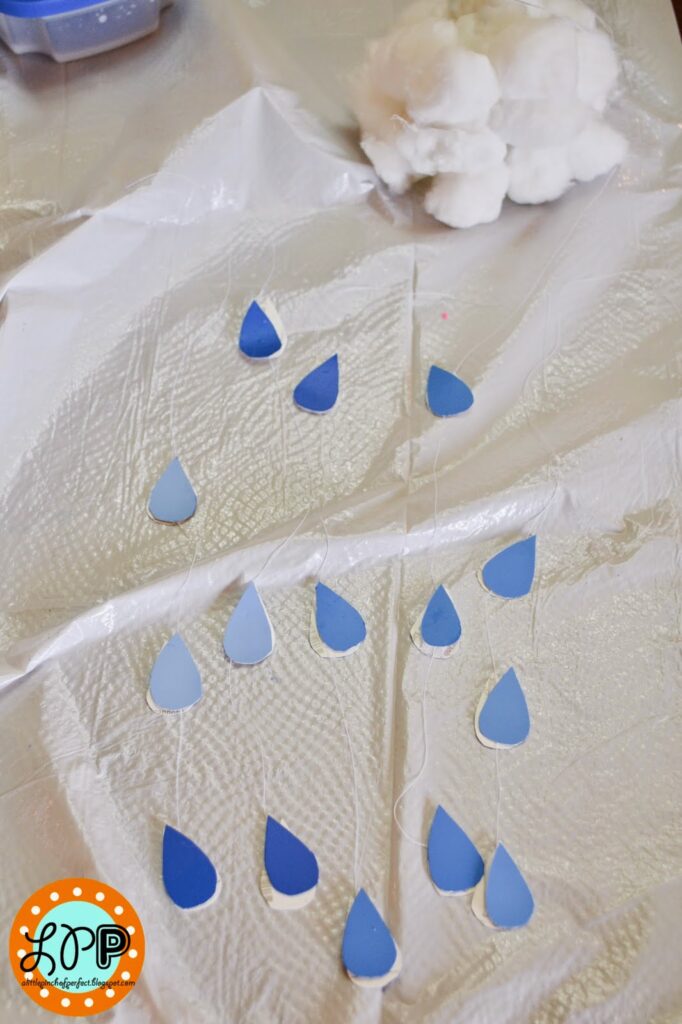
4. Attach 3 pairs of rain drops at varying heights on each string. Sandwich the string in between two rain drops.
We first used glue, but found it a bit difficult to glue and keep the string in the right place, so we switched to taping the rain drops together. I made a roll of tape and put it on one rain drop, then we laid the string across, and Ms. Tiger put the second rain drop on top. I wish I would of had some glue dots handy.
|
| Ready for second rain drop |
5. Tape the strings around the inside of the fruit cup and your done!
If you are looking for another weather inspired art project check out this:
Thanks for crafting with us today. If you enjoyed this craft please pin & share it with others and search below to find another related craft or activity to go along with this one! Love, Katie & the Kiddos (Updated pictures 9/2014)


Thank you. Love the cloud raindrop craft.
This is gorgeous! Thanks for linking up with Tuesday Tutorials #pintorials
Hi Kate, Thanks so much. I really like making Mobiles, they are so fun!