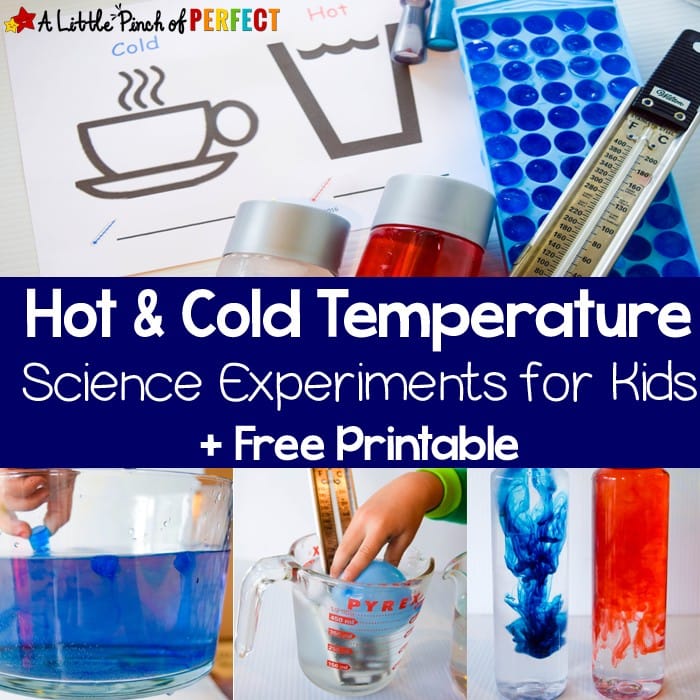
Teach kids about temperature as they perform easy science experiments with hot and cold water and the our free printable.
Thank you for visiting. This post may contain affiliate links to recommended products at no extra cost to you. Read our Disclosures and Terms of Use. Don't miss out again, become a Reader here <--it's FREE.
We did 6 different science activities to learn about temperature and the difference between hot and cold. We have a free printable activity to go along with all the hands-on activities so your little scientists can have fun understanding temperature while learning more about the world around them. Each of the activities are super simple to set up, mainly because most of the supplies come straight from your kitchen faucet.
I loved watching my kids try out these science experiments. They were so eager to check everything out and best of all their understanding of temperature grew. I think that my favorite activity was watching the food coloring disperse in hot and cold water–such a simple activity and yet so pretty to watch! If you enjoy watching your kids do science as much as I do, check out this free homeschool science curriculum.
More Science Experiments:
Learn about Hot and Cold Temperature Science Experiments
BECAUSE ALL ACTIVITIES ARE BETTER WITH A BOOK!
Click photos: Affiliate links to more information on these books we love!
(Purchases through affiliate links earn us a small commission with no extra cost to you. See our Disclosure Policy here.)
Is it Hot or Cold? (What’s the Matter?) Too Hot? Too Cold?: Keeping Body Temperature Just Right
 What Is Temperature? (Weather Close-Up)
 Is it Warm Enough for Ice Cream?
 Measuring Temperature (Explorer Junior Library: Math Explorer Junior)
 The Magic School Bus Gets Cold Feet: A Book About Hot-and Cold-blooded…
SUPPLIES:
Click links and photos: Affiliate links to more information on these suggested products. (Purchases through affiliate links earn us a small commission with no extra cost to you. See our Disclosure Policy here.)
- Voss Water bottle (or plastic bottle)
- Red and blue food coloring
- Thermometer (We used a candy thermometer)
- Water balloons
- Ice Cube tray
- Glass measuring cups
VOSS Artesian Water (Still), 500 ml Plastic Bottles (Pack of 24) McCormick Assorted Food Color, 1 fl oz
 Polder THM-515 Stainless Steel Candy/Jelly/Deep Fry Thermometer
 Hibery 500 Pack Water Balloons with Refill Kits, Latex Water Bomb Balloons Fight Games – Summer Splash Fun for Kids & Adults
 Arrow 60 Cube Ice Tray (3 Pack)
 Pyrex 3-Piece Glass Measuring Cup Set
DIRECTIONS:
Frozen Water
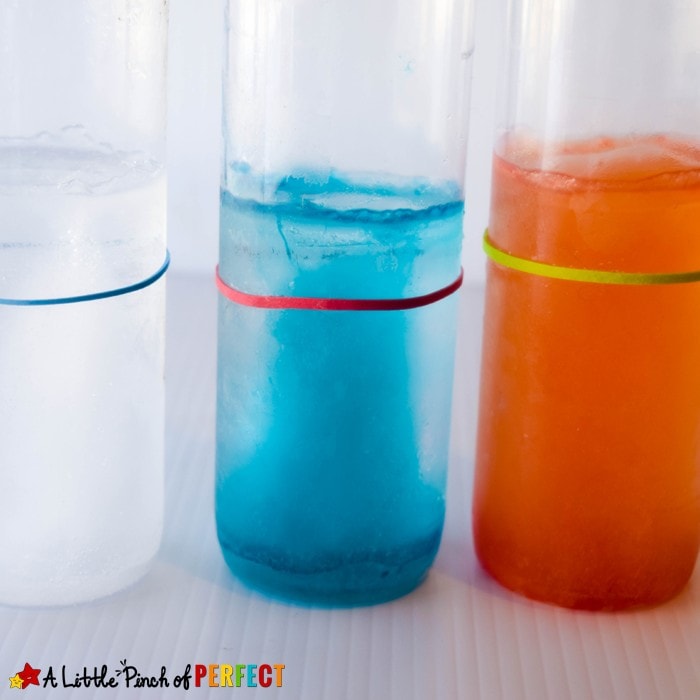
Fill containers half full with water. Mark the water line with a marker or I used a rubber band because we use our water bottles a lot. Put them in the freezer until they are completely frozen. Have children look at the new water lever (ice level). The frozen line should be above the water line because when water freezes it expands because the hydrogen bonds in the water that form are more spread out then when it is in liquid state.
Red and Blue Food Coloring Race
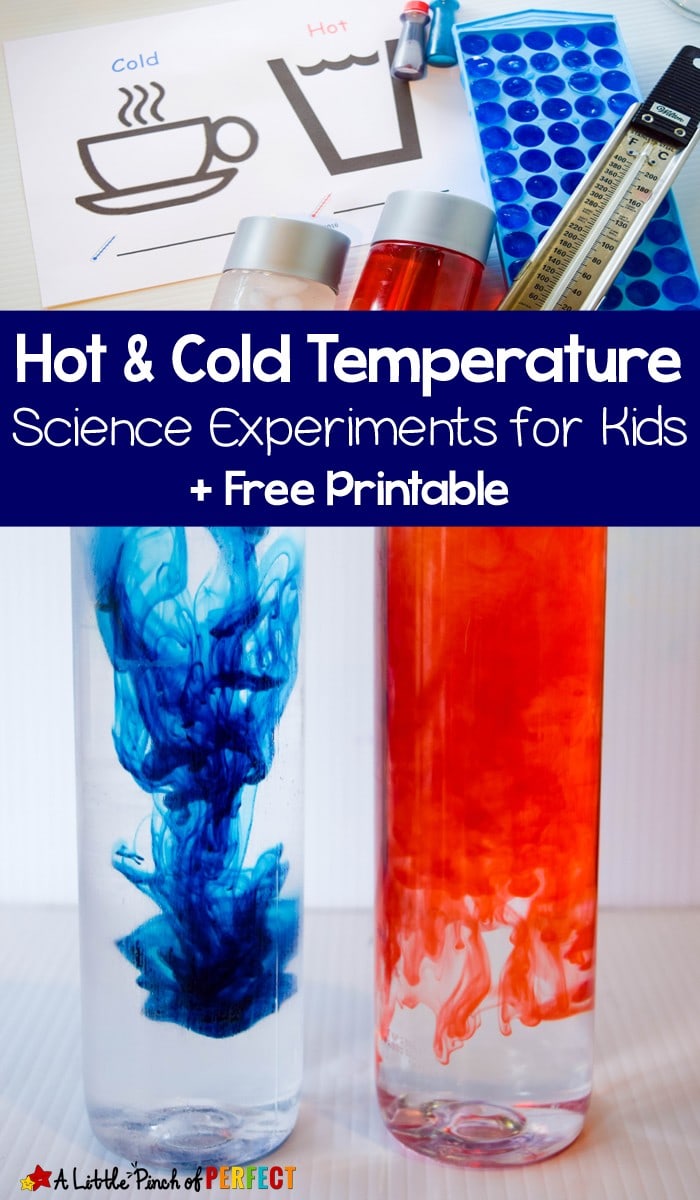
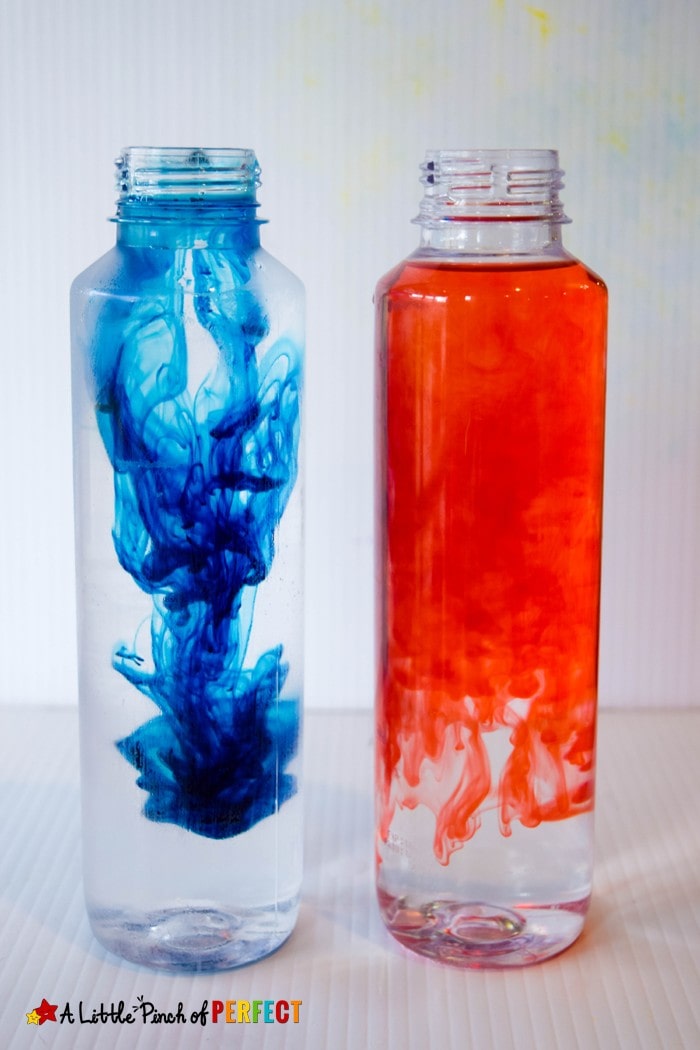
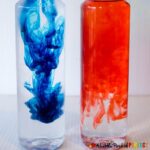
Fill one tall container with ice cold water and another tall container with hot water (not boiling). Have child drop a few drops of red food coloring in the hot bottle and blue food coloring in the cold water and watch (this experiment is very fast so don’t look away). Technically you could use whatever color food coloring you have but since red and blue help to reinforce the difference in temperatures we used those colors. The blue food coloring should move slower through the water compared to the red food coloring because the water molecules in the hot water have more energy and move faster then the water molecules in the cold water.
Blue Ice Melt
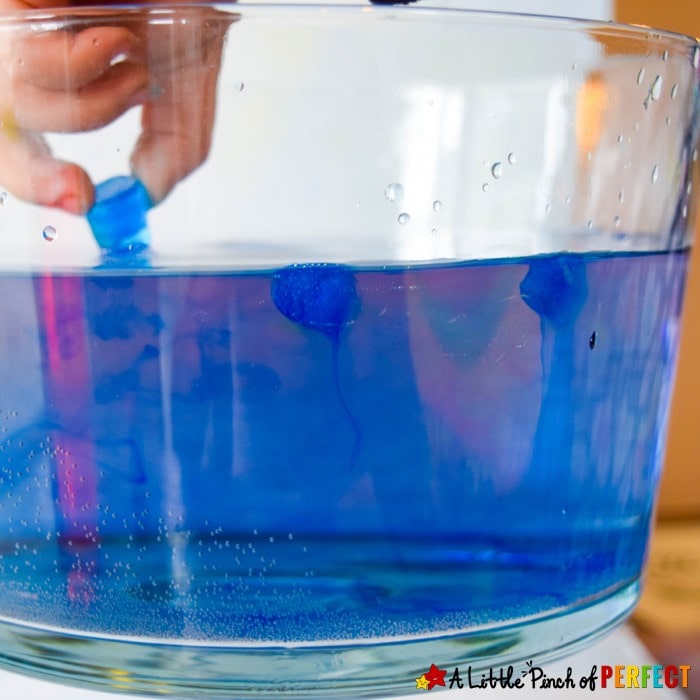
Fill a pitcher with water and add drops of blue food coloring. Fill an ice tray with the blue water and put it in the freezer until the ice is solid. Fill a container with room temperature water and place the blue ice inside. The ice should float and the blue water that melts from the ice cube should sink. This is because cold water (and air) is more dense compared to regular temperature water and will sink in warmer water. They may have heard before that hot air rises and cold air sinks, now they can visualize it.
Hot & Cold Balloons
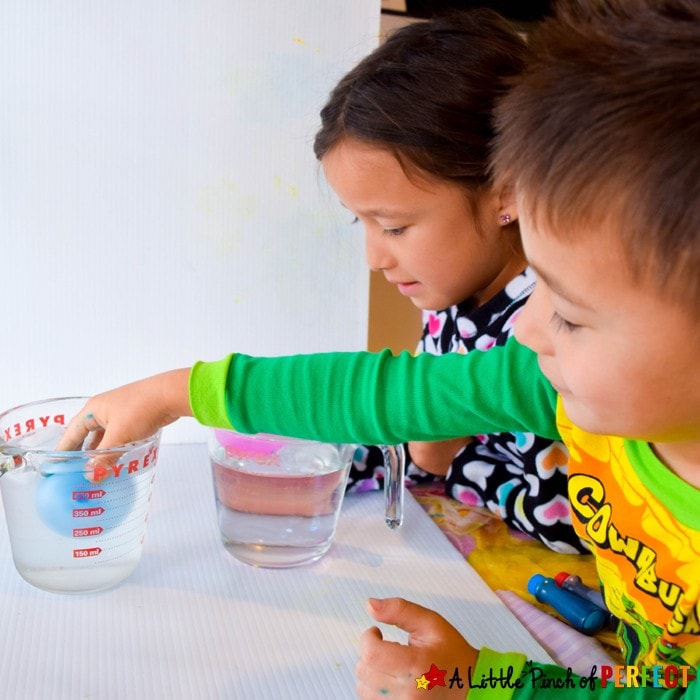
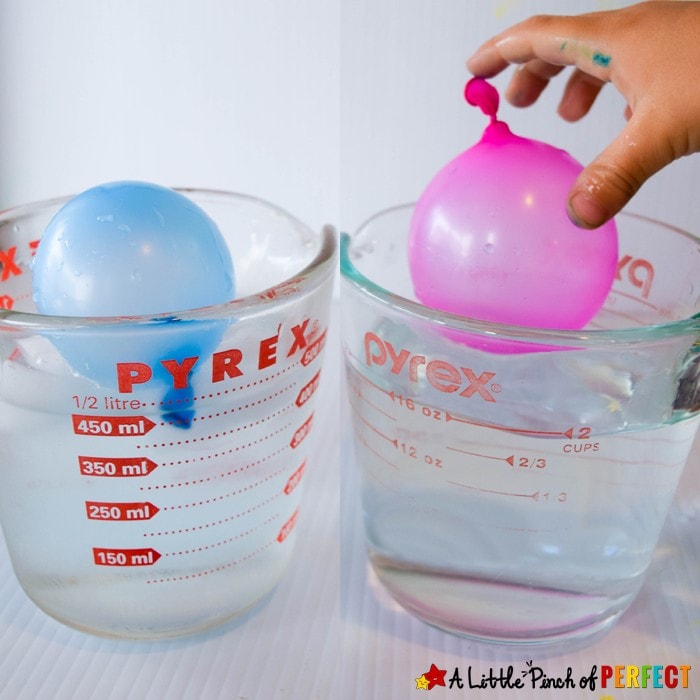
Fill small balloons with some air. We used water balloons. Make them relatively the same size. Place one in cold water and one in hot water. We used a pink balloon for the hot water and the blue balloon for the cold water. The hot water balloon should get larger as the air expands as it gets warm and the cold water balloon should shrink as the air inside condenses.
Thermometer Reading
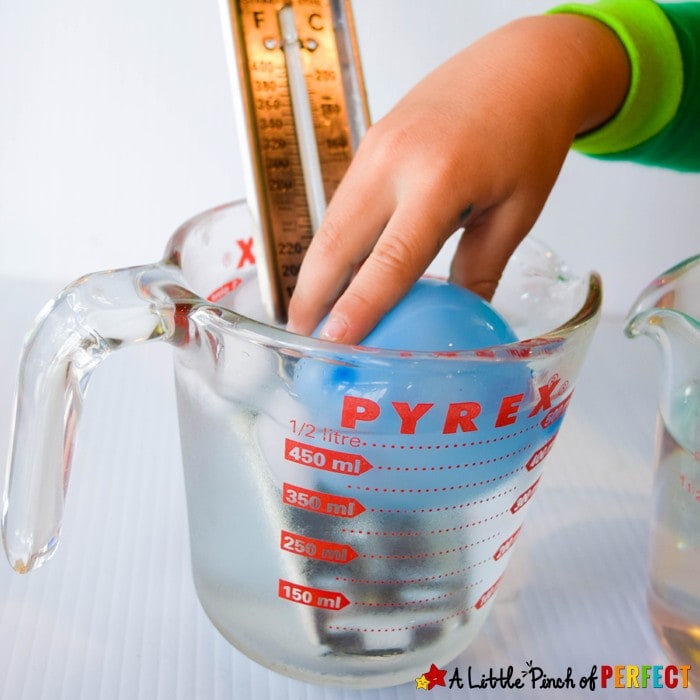
After the balloon test we used our thermometer to measure the water temperatures and then we wrote the temperature on our Hot and Cold Molucule Craft (See below).
Hot and Cold Molecule Craft (Available to download for free below)
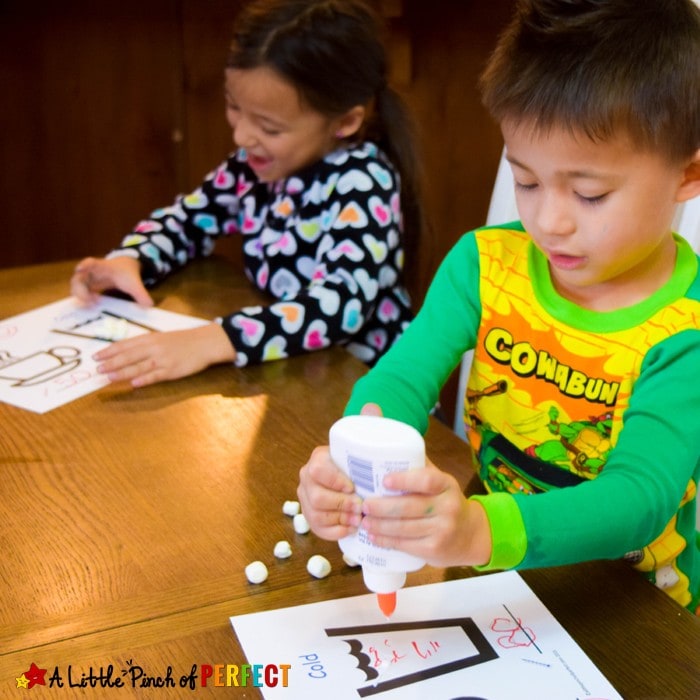
Have children glue molecules in the hot and cold cups showing their understanding of hot and cold. The hot molecules should be spread out and moving around while the cold molecules should be condensed and slow moving.
DOWNLOAD THE PRINTABLE HERE:
PRINT THE DIRECTIONS HERE:
Hot and Cold Temperature Science Experiments
Materials
- Voss Water bottle (or plastic bottle)
- Red and blue food coloring
- Thermometer
- Water balloons
- Ice Cube tray
- Glass measuring cups
Instructions
- Frozen Water
Fill containers half full with water. Mark the water line with a marker or I used a rubber band because we use our water bottles a lot. Put them in the freezer until they are completely frozen. Have children look at the new water lever (ice level). The frozen line should be above the water line because when water freezes it expands because the hydrogen bonds in the water that form are more spread out then when it is in liquid state.Red and Blue Food Coloring RaceFill one tall container with ice cold water and another tall container with hot water (not boiling). Have child drop a few drops of red food coloring in the hot bottle and blue food coloring in the cold water and watch (this experiment is very fast so don't look away). Technically you could use whatever color food coloring you have but since red and blue help to reinforce the difference in temperatures we used those colors. The blue food coloring should move slower through the water compared to the red food coloring because the water molecules in the hot water have more energy and move faster then the water molecules in the cold water.Blue Ice Melt
Fill a pitcher with water and add drops of blue food coloring. Fill an ice tray with the blue water and put it in the freezer until the ice is solid. Fill a container with room temperature water and place the blue ice inside. The ice should float and the blue water that melts from the ice cube should sink. This is because cold water (and air) is more dense compared to regular temperature water and will sink in warmer water. They may have heard before that hot air rises and cold air sinks, now they can visualize it.Hot & Cold BalloonsFill small balloons with some air. We used water balloons. Make them relatively the same size. Place one in cold water and one in hot water. We used a pink balloon for the hot water and the blue balloon for the cold water. The hot water balloon should get larger as the air expands as it gets warm and the cold water balloon should shrink as the air inside condenses.Thermometer Reading
After the balloon test we used our thermometer to measure the water temperatures and then we wrote the temperature on our Hot and Cold Molucule CraftHot and Cold Molecule Craft
Have children glue molecules in the hot and cold cups showing their understanding of hot and cold. The hot molecules should be spread out and moving around while the cold molecules should be condensed and slow moving. We used marshmallows. Available here: https://alittlepinchofperfect.com/learn-hot-cold-temperature-science-experiments-kids/
