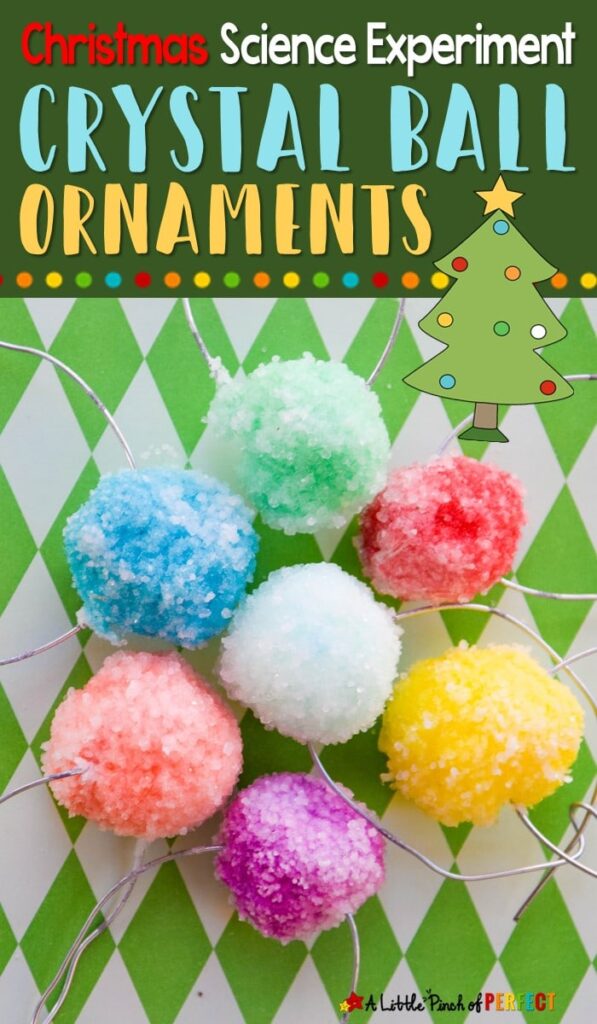
Add to the magic of the holidays by growing crystal ornaments following our step by step directions, video tutorial, and printable science experiment activity pack for kids.
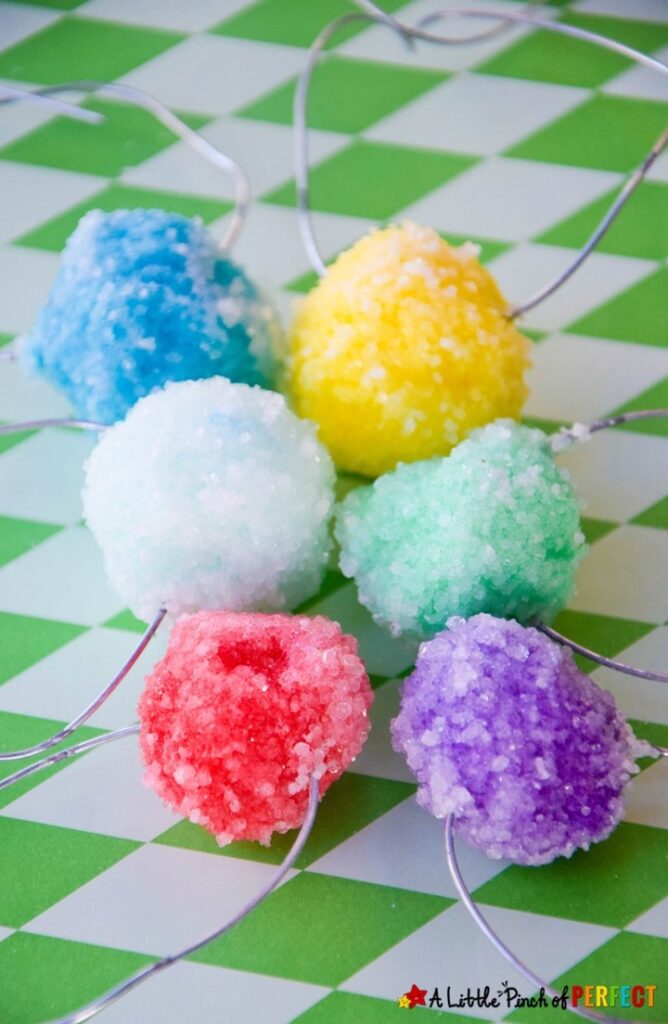
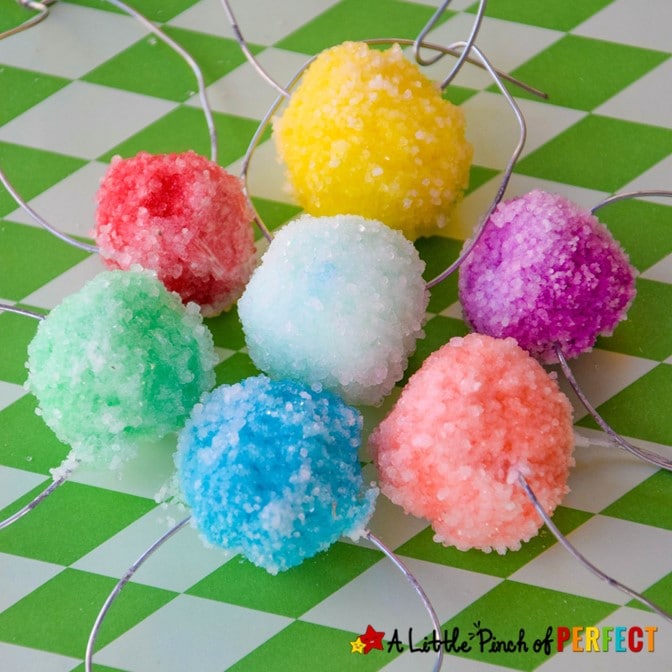
Make crystal balls from borax solution and pom poms! Your children will love this science experiment that’s also a craft. It can be done at Christmas time to make borax crystal ornaments or anytime you feel like having a lot of fun with science!
Thank you for visiting. This post may contain affiliate links to recommended products at no extra cost to you. Read our Disclosures and Terms of Use. Don't miss out again, become a Reader here <--it's FREE.
Please follow the instructions and make sure there is adult supervision.
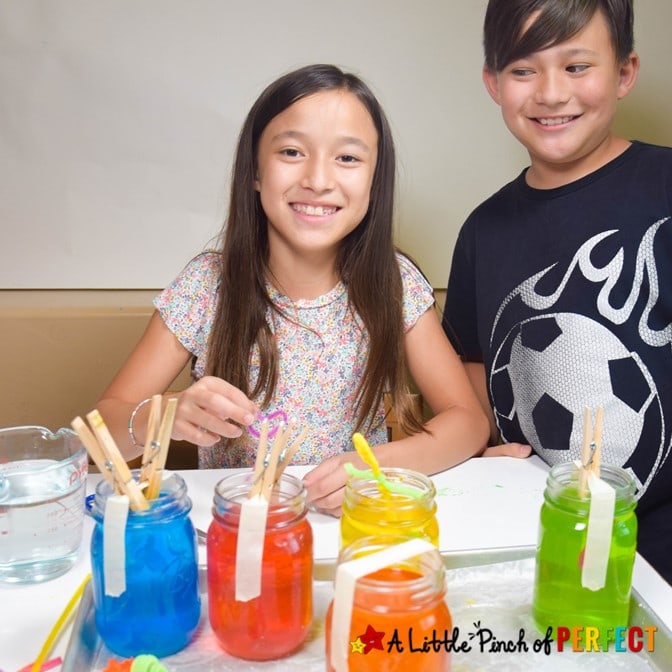
My children ages 8 and 10 had so much fun making crystal balls that once the experiment was finished we reused our borax solution and made another batch of ornaments.
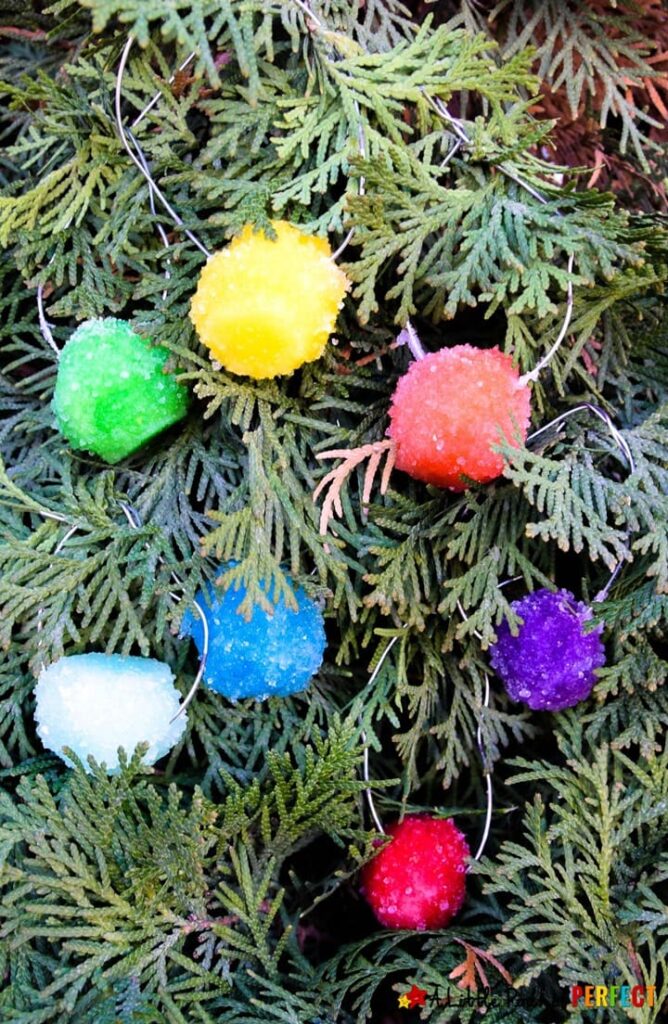
Look how cool the ornaments look hanging on the tree. When the Christmas lights are on the crystals sparkle even more!
What Should I Use to Grow Borax Crystals on?
We used Pom Poms to make our crystal balls but Borax crystals will grow on a variety of objects. Common objects to use are pipe cleaners that have been bent into different shapes. You could also try sticks, shells, or felt cut outs.
When selecting an object to make an ornament, choose something that will be easy to hang while remembering that it will get heavier once the crystals have grown on it.
What is Crystal Seeding?
Crystal seeding helps “plant” crystal seeds on the object you are trying to grow crystals on. By seeding, you allow smaller tiny crystals to attach to the object. This allows larger crystals to grow later.
What Type of Jar to Use?
Select a glass jar that the item you want to grow crystals on can fit inside with extra room from the top and sides of the jar. This allows room for the crystals to grow.
If there is not enough room, the crystals will grow to your object and can attach to the crystals that grow on the sides and bottom of the jar making it harder to remove.
Large jars will need more borax solution.
How to Succeed and Not Fail
The seeding part of the directions is important, but even more important is to NOT MOVE CONTAINERS during the growing stage.
Be Patient. Do not move your jar or lift the object up until you are ready to end the experiment or you may stunt crystal growth.
If the first growing stage does not result in the size of crystals you want, remove the object from the liquid, dump the liquid into a pot to boil, and repeat the process by making a new soaking solution.
Science Explained:
A crystal is a solid with flat sides and symmetrical shape. Crystals are made because the molecules the crystal is made of arrange themselves in repeating patterns. There are seven crystal patterns triclinic, monoclinic, orthorhombic, hexagonal, rhombohedral, tetragonal, and cubic. Borax crystals are cubic and look like cubes.
When our saturated solution cooled down the water molecules moved closer together leaving less room for the borax. Since the borax can’t disappear, the dissolved borax forms cubic crystals that grew on top of each other. This is included in the printable science activity pack.
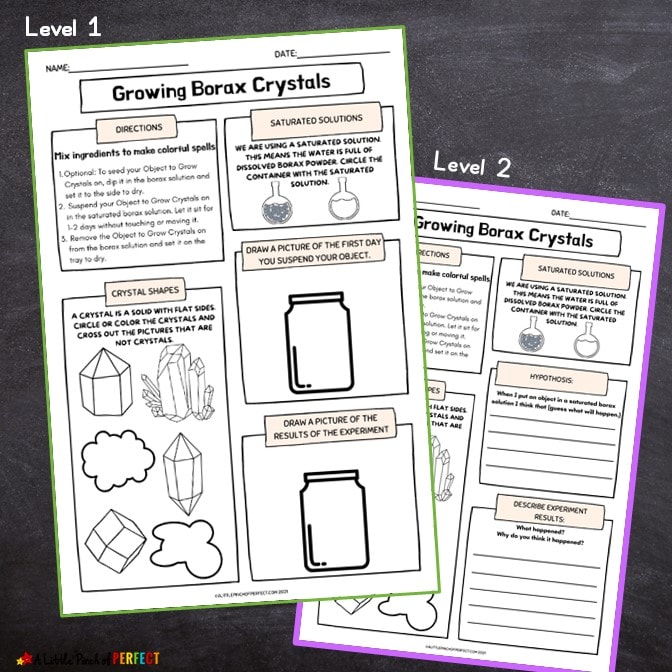
Do your children know what a saturated solution is?
Do your children know what shape crystals grow in?
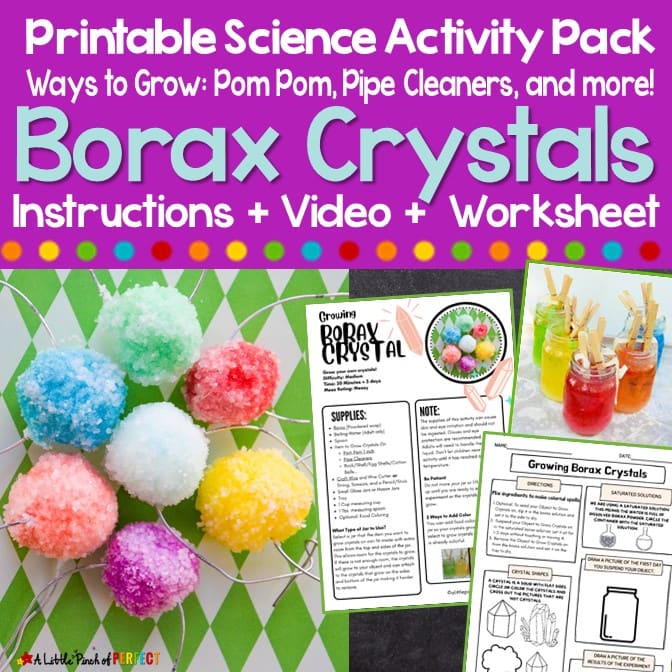
Increase their knowledge with the BORAX CRYSTAL SCIENCE ACTIVITY PACK that’s designed to introduce concepts of the scientific method and can be used over again to make more borax crystals like on pipe cleaners, egg shells, and more.
EACH SCIENCE PACK IS CREATED TO:
- Make doing the activity EASY for you!
- Enhance LEARNING for your kids!
- Be ready to PRINT, PREP, and Do!
- Includes
- DIRECTIONS
- PRINTABLE ADD-ONS (When needed)
- WORKSHEETS
- VIDEO EXAMPLE (When available)
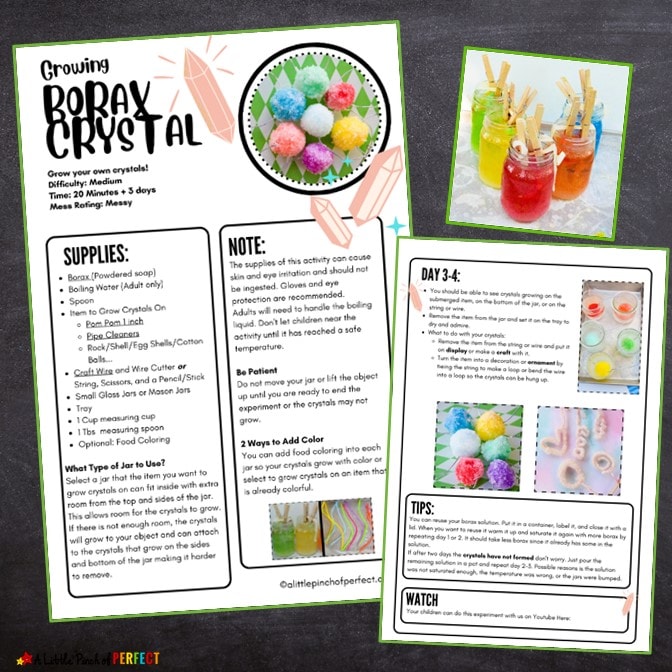
BORAX CRYSTAL DIRECTIONS
BORAX CRYSTAL LAB WORKSHEETS
Don’t see the box? CLICK HERE to be directed to the download. Please share and pin our printable ?
Borax Crystal Ball Ornaments
If you like our Borax Crystal Ball Ornaments Science Experiment I would love for you to PIN IT! It helps others discover it too, which helps us bring you more AWESOME CONTENT like this.
Supplies:
(Affiliate links included for your convenience. Purchases through affiliate links earn us a small commission with no extra cost to you. See our Disclosure Policy here.)
- Borax (Powdered laundry detergent)
- Boiling Water (Adult only)
- Spoon
- Pom Pom 1 inch
- Craft Wire and Wire Cutter or
- Small Glass Jars or Mason Jars
- Tray
- 1 Cup measuring cup
- 1 Tbs measuring spoon
- Optional: Food Coloring
Directions:
Download and Print the Directions from the Borax Crystal Science Activity Pack.
Day 1: This step is optional but helps accelerate the growing stage by giving a place for the crystals to grow.
- Make borax seed solution.
- Boil one cup water, mix 4-5 tablespoons of borax solution, and stir the mixture until it is dissolved.
- Set the hot water solution to the side to cool down to a safe temperature around your children. Do not let it get cold.
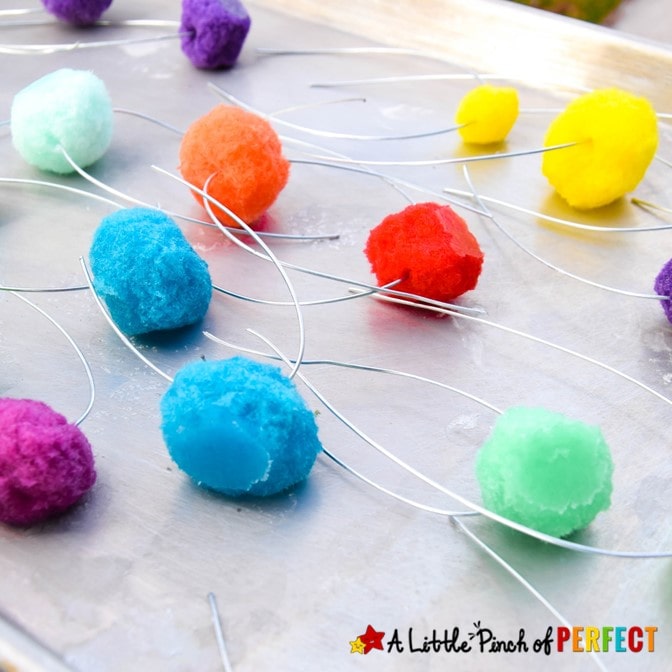
- Thread a piece of wire through the pom pom and dip the pom pom into the seed solution and set it on the tray to dry.

Day 2:
- Decide how much borax solution you will need by filling up your jars with water, and measuring the water to find out how many cups your jar(s) hold.
- Now make the borax solution by boiling the water in a pan and adding 4-5 tbs. borax powder per cup of water.
- You want to make a saturated solution that has as much borax powder as possible.
- Add the borax powder, stir, and if it dissolves, add more until it stops dissolving. It is okay if you have a few grains of borax in your solution.
- Set the solution to the side to cool down to a safe temperature around your children. Do not let it get cold.
- Carefully pour the borax solution into the jar.
- Take the pom pom and bend the craft wire so it holds the pom pom submerged in the solution inside the jar.
- Let the jars sit undisturbed and as the mixture cools the crystal growing will begin.
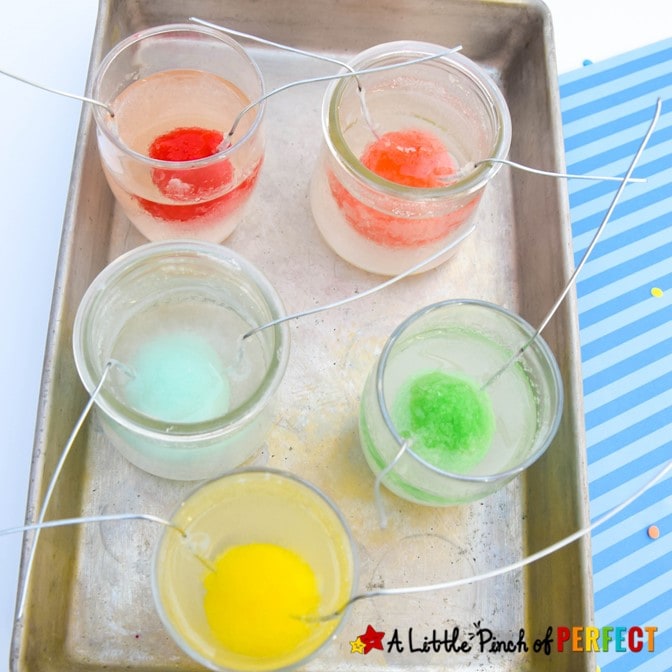
Day 3-4:
- You should be able to see crystals growing on the submerged item, on the bottom of the jar, or on the string or wire.
- Remove the item from the jar and set it on the tray to dry and admire.
- What to do with your crystals:
- Remove the item from the string or wire and put it on display or make a craft with it.
- Turn the item into a decoration or ornament by tieing the string to make a loop or bend the wire into a loop so the crystals can be hung up.
