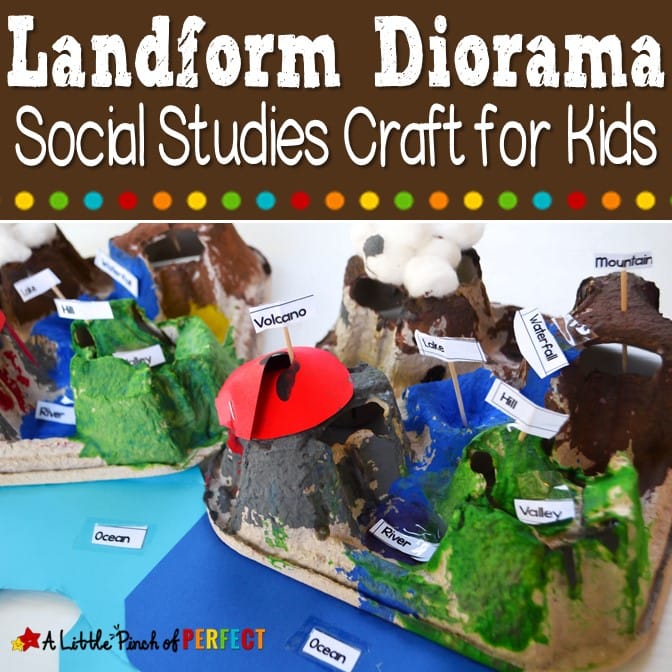
Teach children how to make a landform diorama as they learn about basic landforms during this hands on craft activity for kids.
While learning about landforms we made a diorama to help us better understand the differences between each type; mountains, rivers, volcanoes, valleys, and so forth. I love it when crafts and learning go hand in hand, for a hands on learning activity (that’s a lot of hands) like this one. I have included the labels and written directions below for you to download for free to keep things simple and fun for you and your kiddos.
Thank you for visiting. This post may contain affiliate links to recommended products at no extra cost to you. Read our Disclosures and Terms of Use. Don't miss out again, become a Reader here <--it's FREE.
We used a drink holder that we got from our local fast food restaurant, if you aren’t big on fast food you can pick one up from Amazon here Biodegradable Drink Holder. It was the perfect base for this project because it has so many ups and downs that are ready to be transformed into landform features.
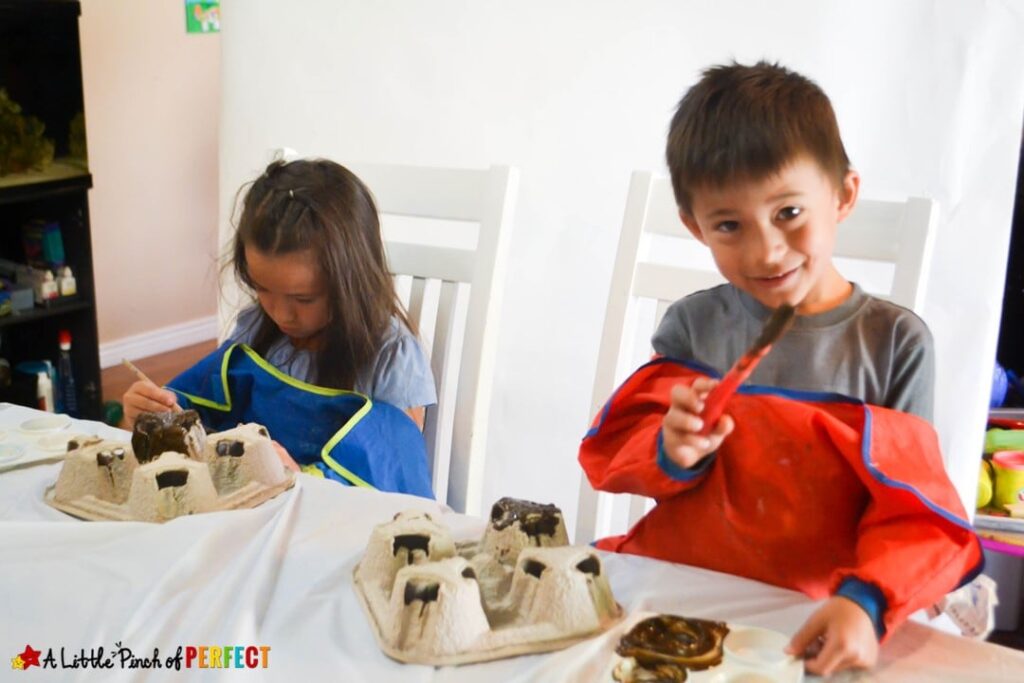
My little kindergarten and preschool aged kids (age 6 and 4) made their landform diorama over a couple of days. Older kids (first grade and second grade +) could get this done in one sitting. When they were done, my kiddos were so proud of their dioramas and love showing their friends and family and teaching them about all the different features.
SUGGESTED BOOKS TO ADD TO THE FUN:
Click photos: Affiliate links to more information on these books we love! (Purchases through affiliate links earn us a small commission with no extra cost to you. See our Disclosure Policy here.)
Landform Diorama
SUPPLIES:
Click photos: Affiliate links to more information on the products we used.
- Biodegradable Drink Holderr-affiliate link
- Red Craft Paper-affiliate link

- Craft Paint-Red, Brown, Blue, Green
- Paint Brushes
- Tape
- Scissors
- Cotton balls
- Labels (available to download at the end of the post)
DIRECTIONS:
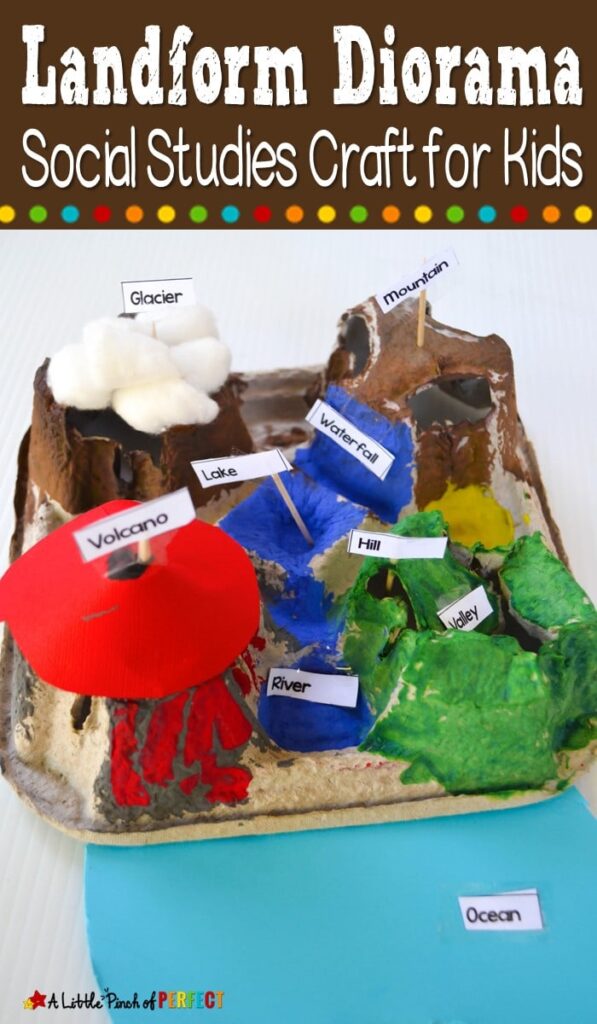
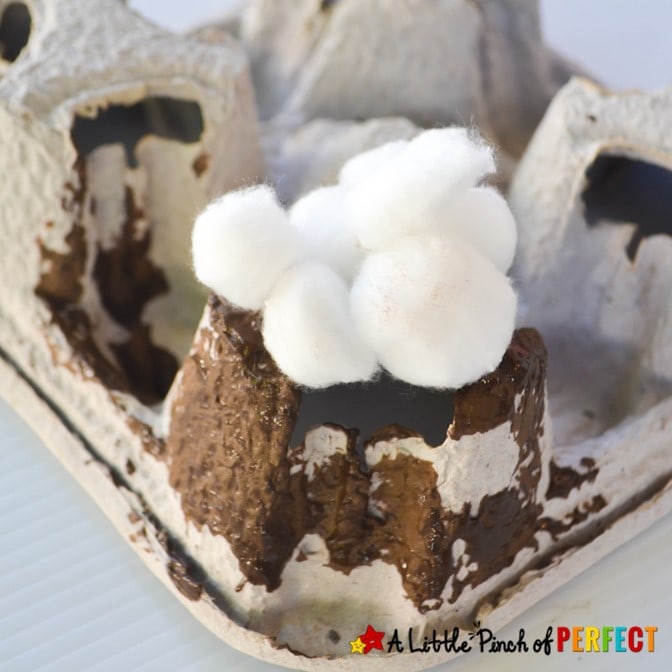
GLACIER: Flip the cup holder upside down. Paint one of the cup holders brown and glue puff balls on the top for the snow.
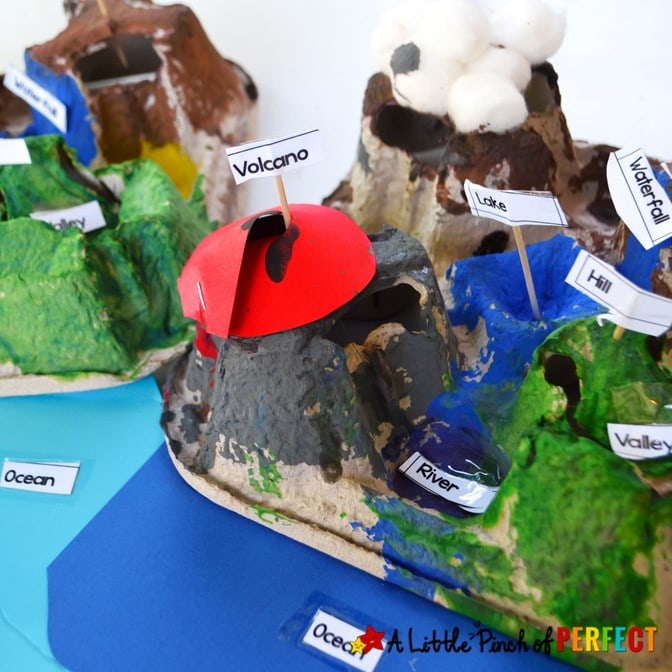
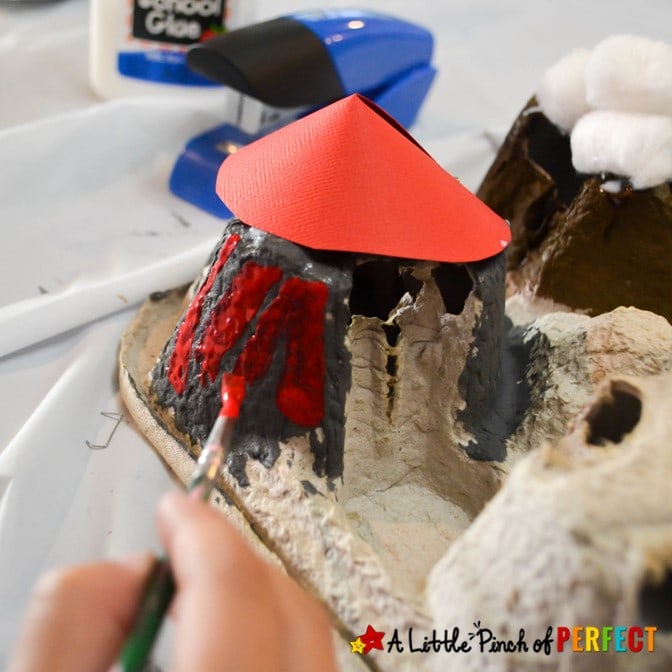
VOLCANO: Cut out a circle out of red paper. Make one cut reaching the center of the circle. Overlap the two edges to make a cone and tape in place. Paint one cup holder gray and brown and then add red paint dripping down for the lava.
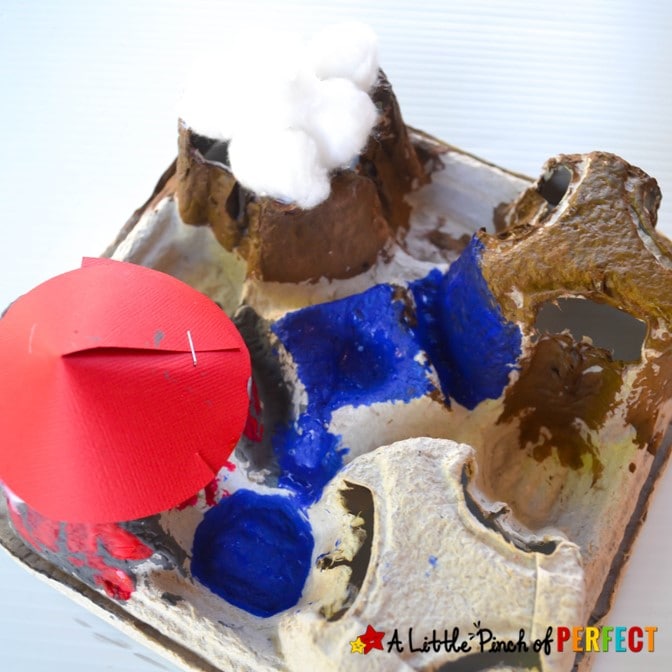
MOUNTAIN, WATERFALL, LAKE, and RIVER: Paint one of the cup holders brown except for the side closest to the center. Paint the side closest to the center brown to make a waterfall. Continue painting to the center to make the lake and down to the lowest spot on the cup holder to make the river.
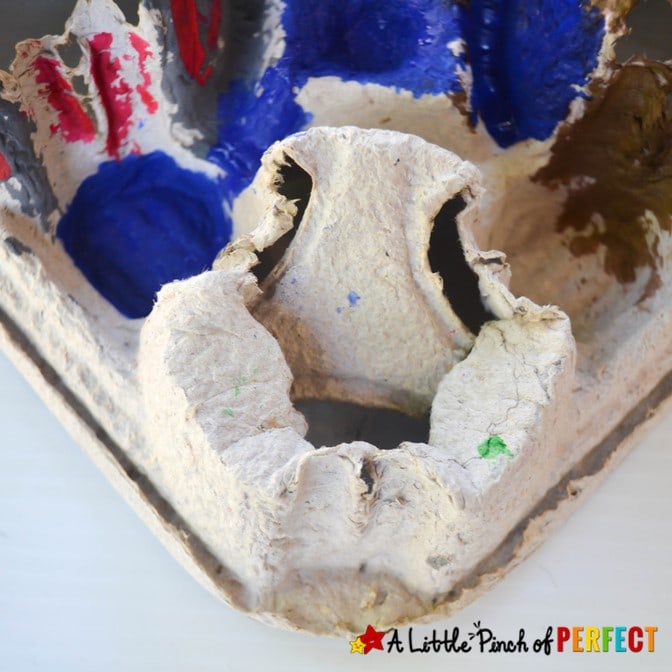
HILL and VALLEY: To make the valley cut one side of the cup holder and push it down. Paint the cup holder green.
OCEAN: Cut out a piece of blue paper and attach it to the cup holder.

LABELS: Cut out the labels and tape them to the diorama. We also taped them to toothpicks and then poked them into the cup holder.
SUGGESTED LEARNING RESOURCES:
Click photos: Affiliate links to more information on suggested resources.
Download landform diorama labels and directions:

[email-download download_id=”9656″ contact_form_id=”8255”]
ADD TO THE FUN: Learning Activities



Hello Katie,
Children are more creative and are natural inventors. Thank you for sharing.