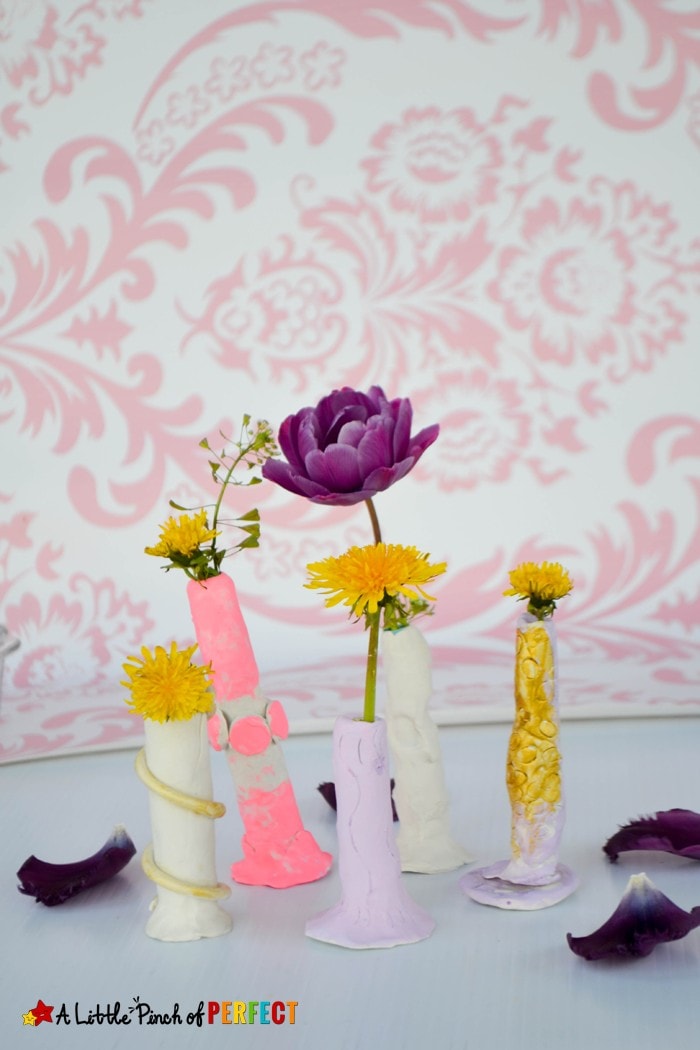
Learn how to make a Mother’s Day Vase following our EASY directions. Kids can make and fill it with flowers all year long.
Thank you for visiting. This post may contain affiliate links to recommended products at no extra cost to you. Read our Disclosures and Terms of Use. Don't miss out again, become a Reader here <--it's FREE.
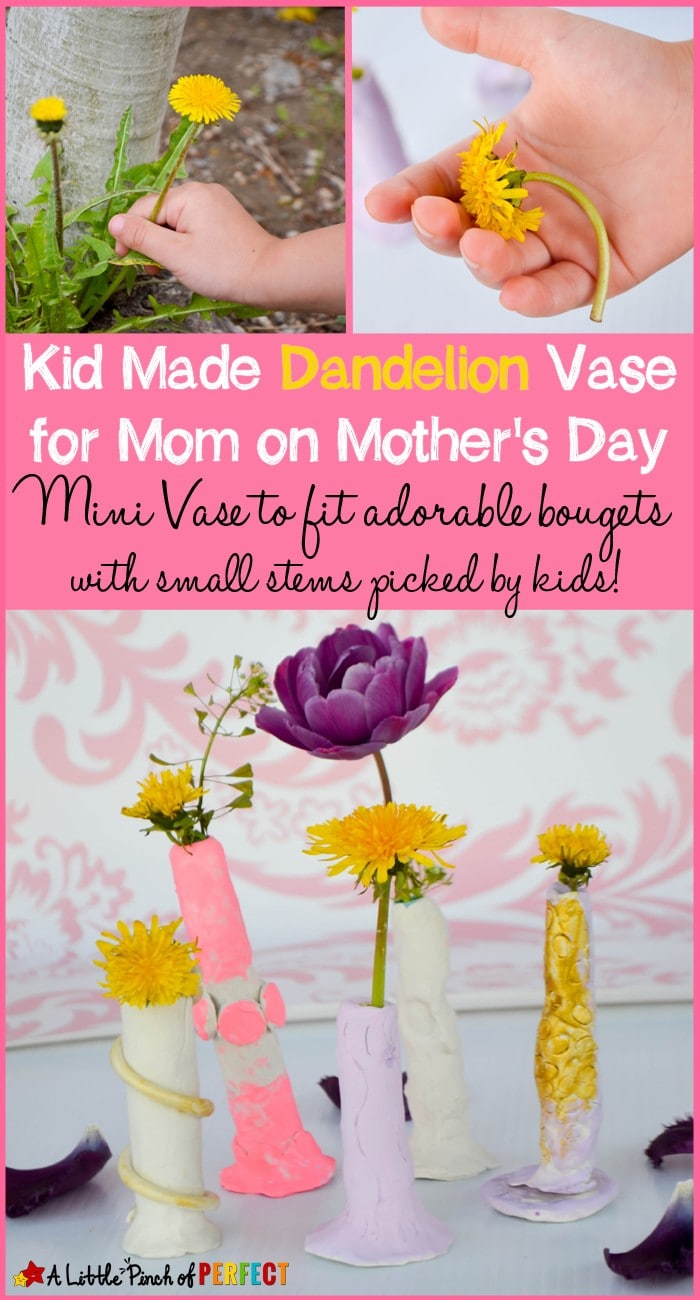
My opinion of dandelions has changed throughout the years. When I was a kid I loved dandelions because they turned into wishes. As a first time homeowner with a lawn to care for I hated them because they seemed to be on the attack. As a mom I have to confess that I LOVE dandelions! Every time my kid’s find one they come running back to me with a huge smile and the most beautiful yellow flower (who cares if it’s a weed) I have ever seen! The more dandelions they find the more presents I get! (Dandelions + kids = Mom’s heart-melting!) The problem is that the stems on dandelions aren’t very big (or the kids leave the stem behind) so they never fit in my vases. Since I know I’m not the only mom who gets dandelions or small stemmed flowers I figured all moms need a Dandelion Vase or Mini Vase to keep all those adorable bouquets with small stems picked by kids. This homemade gift is perfect for Mother’s Day, Mom’s birthday, or even Valentine’s Day and only takes 30 minutes or so to make!
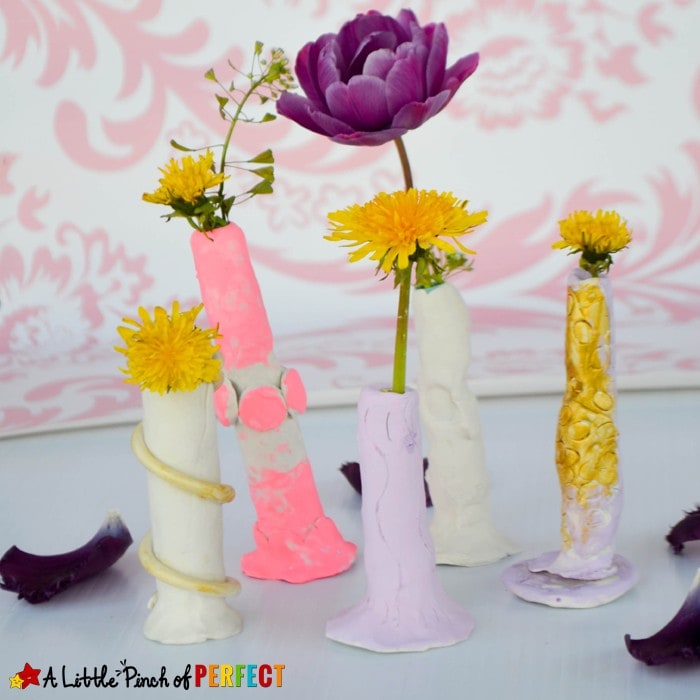
I have to mention the other day I was walking through the park with my kid’s, dandelion bouquet proudly in hand, and another mom stopped me and said, “I remember those days that I used to get dandelions,” and I thought how sweet! Then I started thinking how sad she doesn’t get dandelion bouquets anymore–not because her kid’s don’t love her but because they are just too big to go about picking dandelions and I realized that I need to treasure the “dandelion stage” because someday it will be over and there will be no more hands raised with yellow bouquets with the words spoken, “here mamma, for you!” So now I have a vase to treasure my dandelion bouquets as long as possible and I hope you will join me in cherishing the little homemade bouquets you receive from your little sweethearts and have a Happy Mother’s Day this year!

Kid Made Mother’s Day Vase
Supplies:
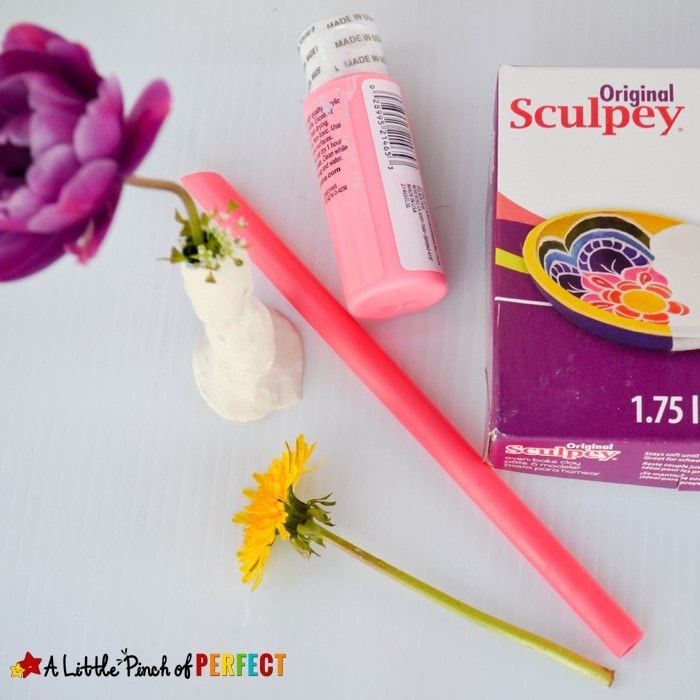
Sculpey Oven Bake Clay-affiliate link
Acrylic Paint-affiliate link (optional)
Paint brush (optional)
Rolling pin
Scissors
Small cookie cutters or clay tools (optional)
Directions:
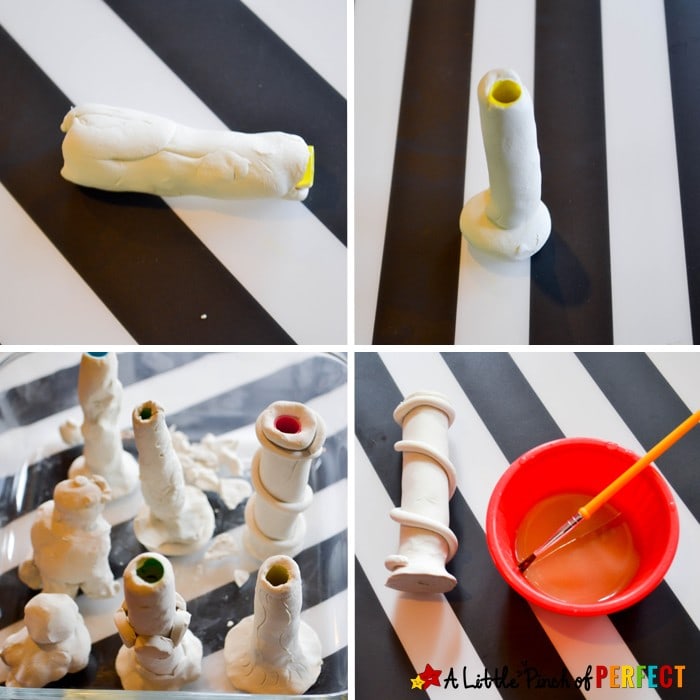
Cut straws the size you want the vase to be. I cut a variety of sizes and let my kid’s choose which one they wanted to use.
Give child a piece of clay to start working with. The more they play with it the softer and easier the clay will become to use.
Have child roll the clay flat and wrap their ![]() straw with it. If we rolled the straw and clay on the table the clay became loose so we rolled it carefully in our hands and the clay stayed close to the sides of the straw.
straw with it. If we rolled the straw and clay on the table the clay became loose so we rolled it carefully in our hands and the clay stayed close to the sides of the straw.
Have child close one end of the straw with clay and add a base so the vase can stand. Make sure it is sealed completely so the vase can hold water. Have child decorate the vase if they would like with clay pieces and designs (don’t paint just yet).
Set the vase on a glass dish and bake the clay as directed. We baked at 250 degrees for 15 minutes. The vase felt a little squishy to touch when it came out of the oven but after it cooled it became hard and the color of the clay stayed the same.
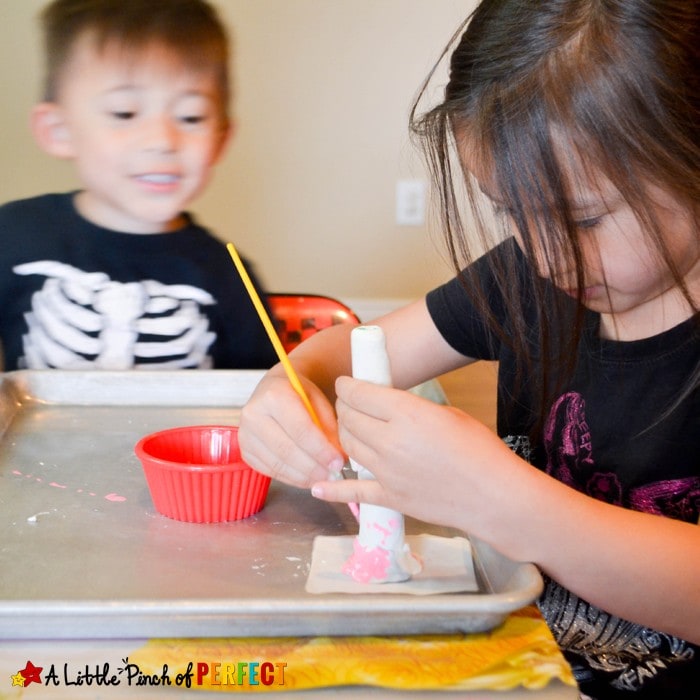
Once the vase is cooled it can be painted. Once the paint is dry the vase is ready to be filled and refilled all spring and summer or wrapped up for mom on Mother’s Day! Next you can make a Handprint Heart Photo Surprise Card to keep making mom happy!
See more: Crafts for Kids Here
Thanks for crafting with us today. If you enjoyed this craft please pin & share the fun with others! Love, Katie & the Kiddos
