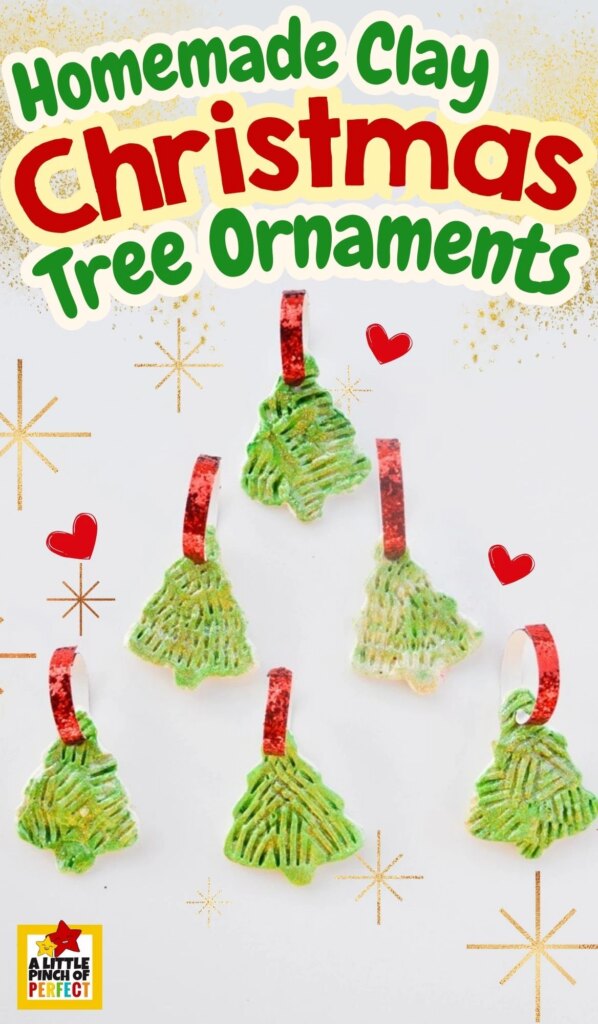
Making Christmas ornaments is one of our favorite holiday traditions, and this year, we added a little sparkle to the fun! ✨ These glittery Christmas tree ornaments are simple, festive, and make a wonderful keepsake that your kids will be proud to hang on the tree (or gift to family and friends!).
Thank you for visiting. This post may contain affiliate links to recommended products at no extra cost to you. Read our Disclosures and Terms of Use. Don't miss out again, become a Reader here <--it's FREE.
We used our tried-and-true no-bake clay recipe—the same one we used for our A is for Art activity—and tinted it green for the holidays. The result? Beautiful homemade ornaments with just the right amount of glitter and charm. Best of all, the kids did most of the work themselves, making this an easy, hands-on craft for all ages.
If you’re looking for a creative way to spend time together this season, this Christmas Tree Ornament Craft is perfect for your classroom, homeschool, or family crafting day. You might also love this Fork Painting Christmas Tree Craft — another fun and easy holiday activity that uses a fork to make textured Christmas trees! Keep reading to get the step-by-step directions and see how easy it is to make your own sparkling Christmas trees!
Suggested Book to Read with this Activity
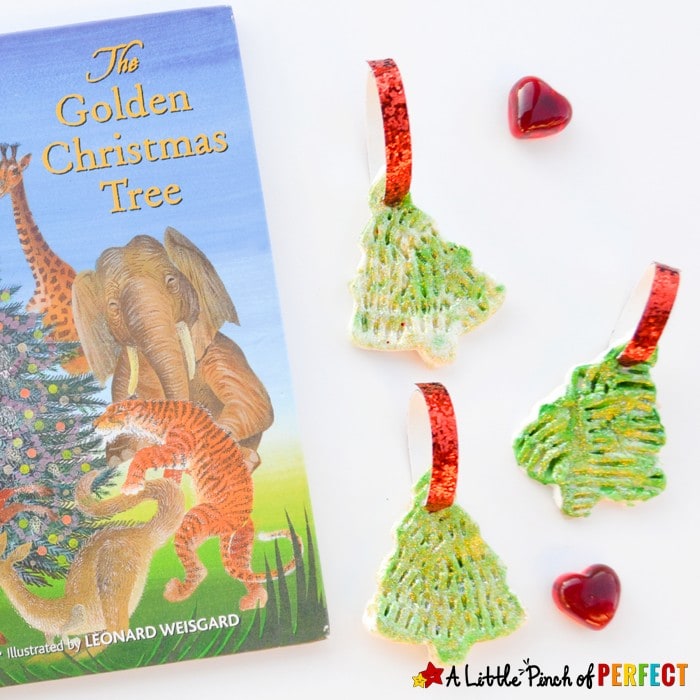
The craft was inspired by the book, The Golden Christmas Tree by Jan Wahl…can’t go wrong with a classic Golden Book! We read it together and the kids couldn’t keep their hands off the book. They loved every page full of animals working together to decorate the Golden Christmas tree.
Christmas Tree Clay Recipe
Ingredients:
- 1 C. cornstarch
- 2 C. baking soda
- 1 1/2 C. cold water
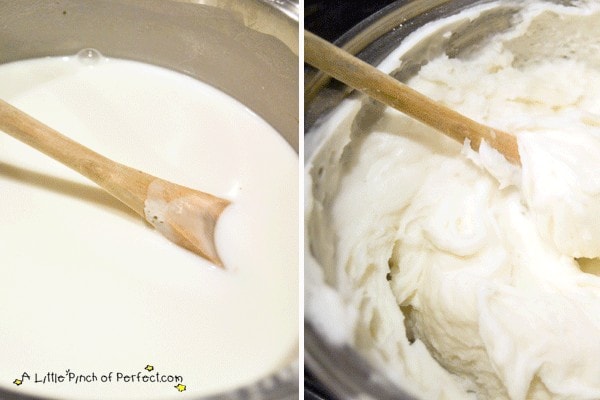
Directions:
Mix the ingredients together over medium heat. Stir continually, it will get really thick and hard to stir. Once it reaches the desired consistency, remove it from the pan and let cool before playing with it. Store in an airtight container.
How to Make a Clay Christmas Tree Ornament
Supplies:
- Christmas tree-shaped cookie cutter
- Fork
- Straw
- Rolling pin
- Wax paper
- Green paint
- Paintbrush
- Mod Podge or Craft Sealant
- Golden glitter
- Ribbon
- Glue gun (optional)
Directions:
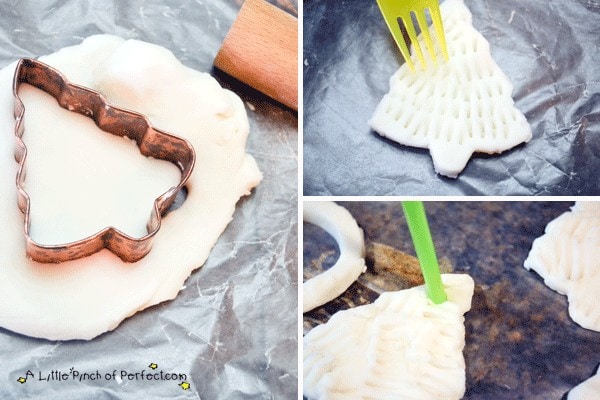
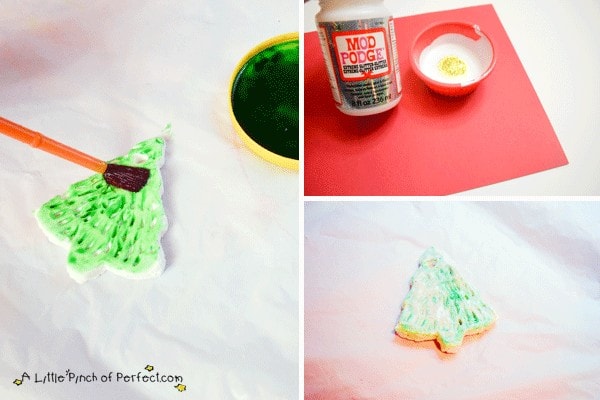
On top of a piece of wax paper, use the rolling pin to smooth out a piece of clay. Cut out a Christmas tree with the cookie cutter. Gently press the fork into the clay to design the Christmas tree. Finally, use the straw to poke a hole at the top of the tree and set the tree out to dry.
When the tree is dry, paint the tree green. We didn’t use very much paint, so it dried really fast. Put a little Mod Podge into a bowl and mix in some gold glitter. Coat the Christmas trees with the Mod Podge and let dry. We did at least 3 coats.
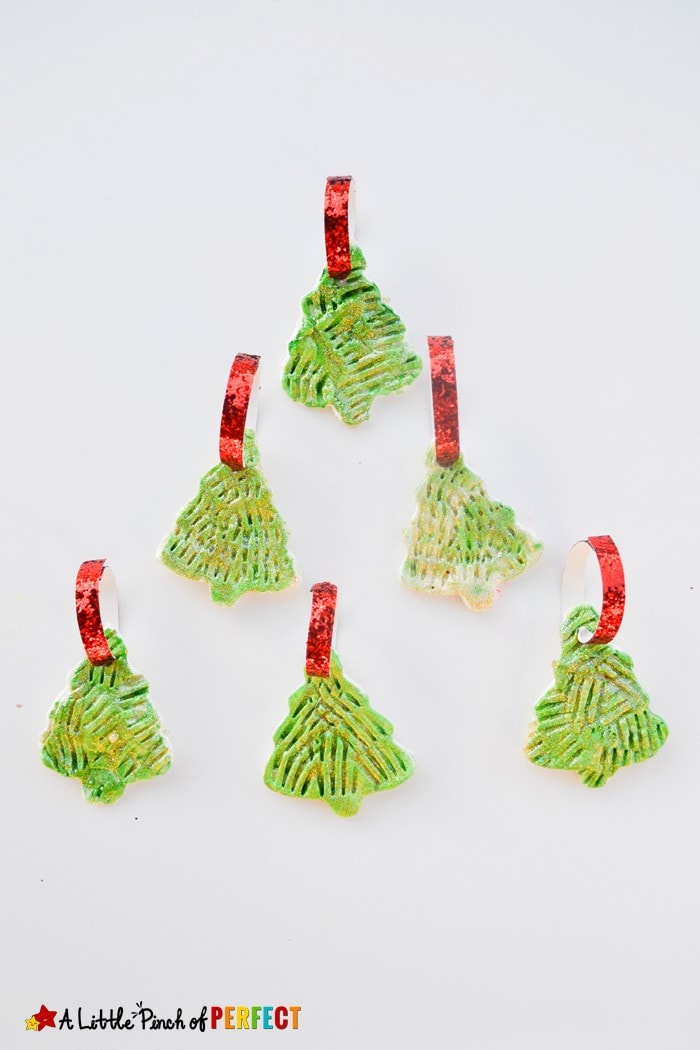
Once the Christmas trees are dry, thread some ribbon through the top and tie or use the hot glue gun to secure. I used some awesome glitter ribbon I just learned about and it’s my new favorite thing! Anyhow, it is too thick to tie which is why we needed the glue gun. Once it’s secure, your ornament is ready to hang on the tree!

More Christmas Ideas to Love:
- 20+ of the Cutestes Christmas Handprint Crafts
- Free Printable Christmas Activity Pack
- Santa Charcuterie Board


This post was inspired by the lovely Melissa from Mama Miss who came up with the brilliant idea to create Christmas ornaments based on children’s books. 70+ bloggers are participating in a 10 day series that is pretty amazing.
Here are the 6 other ornaments that are being shared today.
For more Christmas ideas, follow our Winter/Christmas Pinterest board:

Thanks for crafting with us today. If you enjoyed this idea please pin & share it with others so they can enjoy it too! Love, Katie & the Kiddos (originally posted 12/10/14; updated 11/26/2016)
They are adorable Katie – love that you made a bunch of them – perfect for a small kiddo tree!! Adore your little guys hair too!
Hi Mama♥miss thanks so much, and think his hair is pretty cute too, lol! The ornaments where so easy to make we just kept at it 🙂