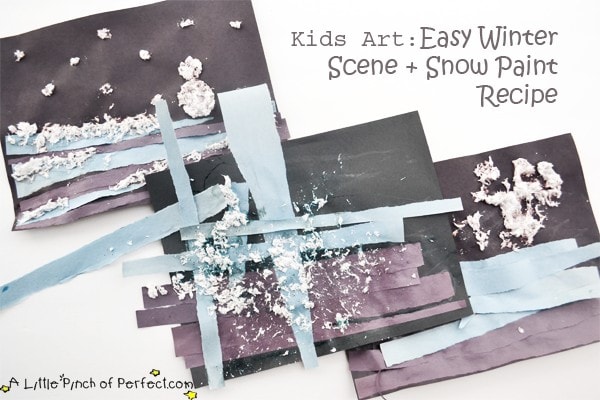
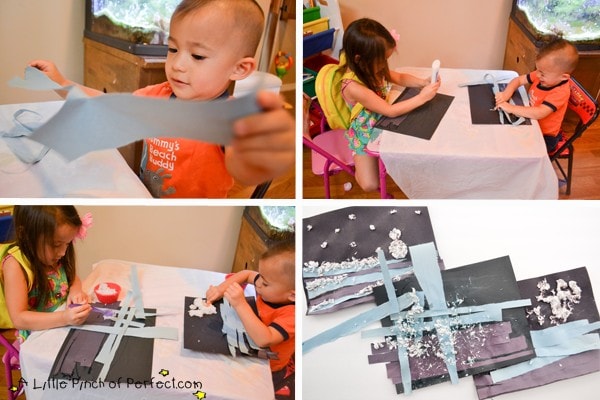
With all the craft activities we have been doing with the holidays, it was nice to let the kids create freely (process art) with this winter inspired art activity. It’s easy and fun, no scissors required so it’s perfect for all toddlers and kids! My son loved ripping the paper. He sat for an exceptionally long time to create his art project (yay!) before he ran off to play with his cars. I made a snowman in my example project but my daughter created freely and I LOVE the way hers turned out! That’s the fun part of this project, everyone’s will turn out beautiful and unique.
Thank you for visiting. This post may contain affiliate links to recommended products at no extra cost to you. Read our Disclosures and Terms of Use. Don't miss out again, become a Reader here <--it's FREE.
This post is part of the Creative Preschoolers Winter theme. Please make sure to see what other great ideas the team has come up with at the end of this post. Now let’s get started 🙂
Snow Paint Recipe
Ingredients:
2/3 C. Pretend Snow (Our recipe)/Insta Snow![]() (Affiliate Link)
(Affiliate Link)
3 Tbs. Craft Glue
We used the Pretend Snow we made to make our snow paint, but you could use shaving cream and school glue, or skip the snow paint all together and just use white paper :).
Winter Art
Supplies:
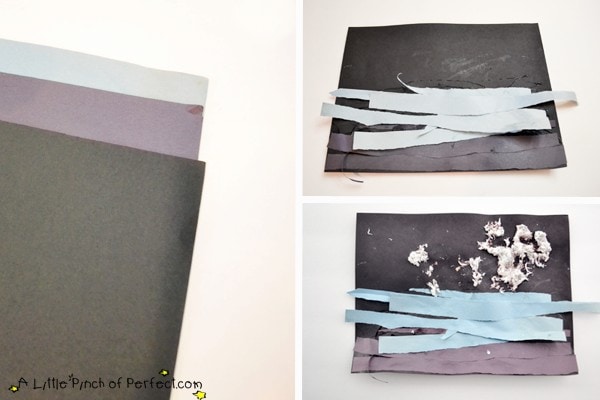
2 Shades of blue paper (We used blue paper; it just doesn’t look blue in the pictures for some reason).
1 Black paper
Snow paint
Craft glue
Spoon or Paint brush
Directions:
1. Rip blue paper and glue it to the black piece of paper to create a winter scene. Ripping paper is great for little hands!
2. Use the paint brushes to make a design with the snow paint.

More Winter Ideas:

Oooh. Love how easy and beautiful this craft turned out!
Thanks so much! 🙂
Love the 3D look!
Thanks Amanda!!! I was pretty excited when it dried nice and textured and didn't dry flat.