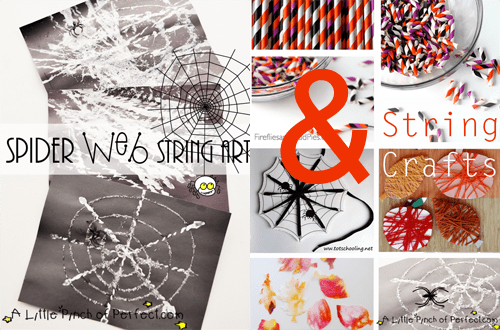
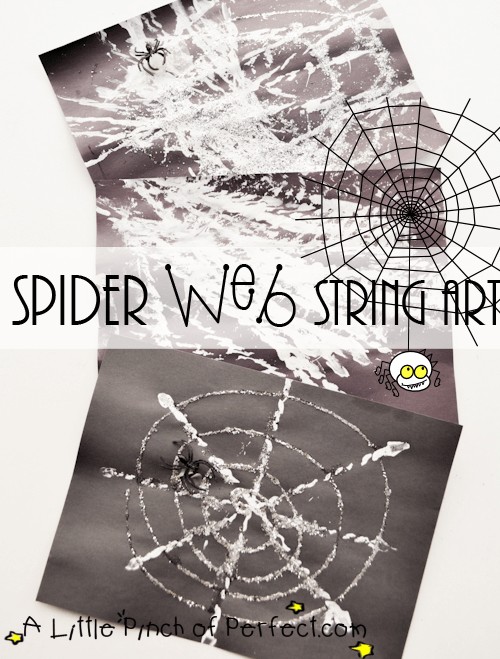
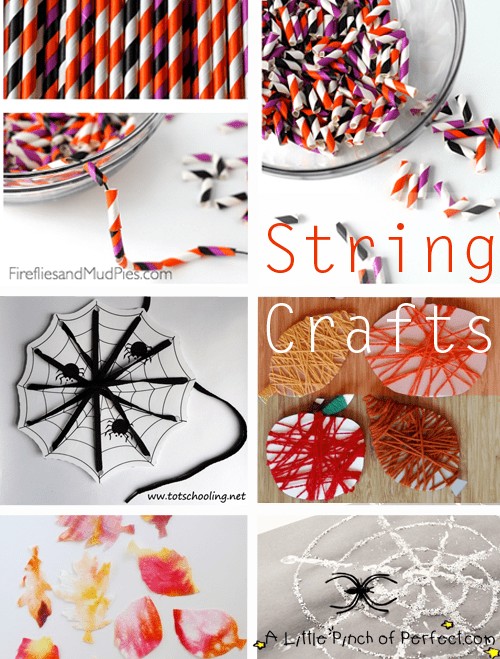
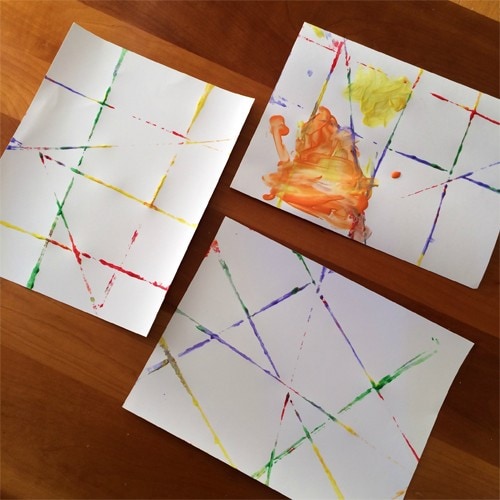
Hello again, it’s time for some creative fun today using string. We made a spider web painting with a painting tool I think I will call a “paint bow” (like bow and arrow) which I think is pretty cool! Ever since our art activity, we have been singing the “itsy bitsy spider.” Also while you have your string out, we have more fun things for you to do with it that I am excited to feature at this weeks Love to Learn Linky party. Thanks for joining us again, let’s get started! 🙂
Thank you for visiting. This post may contain affiliate links to recommended products at no extra cost to you. Read our Disclosures and Terms of Use. Don't miss out again, become a Reader here <--it's FREE.
(adsbygoogle = window.adsbygoogle || []).push({});
Supplies:
String or yarn (We used some fuzzy yarn)
Small hanger
Duct tape
Paint
Black paper
Tray for paint
Glue
Glitter
Spider ring
Tissue paper/newspaper (optional)
Wax paper (optional)
Directions:
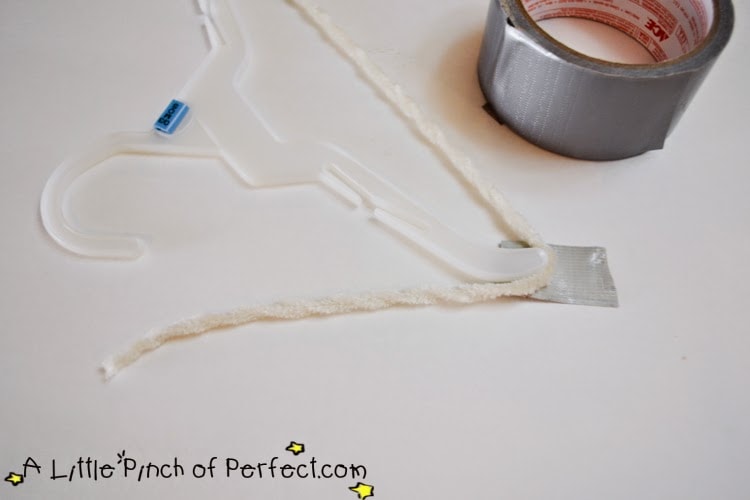
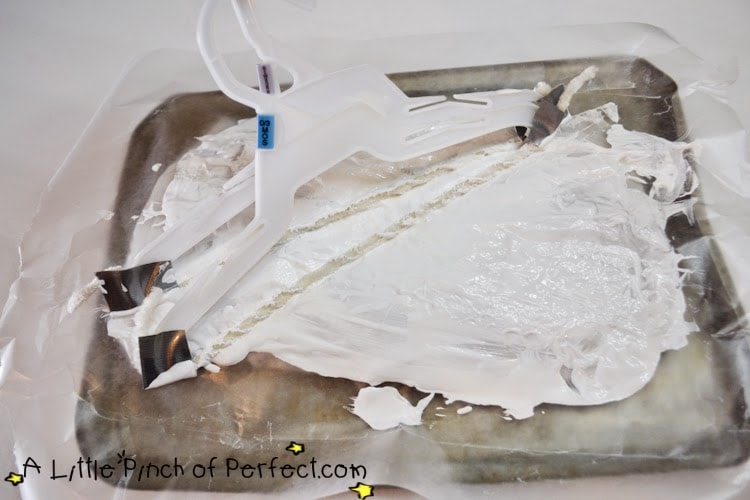
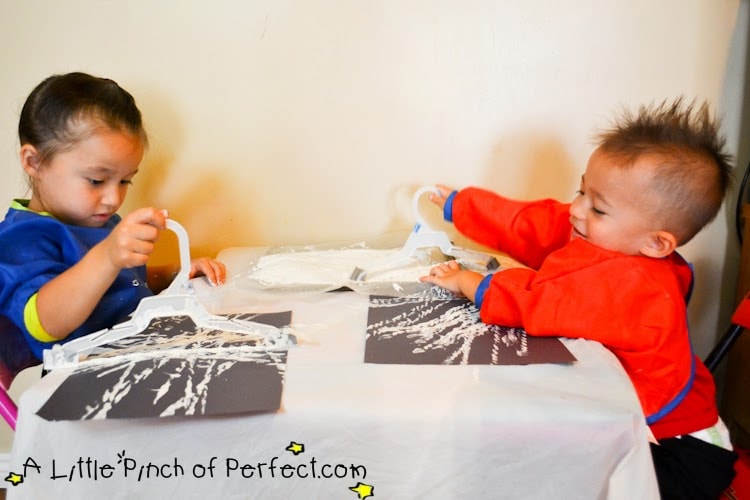
1. To make the painting bow, tape the string to the hanger. Make sure to wrap the string around the outside of the hanger, so the yearn will be flat against the paper when kids are painting.
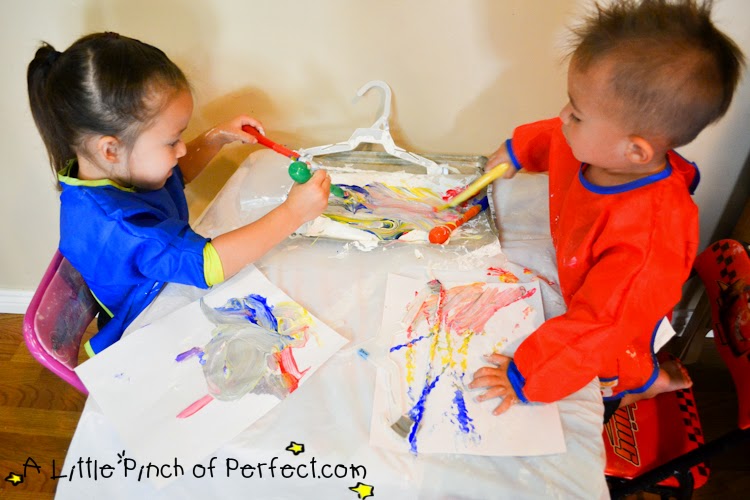
2. To make it easier for the kids to get paint on their paint bows, I put a mound of tissue paper underneath the wax paper. Then I squirted paint on top of the wax paper. If your tray is larger, you may not need the tissue paper.
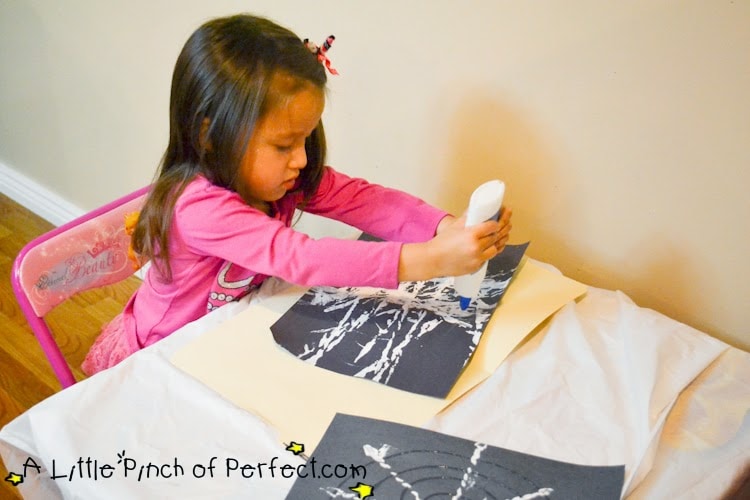
4. Once the paint has dried, use the glue to decorate the spider web with glitter. I gave Ms. Tiger the bottle of glue and let her squirt it as she pleased. Then I handed her the glitter and let her sprinkle/dump glitter on the glue. I shook the extra glitter into an empty file folder, and dumped the glitter back into the container.
(adsbygoogle = window.adsbygoogle || []).push({});
Matching Animal Halves Printable Activity by Totschooling

(adsbygoogle = window.adsbygoogle || []).push({});
Love to Learn Linky
Now it’s time for some more links! Bloggers, share your posts every Thursday and watch as we round them up and share them all over the place. Almost anything goes, we’re just hoping your activities teach kids (or us!) something (science, art, cooking, behavior, crafting, parenting etc…).
The Love to Learn Linky is hosted by:
 Left Brain Craft Brain (leftbraincraftbrain.com): Anne is an ex-engineer, current stay-at-home mama writing about crafty ways to encourage creativity (and brain power!) in our kids. Each of her projects gives kids the chance to learn about a new subject and do something crafty at the same time.
 Totschooling (totschooling.net): Viviana is a blogging mom to a toddler and a preschooler, sharing ideas and resources for early education. She specializes in unique, hands-on printable activities that are educational, fun and inspire creativity in young minds.
 One Time Through (onetimethrough.com): Sue is an Elementary School Teacher currently on leave to be at home with her preschooler son. She shares ideas for connecting and learning with kids through meaningful, play-based activities that nurture curiosity and creativity.
 A Little Pinch of Perfect (alittlepinchofperfect.com): Katie combines creativity, play, and learning for the perfect mishmash of fun activities that keep kiddos entertained throughout the day. She wholeheartedly believes in the power of play and feels that all activities naturally provide a fun way to learn.
Love to Learn Linky Etiquette:
- Posts should be about educating our kids in any way – science, art, cooking, crafts, behavior, parenting, etc. Please keep them family friendly and please no Etsy shops or giveaways unless they are relevant to the topic.
- Upload your direct post link to the InLinkz widget. Link up to 3 posts.
- Like the hosts on Facebook: A Little Pinch of Perfect, Totschooling, One Time Through and Left Brain Craft Brain.
- Or follow the hosts on Pinterest: A Little Pinch of Perfect, One Time Through, Left Brain Craft Brain, Totschooling.
- Post our button on your site.
- By linking up, you agree to have your images shared with credit.
Link up and grab a button!
Love to Learn Linky: An InLinkz Link-up
Have a fun day! Love-Katie & the Kiddos








This looks like a fun art project! Perfect for Halloween!
Thank you for stopping by the Thoughtful Spot Weekly Blog Hop this week. We hope to see you drop by our neck of the woods next week!
Hi Jill, Thanks so much!
Love this idea, so unique. I would have never thought of using a hanger to create art.
Thanks for linking up to our #MondayParentingPinItParty x
Hi Carolin, Thanks so much :). I try to think outside the box, it just doesn't always turn out as successful as this activity did, lol.
Thanks for sharing our straw necklaces! What a great round-up!
Hi Melissa, Thanks for linking up your post to last weeks party. It looks like a beautiful and simple craft, that I know my daughter would love!
Your string paintings look great! Thanks for joining in with Tuesday Tutorials #pintorials
Hi Kate, Thanks, I am so glad you think so! 🙂
Love the string idea!
Hi Amanda, Thanks so much! It's always nice with the Artsy Momma likes our ideas! 🙂
Using the hanger is SUCH a great idea! We've tried a similar craft before with little success…I'm going to try it your way next!
Thanks for hosting!
Hi Kalista, Thanks so much! My kids seemed to do it with no problem, so hopefully you find the same outcome 🙂
So many fun ideas!
We haven't done a lot of string art yet — I need to add some to our list!
Pinned!
Thanks so much for the lovely comment and the pin!
your kids looked like they had a ton of fun with the string art! That's something we haven't tried….yet!
Hi Susen, thanks so much. The kids loved it for sure 🙂
How creative – I absolutely love that clothes hanger bow painting idea!
Hi Emma, thanks so much! I was excited when it worked so well for the kids 🙂