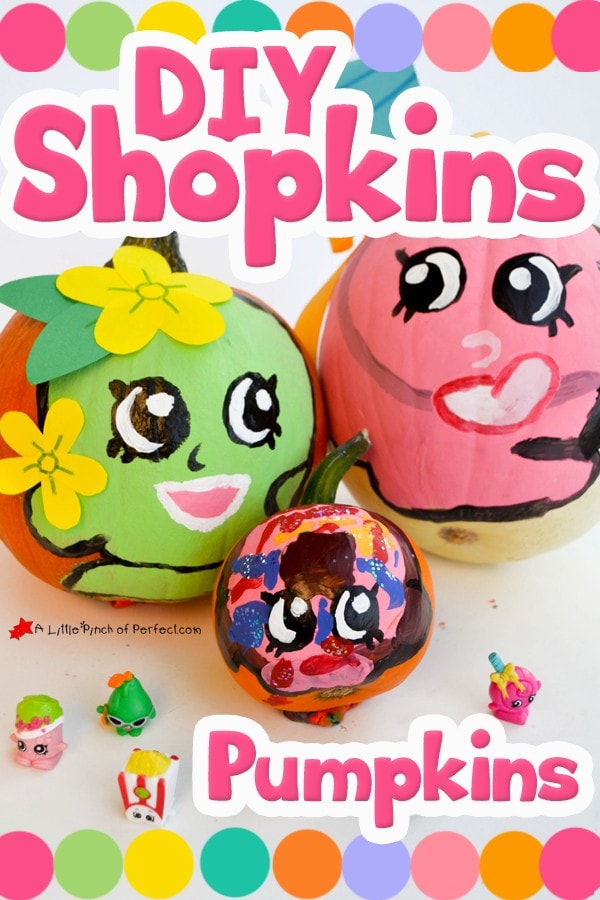
Today I am sharing our no carve pumpkin decorating idea inspired by Shopkins (affiliate link) ! My daughter is in love with Shopkins (which are grocery store related characters and treats with big eyes and smiley faces). I am guessing my daughter isn’t the only one since they fly off the shelves. Our pumpkins have personality this year and are ready for Halloween in their very own Shopkins costumes–they look so cute! Come see Apple Blossom, Lolli Poppins, and D’lish Donut all ready for Halloween.

The kids are so excited because the leaves are falling and they know autumn is here which means Halloween has to be any day (they literally ask me every day if it is Halloween). Pumpkins showed up at the grocery store so we grabbed some to start the pumpkin decorating early–why wait!?! Since we used paint this no carve pumpkin decorating method should be good all the way to Halloween.
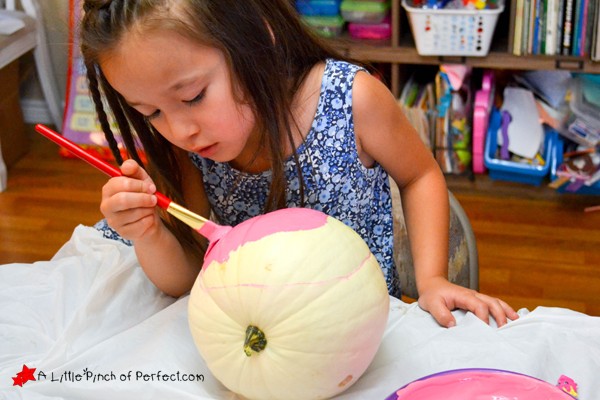
Little Tiger (age 4) helped to paint her pumpkins. I helped out with the outlining and eyes. She is thrilled to have big sized Shopkins around to go with her huge collection of tiny Shopkins.

DIY Shopkins Pumpkins Craft
 |
| Pin me please! 🙂 |
Supplies:
Acrylic paint (colors should match Shopkins and include black and white for the eyes)
Paint brush
Paper
Card stock
Glue
Tape
Scissors
Marker (not permanent)
Pumpkins
Directions:
1. Wash and dry the pumpkin.
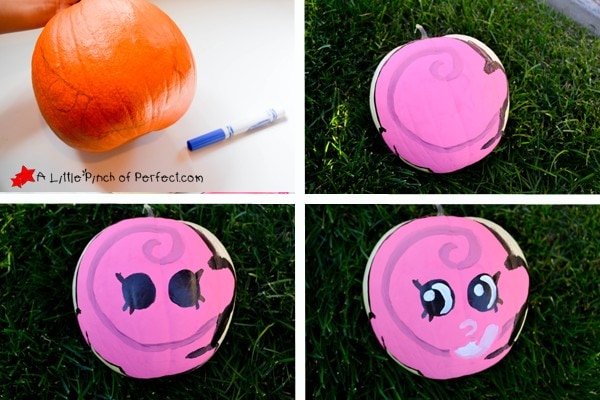
2. Use the marker to draw an outline of the Shopkins on the pumpkin. You can take a look at the Shopkins you have lying around or find pictures of them on the internet as a guide. The Shopkins we did were mainly round, with little Twinkie shaped arms. I used a Crayola marker to draw the outline and was able to wipe it off and draw again if I made a mistake.
3. Paint the pumpkin the main color of the Shopkins and set the pumpkin out to dry. I have been told that it is very important to let it dry completely to avoid peeling later, so try and be patient.
4. Paint big black circles for the eyes, and if you would like you could also outline the Shopkins body, arms, and other features with black to make them stand out. Let the black paint dry.
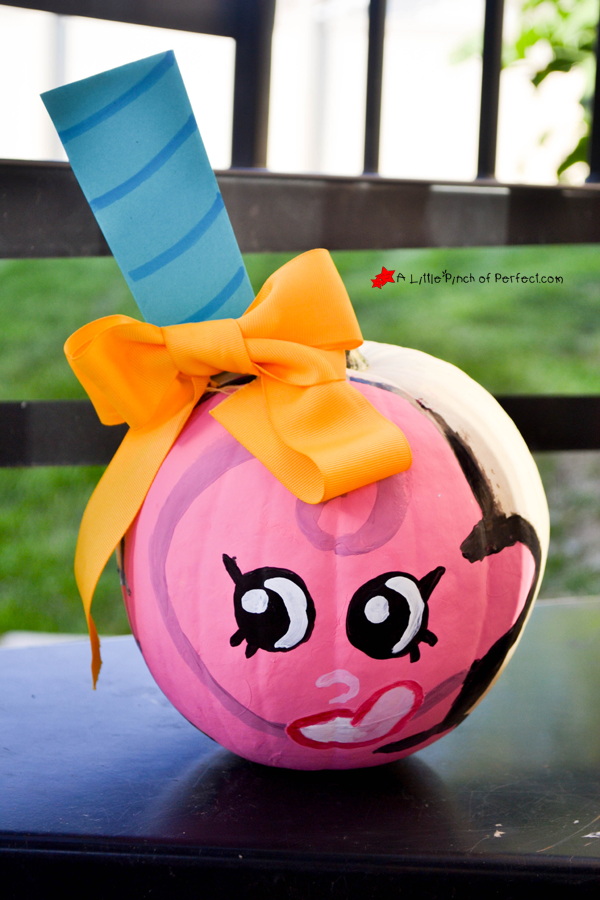
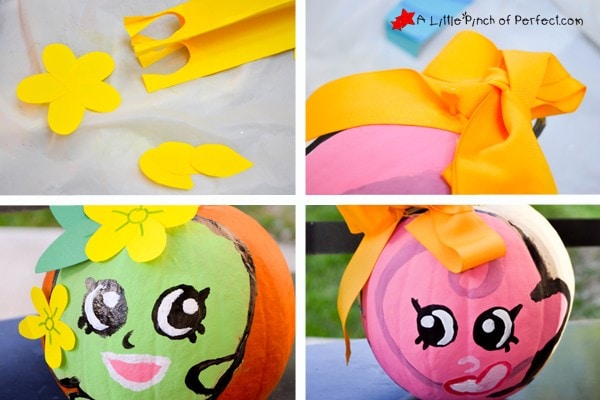
5. Paint the white parts of the eye (usually is a crescent shape with a white circle) and paint any other features your Shopkins may have.
6. Use card stock to cut out Shopkins decorations like the flowers, straw, or any other accessory your Shopkins may have and you’re done and ready for Halloween!
 |
| Pin me please! 🙂 |
More Halloween Ideas
Have a Happy Halloween! Please click here to sign up for our weekly newsletter.

Have a great day! Love, Katie & the Kiddos
Thank you for visiting. This post may contain affiliate links to recommended products at no extra cost to you. Read our Disclosures and Terms of Use. Don't miss out again, become a Reader here <--it's FREE.