As part of the Creative Preschooler team, we explored our hair. Hair is really kind of weird if you think about it. It comes in all different colors and textures, grows out of our skin, falls out, and grows back (unless you are like my husband and experiencing a loss of hair 🙂 hehe. My daughter and I both have lots of long hair sitting on top of our head, so it was fun putting down the hairbrush, curlers, and bows, and playing with hair during “school time” in an educational way.
Thank you for visiting. This post may contain affiliate links to recommended products at no extra cost to you. Read our Disclosures and Terms of Use. Don't miss out again, become a Reader here <--it's FREE.
 .
.Part of the activities from today’s activity came from the About Me science book for 4-6 year olds. Read our full review at the bottom of this post and make sure to check out the rest of the Creative Preschooler’s posts with great activities to learn about our bodies. You should also check out our B is for Body Activity that we enjoyed.
- Hair comes in lots of colors and textures
- Hair grows all over our body and can help keep us warm or protect us from germs
- Hair has a root and a shaft
- Hair grows, falls out, and grows again
- We don’t cut our own hair (Just thought I needed to mention it just in case someone decided to watch their hair grow back)
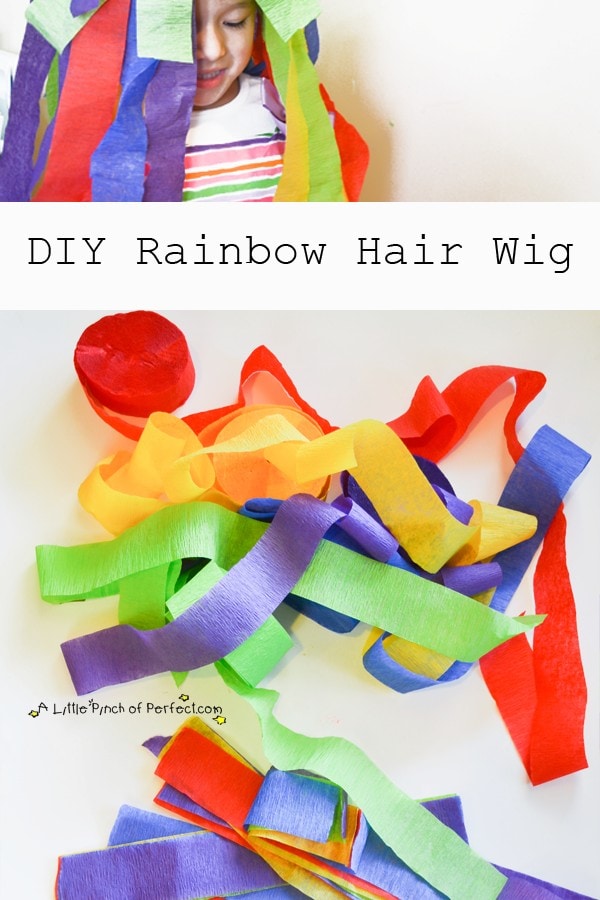
Make a Rainbow Hair Wig
(Adapted from the About Me Book Lesson 5)
Supplies:
Tape
Plastic grocery bag
Crepe paper streamers
To make the wig, you have to place the plastic bag on your child’s head. Please make sure your child knows that plastic bags can be dangerous. This part of the activity made me nervous because I always tell my kids not to put bags on their head for fear of suffocation. Ms. Tiger understood that it was only okay because mom was doing it, and the book directed us, so I decided it was okay to proceed with the activity.
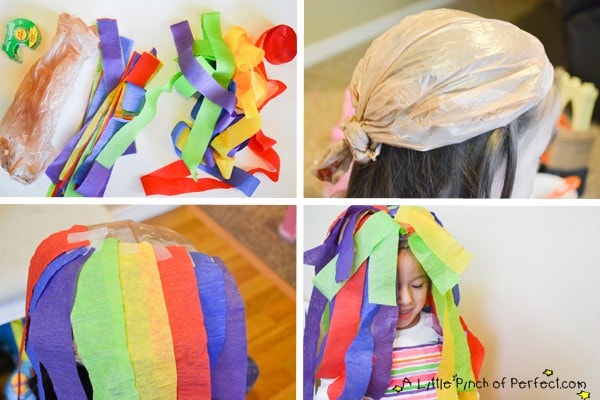
Directions:
1. Put the plastic bag on the top of your child’s head along their hairline. Don’t cover their eyes or face.
2. Roll the bag by the base of the neck so it becomes tight around their head and secure it by tying a knot or using tape. The book says to use the handles of the bag to tie a know at the base of the neck, but our bag handles weren’t long enough.
3. Tuck in any lose ends and tape a long strip around the edge of the cap.
The book says to apply strips of clear tape across the entire cap, then to apply another layer of 2-side tape across the top. I skipped these steps because I didn’t want to use so much tape.
4. Cut strips of crepe paper (we used 50 strips) to desired length and tape them to the plastic cap. To hide the tape on the very top of the wig I folded the crepe paper in half, then taped the underside of the streamer onto the top of the wig.
Crazy Hair Activity
(From the About Me Book Lesson 5)

More Body Activities from the Creative Preschool Team:
(Disclosure: We received this book for free to be able to provide an honest review. I was not required to write a positive review, nor was I compensated in any other way).
About Me is full of hands-on science activities and creative ideas that are intended for children ages 4-6. It’s nice to be able to turn to the book for inspiration and have readymade materials like stickers, worksheets, and charts (so no printing required). Ms. Tiger likes to look at the book and select activities for us to do. Most of the activities use things you should have on hand, so it works great for our go-with-the-flow kind of day planning. I think Ms. Tiger’s only complaint about the book was that some of the pictures looked weird (like all the boyish looking faces for our hair activity). Also, some of the worksheets seemed a bit small (she struggled getting really creative with her hair decorating because the space allotted wasn’t very big). We loved the Hair Wig craft and the pizza making activity we did from Lesson 12 (Our only note this activity is we found our stickers for the activity on page 46, instead of page 44 as directed).
Overall, the book covers a nice variety of topics like emotions, senses, nutrition, health, and human anatomy. I think you would like this book if you need science activities about our bodies to do with kids, and don’t want to spend the time searching for activities online or printing and creating hands on materials because they come with the book. You can find more information and see more page examples here: Our Time To Learn
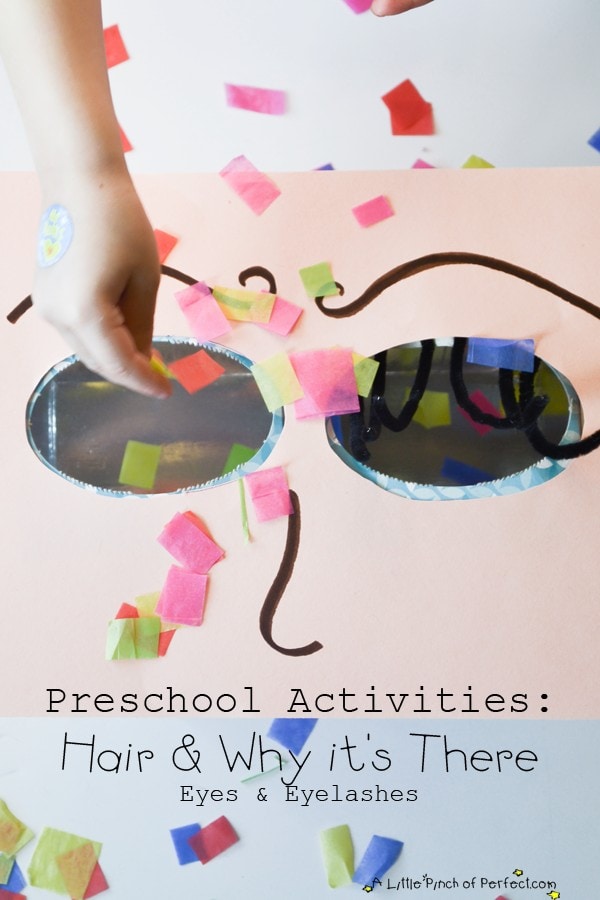
What an awesome collection of activities! Love the eyelashes and that rainbow wig. 🙂
I am dying over how awesome that eyelash activity is! It looks sooo fun. You are so creative! 🙂